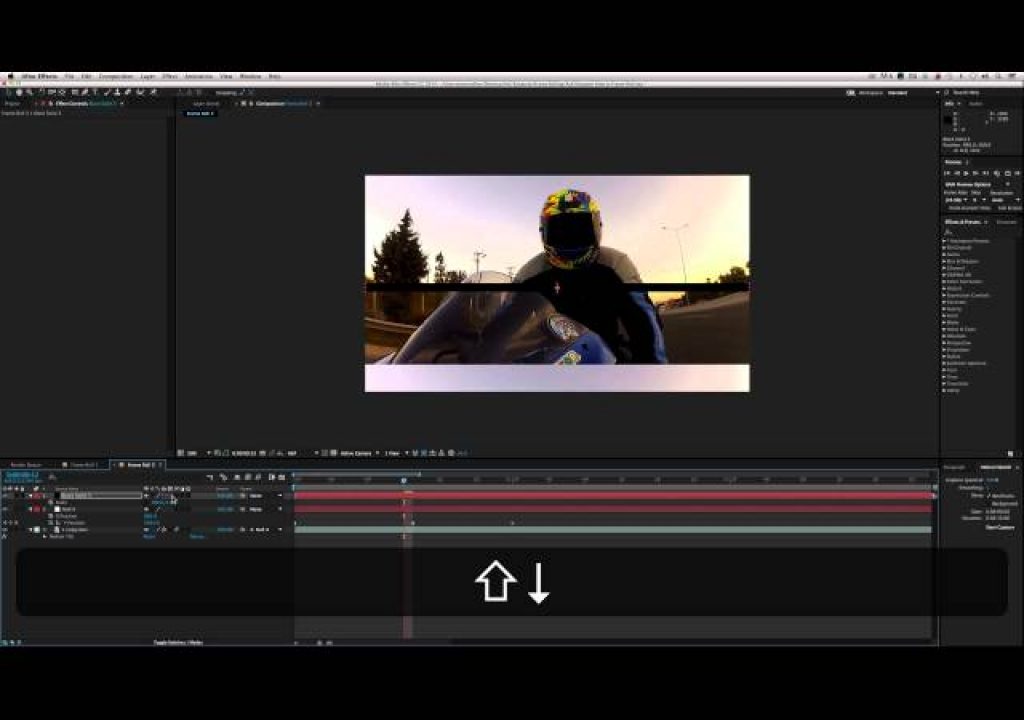
Frame Rolling is a technique that I use almost every day. It’s a quick effect that can easily be created and utilized in your favorite editing app in no time. I’ve seen it used in reality shows, promos, music videos, behind the scenes segments, commercials, wrap arounds, etc. It’s especially prominent in reality TV though, where you’ll see this technique being used to create a great looking transition by splitting the video in the middle of the effect. It’s a very common look that is easy enough to do without sending it out to a motion graphics artist and it can really move the edit pace forward, if that’s your desired outcome.
Most of my clients don’t know what it’s called, but they usually don’t know what to call things anyway. I’ve always called it frame rolling, jittering or frame bouncing. Whether they know to tell me the actual term, use a random sound effect or tell me to “do that bouncy thing you did on that other project”, they’re always asking me about this effect because they love it. It’s a great way to instantly add energy to a scene or sequence that otherwise may not have any or to create a unique transition.
Utilizing frame rolling effectively really depends on the style of the work that you’re doing. Fast paced, high energy cuts and promos can benefit from this all the time. Anyone looking for a unique transition effect can utilize this effect and there aren’t any plugins out there that do the exact same thing. The ones that come close are only for AE, so if you’re an editor and you don’t want to jump in to After Effects, you can still accomplish this effect and be proud of your hand-crafted results. It’s an amazing tool that allows editors to expand their arsenal and create effects for themselves without needing to outsource the work.
In this “Ask Rampant” video I show you how to utilize Frame Rolling in both Premiere and After Effects, and there are a few differences between what you can do with the effect in each program. Premiere can create a more basic method of the effect, and for many editors that’s all they’ll need. However, if you really want to get in and tweak the effect, it’s always best to go into After Effects. With Dynamic Link you really don’t need to know much about AE to be able to utilize it’s power. The After Effects method offers more customization, you can parent bars or design elements to the effect, you can mirror all sides of the video and more importantly you can add motion blur based on your movement.
There are a handful of different methods to make this effect happen, but I often do it by hand, and that’s something I show in this video because I think it’s an essential approach to take with this effect. It’s only a few steps and after you’ve created the effect once, it’s super easy to rebuild. There are a few plugins which will give you this look, but they’re very limited. After you take the time to finish tweaking the plugin, you could have done the effect yourself. Plugins are great and they have their place, but if you’re working on a machine that doesn’t have the plugins you need or you want to impress your clients, do it by hand and look like a rock star.
“Ask Rampant” is a new YouTube series hosted by Rampant founders, Sean and Stefanie Mullen. Ask Rampant is focused entirely on tackling questions from customers and the editing, motion graphics and visual effects community in the form of short, but comprehensive video tutorials. While Rampant Design Tools develops tutorials based on their own libraries of Style Effects, the new Ask Rampant Series addresses topics to help the community hone their post production skills, such as editing, animation and compositing techniques.


