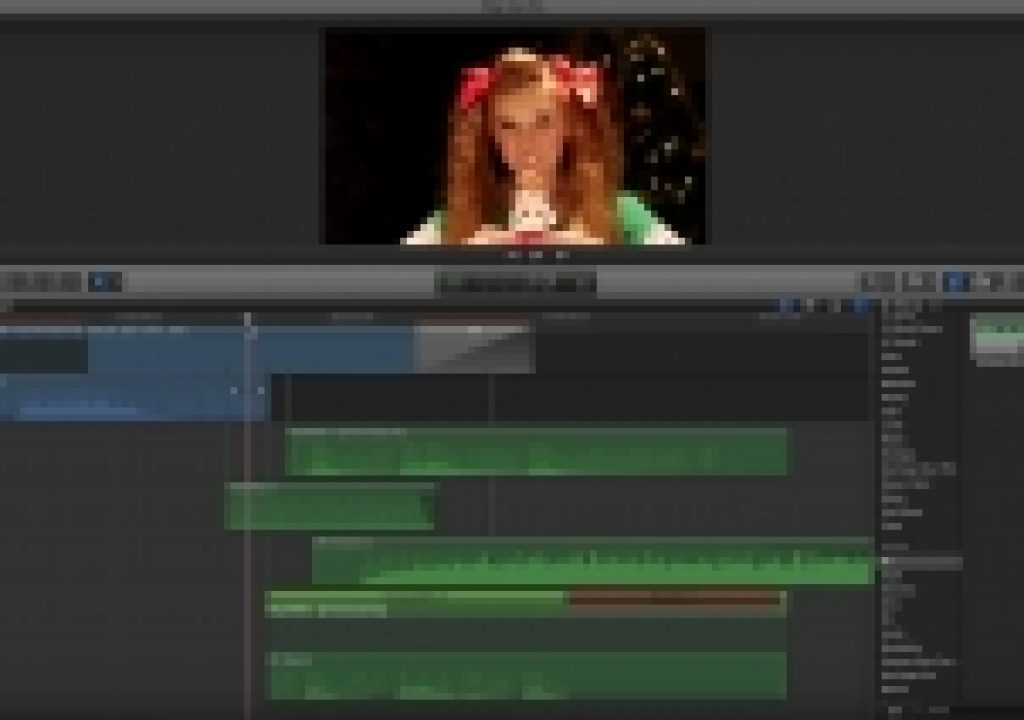
This week on MacBreak Studio, Steve Martin from Ripple Training shows us how to create audio “hold frames” to extend audio effects like reverb.
This tip comes to us courtesy of Thomas Grove Carter, a Final Cut Pro X editor based in London who has produced a nice series of videos on how he uses Final Cut.
The problem this tip addresses is a situation in which you want to add an effect to an audio clip and have the effect continue after the end of the clip. The example Steve uses here is applying reverb to an audio clip. Since the clip out point is right after the end of the audio waveform, the reverb effect gets cut off abruptly instead of trailing off slowly.
To address this, the first step is to isolate the section of audio, since you can’t apply an audio effect to a range selection – effects are always applied to the entire target clip. One option is to detach the audio from the video and to then blade the target range into a separate clip, but this approach carries the risk of shifting any part of the detached audio out of sync with the video.
A better approach is to first expand the audio components, select the target range (no need to switch tools to do this), copy the range, then press Option-V to paste as a connected clip at the playhead location. Then silence the original range either by trimming it or pulling the level all the way down.
You now have a separate clip of the target audio range to work with.
The trick here is to first extend this audio range before applying your audio effect in order to create a larger “container” for the effect. You can do this by creating a Hold Frame at the end of the clip with Shift-H (as opposed to a freeze from with Option-F, which creates a separate clip).
Now you can apply reverb or any other effect and it will use the full container duration for a smooth tail-off.
If you are interested in working with audio, check out our new Logic Pro tutorials.


