https://www.youtube.com/watch?v=65EfKwzXG8M&feature=em-uploademail
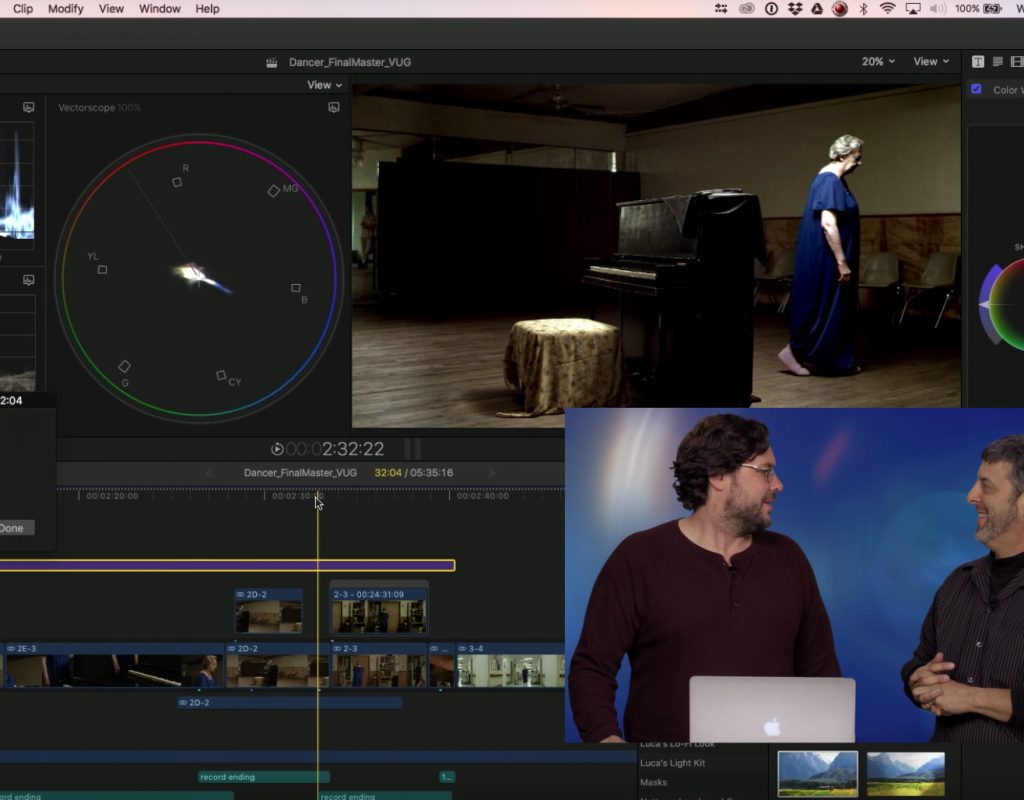
This week on MacBreak Studio, Steve Martin from Ripple Training welcomes very special guest Sam Mestman from Lumaforge. Sam shows us how to use Auditions in Final Cut Pro X to preview different scene options for directors.
Auditions are a powerful, and often overlooked, feature in Final Cut Pro X. Usually they are used to combine multiple clips into a single clip “container”, such as different takes of a shot, or perhaps different options for a b-roll cutaway. But you can also use them to view copies of the same shot with different effects applied.
That is the approach Sam demonstrates today, but with a significant twist. Rather than color correcting individual clips, he applies the correction to an empty title – often referred to as an adjustment layer. This single correction affects all the clips underneath (note that for this process to work correctly he first graded the individual clips to match each other as needed). He can then toggle the correction off and on by simply disabling the title clip (by tapping the V key when it’s selected).
From there, he turns this title into an audition by adding a duplicate of the same clip to the audition with the keyboard shortcut Shift-Command-Y. So he can now toggle between the audition with the correction and the one with out it. But more importantly, he can now color correct this audition with a new look. Note that you can can duplicate a clip in audition without any effects applied, or with all the effects included – and he does both.
Just like the original correction, the new one will affect all the clips underneath so no need to copy-paste – and, he can easily switch between these looks with a couple of keystrokes.
From there, he continues to duplicate but without effects to start with a clean shot, and very quickly creates a series of grades or “looks” that affect the entire scene and that can be switched by holding Control-Option and tapping the right and left arrow keys.
Check it all out above – and get your Final Cut Pro X mojo on with our Warp Speed Editing tutorial!

