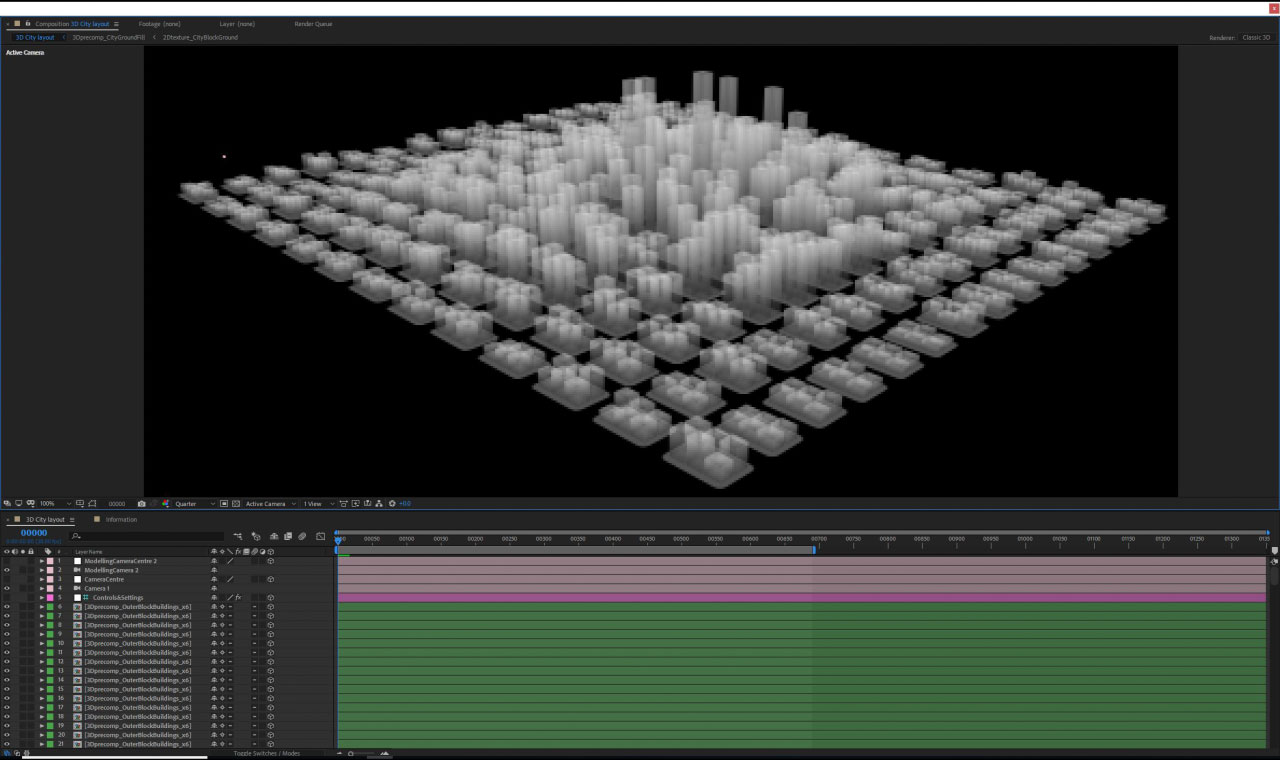
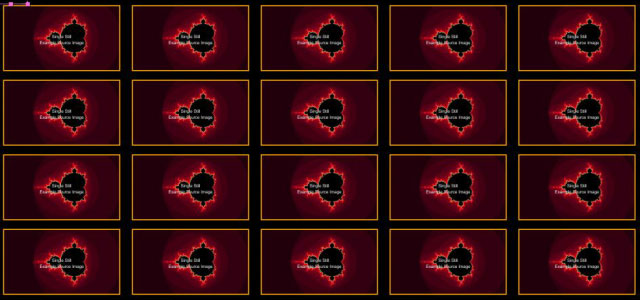
This article will explain how to automatically layout images in a grid, using expression sliders in After Effects. In the last After Effects project diary, I demonstrated how a simple 2D automatic grid project I made in 2005 eventually lead to the creation of a 3D city entirely inside After Effects, comprised of over 18,000 solids. Here I will explain the expressions involved, and also include a downloadable After Effects project for your own experimentation. The download includes both a simple 2D grid layout project (the subject of this article) and also a reduced version of the city project.

Automatic to the pixels
I’ve previously published an article devoted to making stuff animate automatically in After Effects, but although I briefly mention laying out layers in grids I don’t go into much detail. If you want the whole backstory then you can watch the video here, otherwise there’s only a few simple things to know before we dive into the expressions.
The goal here is to have a bunch of layers in After Effects automatically align themselves into a grid, so we can adjust things like size and spacing of all layers simultaneously. The project that you can download below demonstrates the various stages of development, so you can step through each project and see how each one is slightly more sophisticated than the last. While the project is hopefully useful, it’s not exactly complicated so I’ll just highlight a few notable features.

Looking up the Index
When we want After Effects layers to animate automatically – in this case to arrange themselves into a grid – we need our expression to calculate a different result for each layer. In other words, our expression needs to know that each layer is different or else all the layers will end up in exactly the same position. The simple method is to use the layer number – this is what makes each layer unique.
The catch is that we often have other layers in a composition that aren’t part of our automatic animation. We might have cameras, adjustment layers, text, backgrounds, and so on that we don’t want to be animating automatically. When our expression calculates each layer’s number, it needs to take into account that there might be other layers in the composition as well that aren’t part of the grid.
The simplest way to address this problem is to bake an offset into the expression. Let’s assume that at the top of our composition we have a camera, a light, a text layer and an adjustment layer. The first layer we want to arrange into a grid is layer number 5. We use the “index” function to return the layer number, like this:
ln=index; //ln = layer number //
Because this will give us a value of 5, not 1, we can bake in an offset of 4, to take into account the 4 other layers at the top of the composition:
ln=index; //ln = layer number //
ln=ln-4;
This will work as long as we don’t add any more layers. The problem with this approach is that as soon as we add more layers we have to re-type our expression again. And when we’re working in After Effects it’s pretty normal to add or delete layers all the time! So the better approach would be to have a single overall slider that we can adjust for the layer number offset value. We can create a null object that will hold all of our controls and settings for the project, and every layer can look at the same null to read the settings. This is where we can add all of the controls (the controls are “expression controls”, found in the effects menu) for laying out our grid.
While we could add a slider and set the value accordingly, the problem is that we still need to manually change the slider whenever we add or delete layers. A more elegant solution would automatically adjust itself every time we change the layers in our comp. We can do this by using a layer control instead of a slider, which allows us to select a layer in the composition. Once we’ve selected the first layer we want to automatically animate, the same layer will always be selected even when other layers are added or deleted from the composition. We can read the layer number of the selected layer, and use it as the offset value without having to manually adjust it again.
Spaced out
Once we know the layer number, it’s pretty simple stuff to add an expression slider with a control for layer spacing. Just multiplying the layer number by the spacing value will give us a bunch of layers that we can adjust simultaneosuly.
By adding a point control expression we can move the starting point of all our layers around together. The trick to know here is that we have applied the point control to a null layer, and by default the null will be added at the centre of the composition. While the expressions will work, the visual marker for the point control (ie the bit you can click and drag around in the composition window) won’t line up with the numbers unless you move the null to 0,0. But once we’ve moved our null to the top corner of the comp – 0,0 – we can drag our entire grid around together.
//Get starting position //
pos=thisComp.layer("Controls&Settings").effect("StartingPosition")("Point");
x=pos[0];y=pos[1];
Rows & Columns
Once we know how to calculate each layer’s unique layer number, the next step is to convert that number into rows and columns. We need to manually specify how many columns we want our grid to have, however the layers will continue to wrap around as long as we add/duplicate them, so there’s no need to manually specific a value for rows.
The column values (ie the horizontal position) is calculated using the modulo function, which has been the subject of many previous tutorials (here, here, and here). In this case, it’s pretty easy to understand – just plug in the layer number, the number of columns, and we get a value for which column the layer is in:
columns=5
ln=index;
thisColumn=ln%columns;
The very first column will have a value of zero, so we just multiply the column value by a horizontal spacing value and we have the x position of the layer.
Although we don’t need to manually specify how many rows we want – because the layers will just keep aranging themselves as long as we add them – we do need to know which row the layer is in so we can calcualte the vertical position. This is as simple as dividing the layer number by the number of columns, and rounding down to the nearest whole number:
row=ln/columns;
row=Math.floor(row);
Shuffling
With a bit of shuffling around, we can adapt our basic grid expression to work with 3D layers, and to arrange our grid along a Z-axis instead of the y-axis. This was the basis for the 3D city project that ended up using about 18,000 layers. The previous article explains the 3D city in much more depth, so there’s not much point repeating it here.
Get it here
You can download an After Effects project here that includes the simple 2D grid layout project, as well as a reduced version of the 3D city project that was the subject of my previous Project Diary. The automatic grid project that I posted in 2005 proved to be very popular, so hopefully this update will prove to be just as useful. Be warned that the 3D city example is pretty slow!


