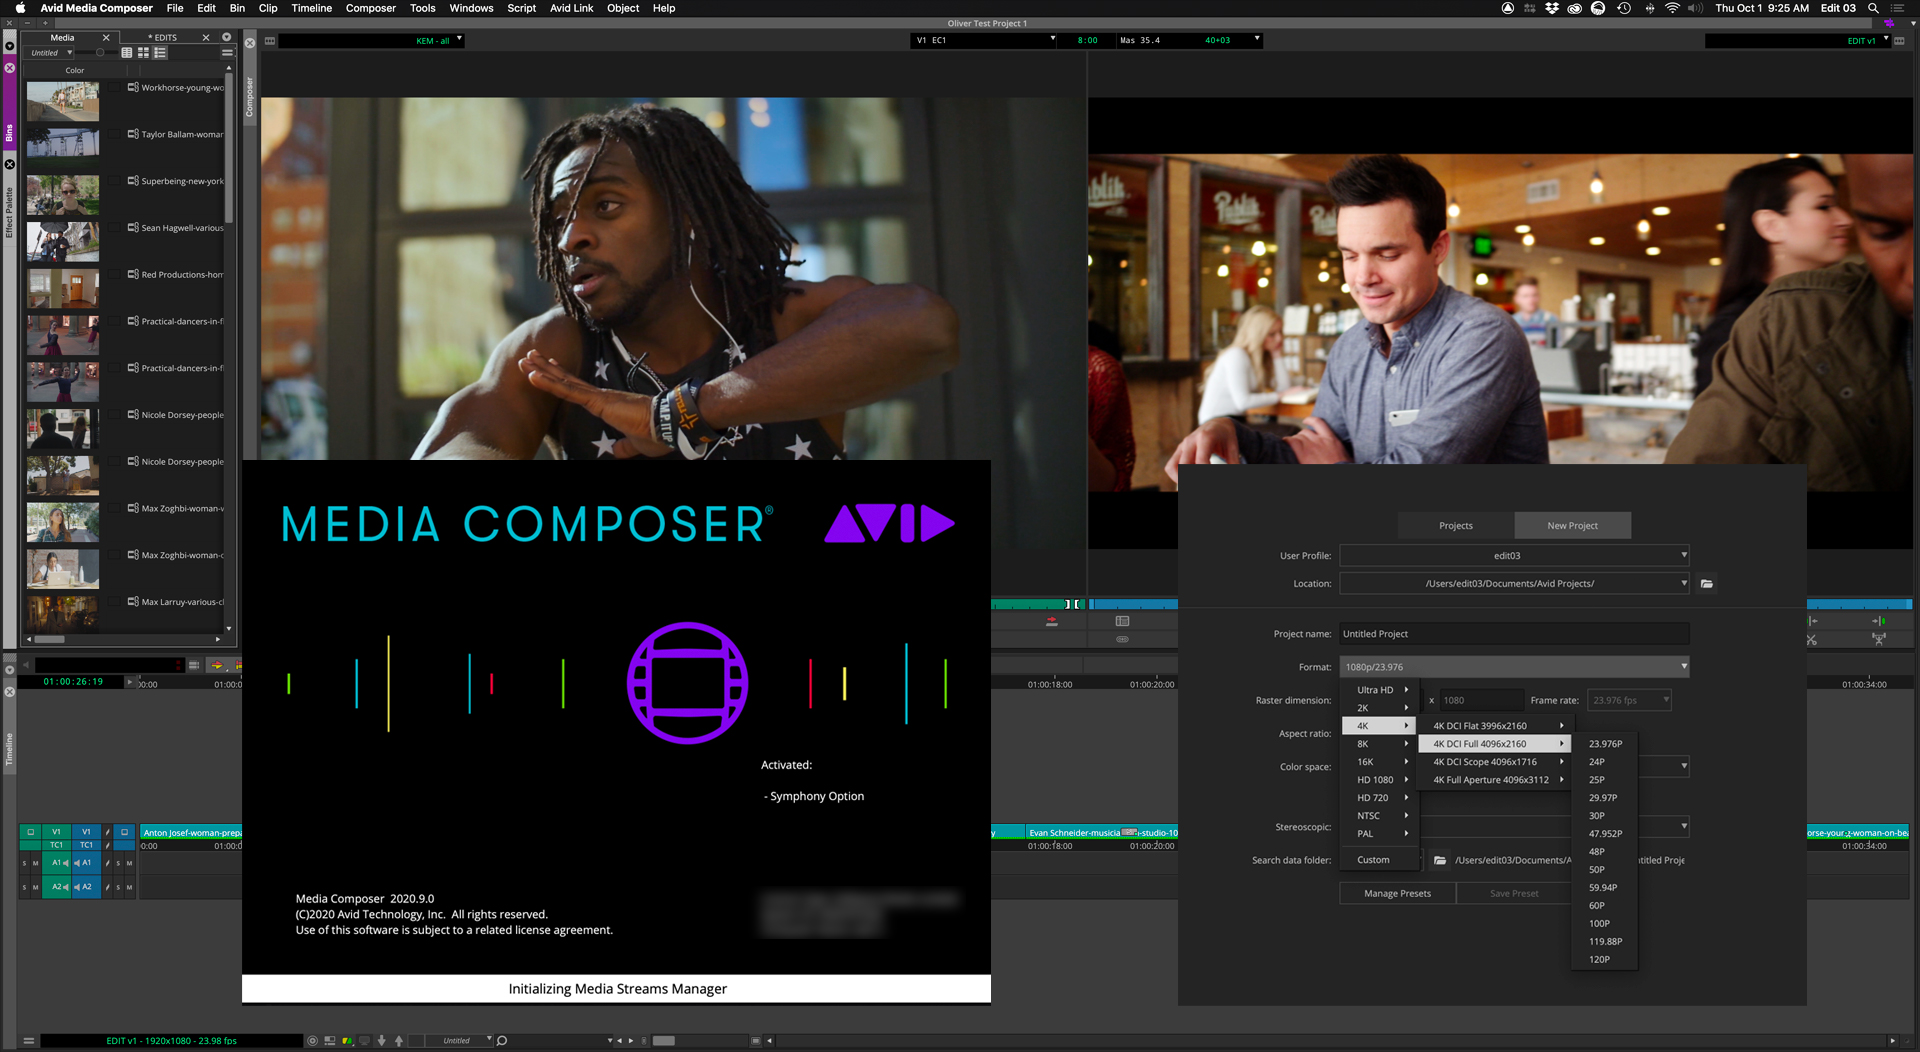
Avid Media Composer has been at the forefront of nonlinear, digital video editing for three decades. While most editors and audio mixers know Avid for Media Composer and Pro Tools, the company has grown considerably in that time. Whether by acquisition or internal development, Avid Technology encompasses such products as storage, live and post mixing consoles, newsroom software, broadcast graphics, asset management, and much more.
In spite of this diverse product line, Media Composer, as well as Pro Tools, continue to be the marquee products that define the brand. Use the term “Avid” and generally people understand that you are talking about Media Composer editing software. If you are an active Media Composer editor, then most of this article will be old news. But if you are new to Media Composer, read on.
The Media Composer heritage
Despite challenges from other NLEs, such as Final Cut Pro, Final Cut Pro X, Premiere Pro, and DaVinci Resolve, Media Composer continues to be the dominant NLE for television and feature film post around the world. Even in smaller broadcast markets and social media, it’s not a given that the other options are exclusively used. If you are new to the industry and intend to work in one of the major international media hubs, then knowing the Media Composer application is helpful and often required.

Media Composer software comes in four versions, ranging from Media Composer | First (free) up to Media Composer Enterprise. Most freelance editors will opt for one of the two middle options: Media Composer or Media Composer | Ultimate. Licenses may be “rented” via a subscription or bought as a perpetual license. The latter includes a year of support with a renewal at the end of that year. If you opt not to renew support, then your Media Composer software will be frozen at the last valid version issued within that year; but it will continue to work. No active internet connection or periodic sign-in is required to use Media Composer, so you could be off the grid for months and the software works just fine.
A Media Composer installation is full-featured, including effects, audio plug-ins, and background rendering software. Depending on the version, you may also receive loyalty offers (free) for additional software from third-party vendors, like Boris FX, NewBlueFX, iZotope, and Accusonus.
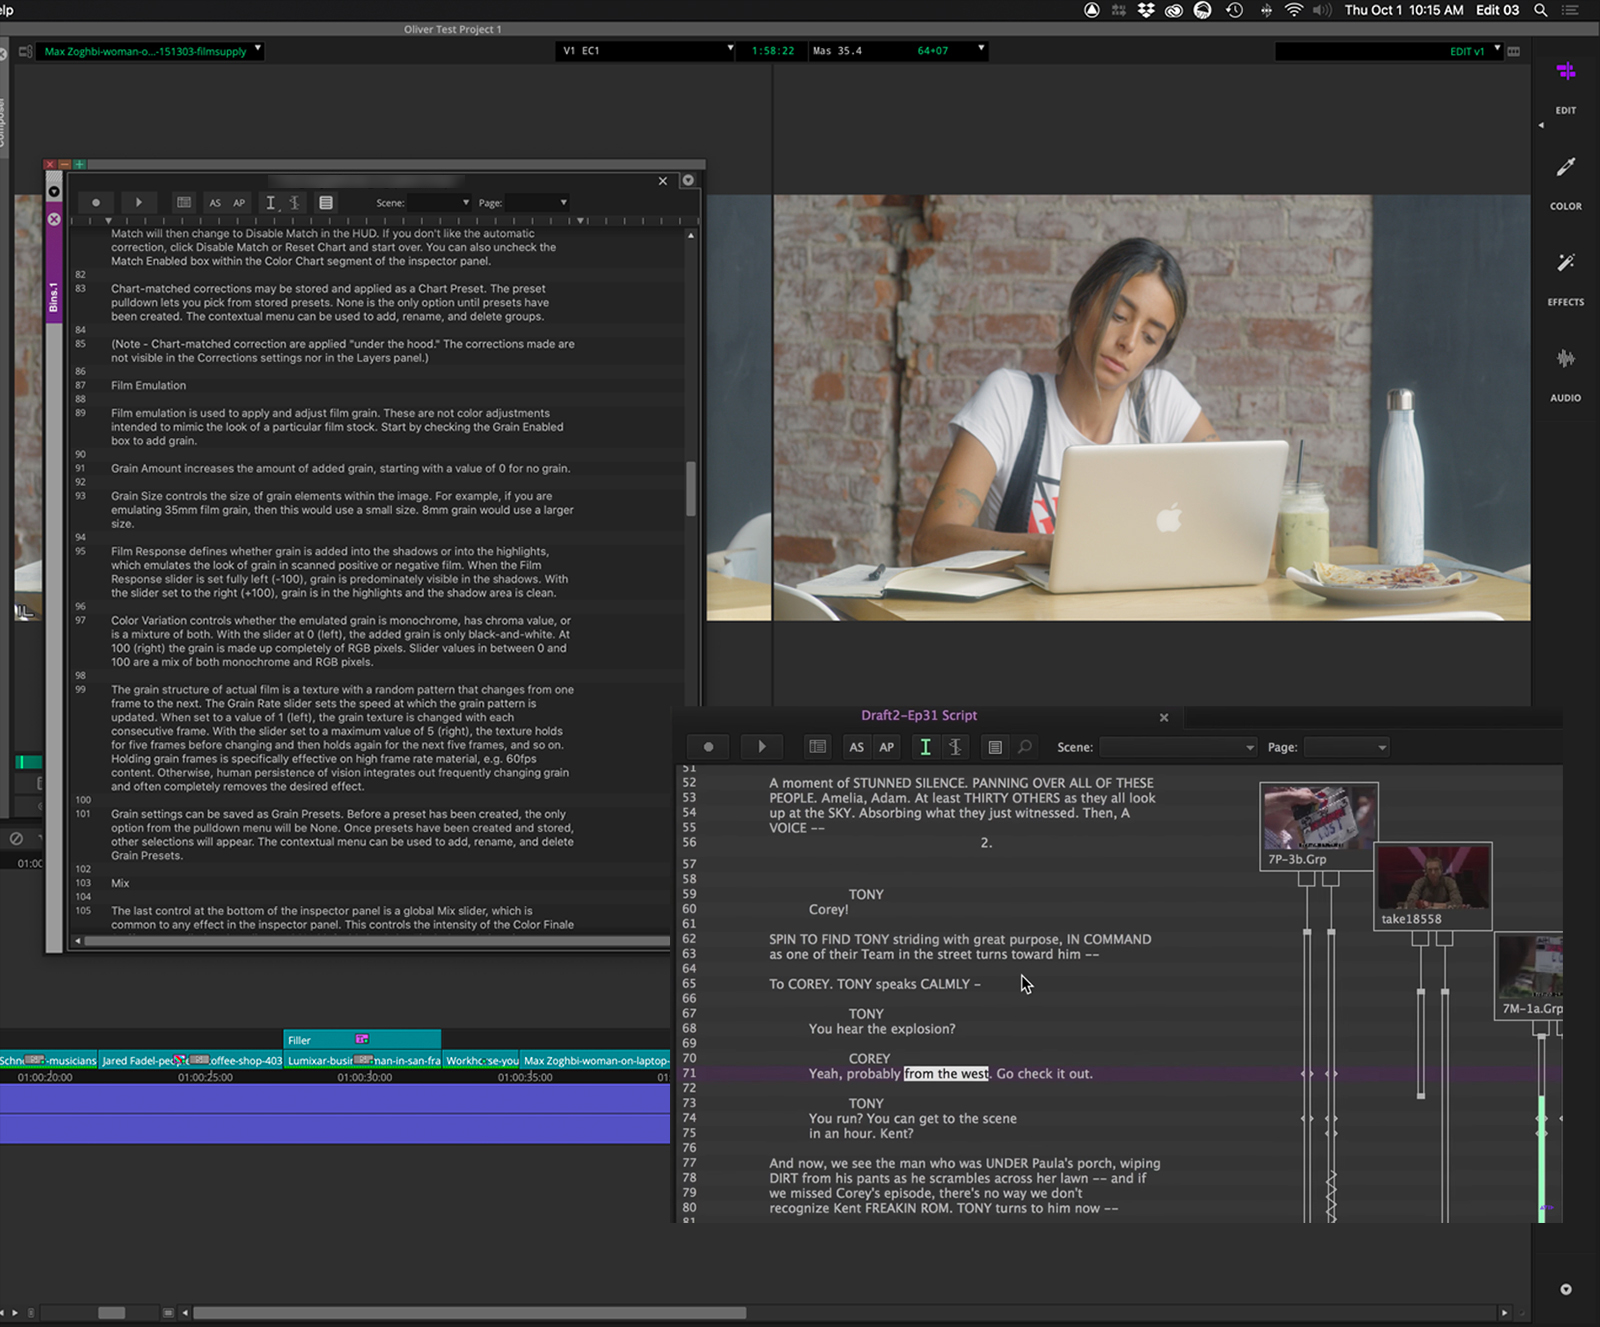
Avid only offers three add-on options for Media Composer itself: ScriptSync, PhraseFind, and Symphony. Media Composer already incorporates manual script-based editing. Plain text script documents can be imported into a special bin and clips aligned to sentences and paragraphs in that script. Synchronization has to be done manually to use this feature. The ScriptSync option saves time – automating the process by phonetically analyzing and syncing clips to the script text. Click on a script line and any corresponding takes can be played starting from that point within the scene.
The PhraseFind option is a phonetic search engine, based on the same technology as ScriptSync. It’s ideal for documentary and reality editors. PhraseFind automatically indexes the phonetics of the audio for your clips. Search by a word or phrase and all matching instances will appear, regardless of actual spelling. You can dial in the sensitivity to find only the most accurate hits, or broader in cases where dialogue is hard to hear or heavily accented.
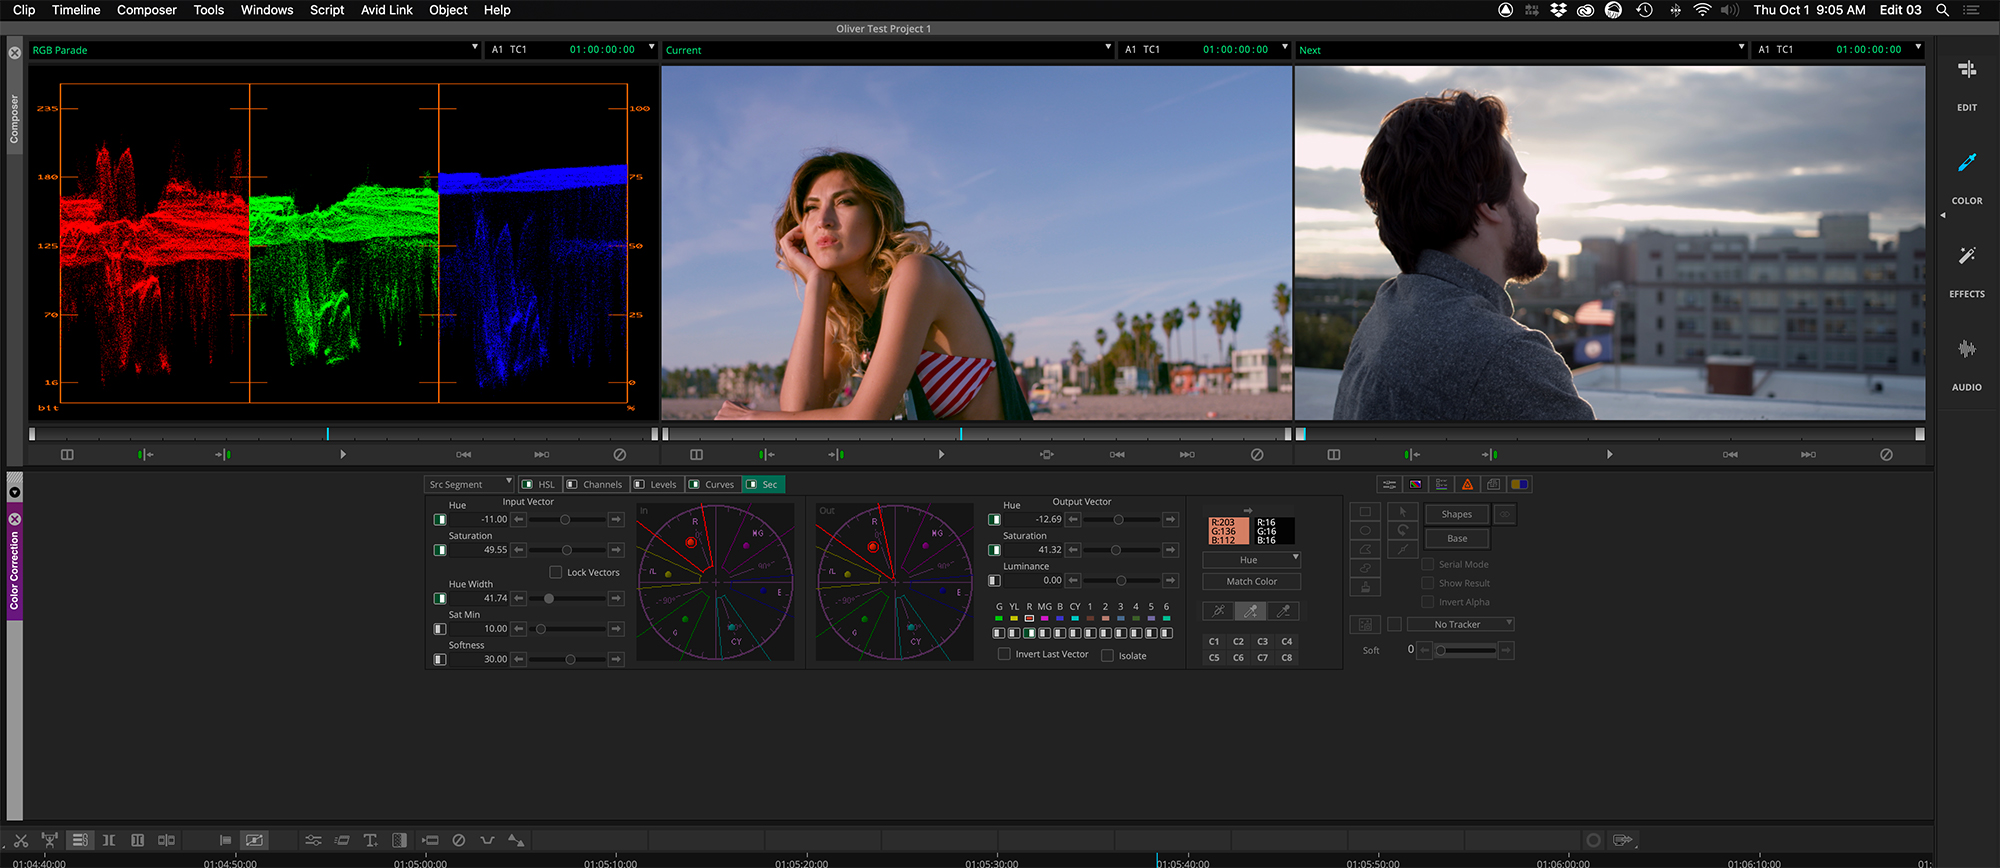
Media Composer includes good color correction, featuring wheels and curves. In fact, Avid had this long before other NLEs. The Symphony option expands the internal color correction with more capabilities, as well as a full color correction workflow. Grade clips by source, timeline, or both. Add vector-based secondary color correction and more. Symphony is not as powerful as Baselight or Resolve, but you avoid any issues associated with roundtrips to other applications. That’s why it dominates markets where turnaround time is critical, like finishing for non-scripted (“reality”) TV shows. A sequence from a Symphony-equipped Media Composer system can still be opened on another Media Composer workstation that does not have the Symphony option. Clips play fine (no “media offline” or “missing plug-in” screen); however, the editor cannot access or alter any of the color correction settings specific to Symphony.
Overhauling Media Composer
When Jeff Rosica took over as CEO of Avid Technology in 2018, the company embraced an effort to modernize Media Composer. Needless to say, that’s a challenge. Any workflow or user interface changes affect familiarity and muscle memory. This is made tougher in an application with a loyal, influential, and vocal customer base. An additional complication for every software developer is keeping up with changes to the underlying operating system. Changes from Windows 7 to Windows 10, or from macOS High Sierra to Mojave to Catalina, all add their own peculiar speed bumps to the development roadmap.
For example, macOS Catalina is Apple’s first, full 64-bit operating system. Apple dropped any 32-bit QuickTime library components that were used by developers to support certain codecs. Of course, this change impacted Media Composer. Without Apple rewriting 64-bit versions of these legacy components, the alternative is for a developer to add their own support back into the application, which Avid has had to do. Unfortunately, this introduces some inevitable media compatibility issues between older and newer versions of Media Composer. Avid is not alone in this case.
Nevertheless, Media Composer changes aren’t just cosmetic, but also involve many “under the hood” improvements. These include a 32-bit float color pipeline, support for ACES projects, HDR support, dealing with new camera raw codecs, and the ability to read and write ProRes media on both macOS and Windows systems.
Avid Media Composer 2020.9
Avid bases its product version numbers by the year and month of release. Media Composer 2020.9 – the most recent version as of this writing – was just released. The version prior to that was Media Composer 2020.8, released in August. But before that it was 2020.6 from June, skipping .7. (Some of the features that I will describe were introduced in earlier versions and are not necessarily new in 2020.9.)
Media Composer 2020.9 is fully compatible with macOS Catalina. Due to the need to shift to a 64-bit architecture, the AMA framework – used to access media using non-Avid codecs – has been revamped as UME (Universal Media Engine). Also the legacy Title Tool has been replaced with the 64-bit Titler+.
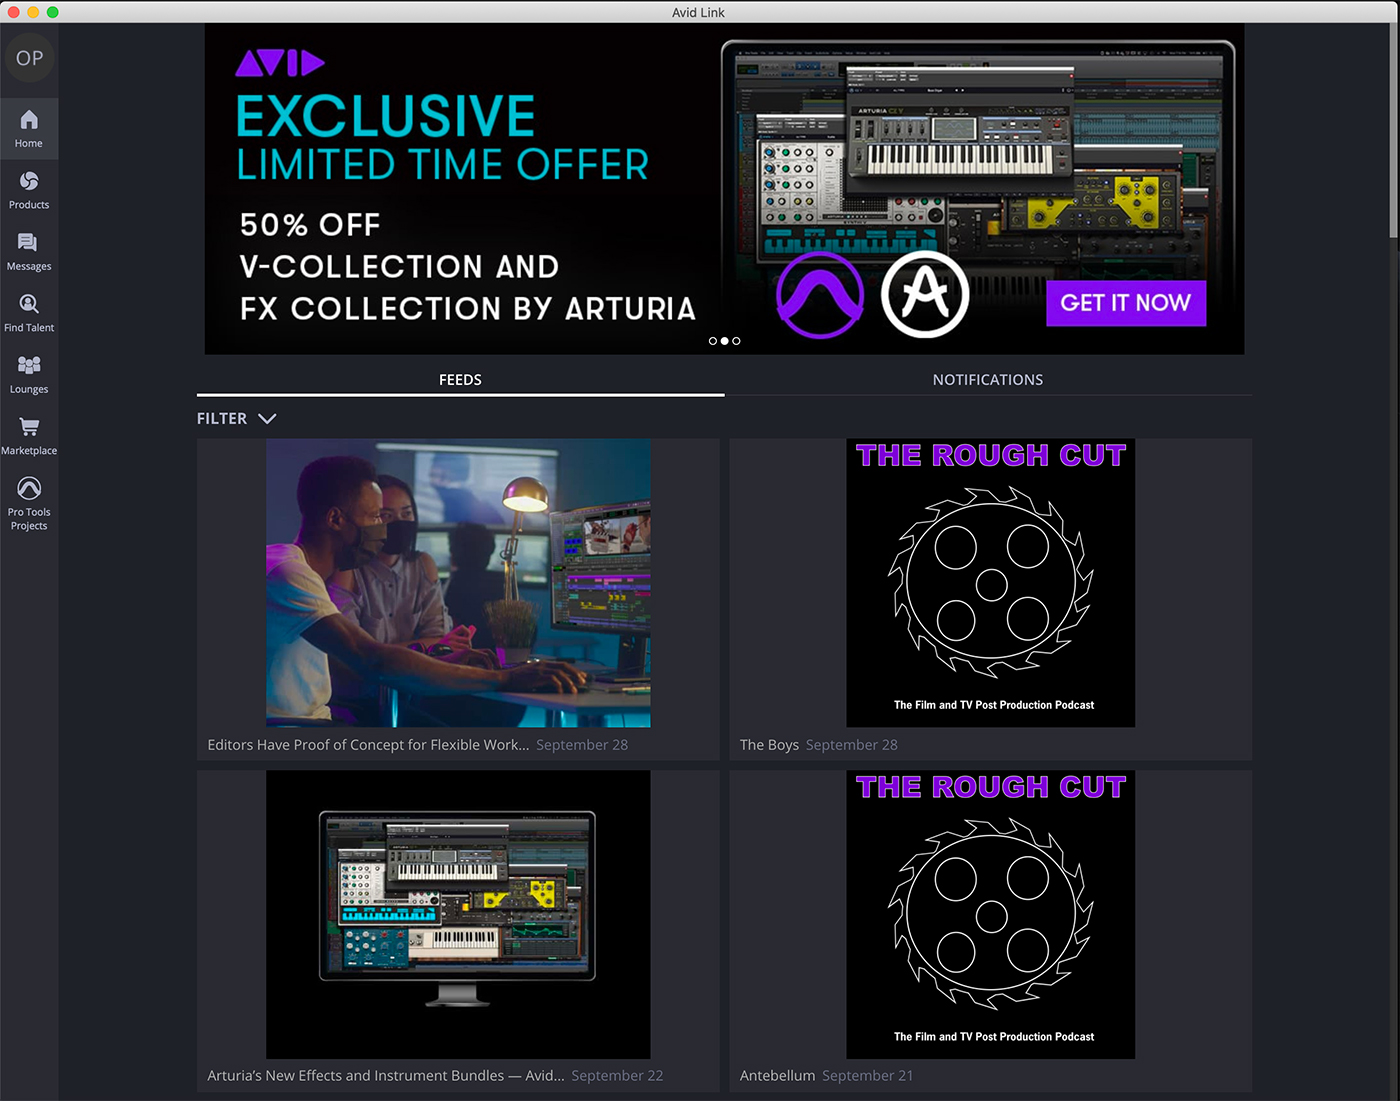
If you are a new Media Composer user or moving to a new computer, then several applications will be installed. In addition to the Media Composer application and its built-in plug-ins and codecs, the installer will add Avid Link to your computer. This is a software management tool to access your Avid account, update software, activate/deactivate licenses, search a marketplace, and interact with other users via a built-in social component.
The biggest difference for Premiere Pro, Resolve, or Final Cut Pro X users who are new to Media Composer is understanding the Avid approach to media. Yes, you can link to any compatible codec, add it to a bin, and edit directly with it – just like the others. But Avid is designed for and works best with optimized media.
This means transcoding the linked media to MXF-wrapped Avid DNxHD or HR media. This media can be OPatom (audio and video as separate files) or OP1a (interleaved audio/video files). It’s stored in an Avid MediaFiles folder located at the root level of the designated media volume. That’s essentially the exact same process adopted by Final Cut Pro X when media is transcoded and placed inside an FCPX Library file. The process for each enables a bullet-proof way to move project files and media around without breaking links to that media.
The second difference is that each Avid bin within the application is also a dedicated data file stored within the project folder on your hard drive. Bins can be individually locked (under application control). This facilitates multiple editors working in a collaborative environment. Adobe adopted an analog of this method in their new Adobe Productions feature.
The new user interface
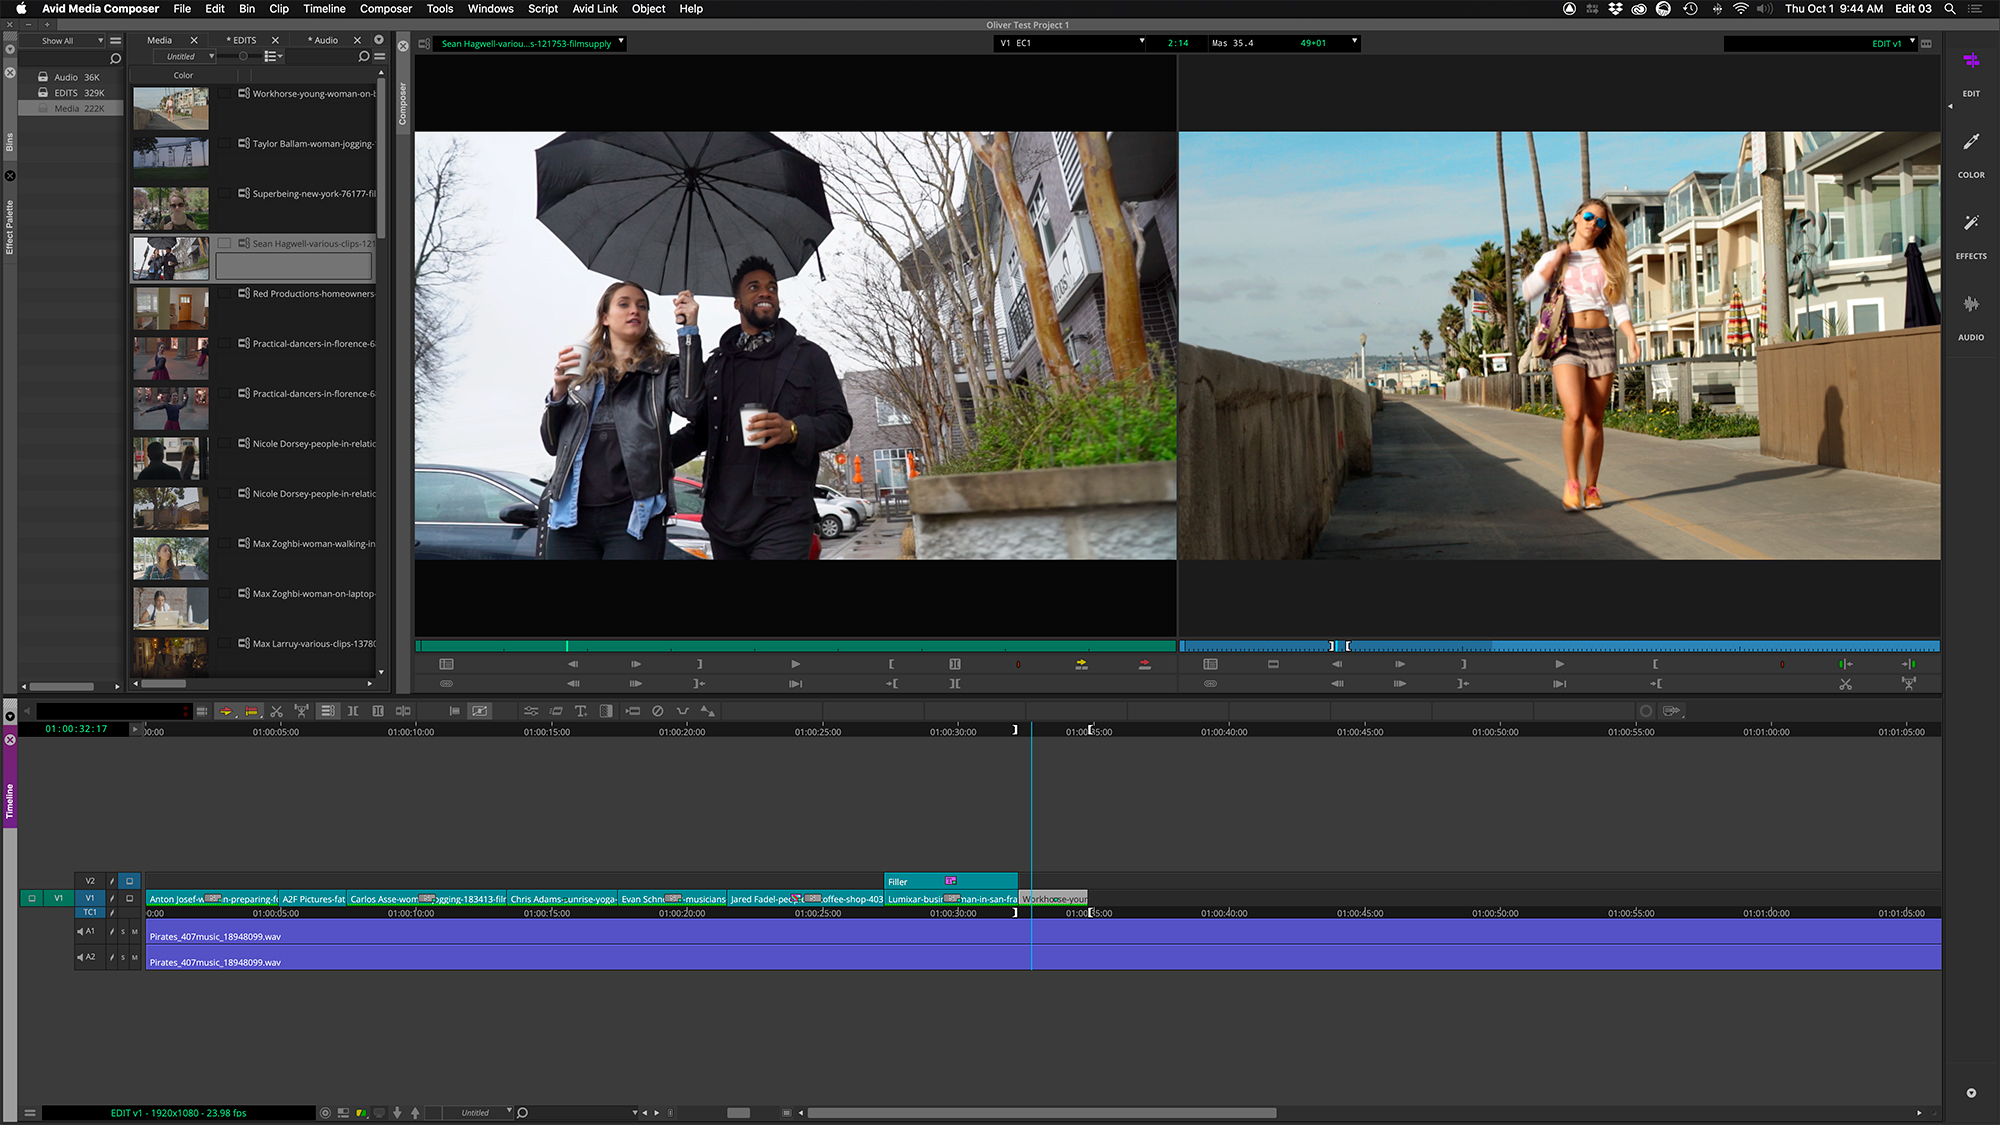
Avid has always offered a highly customizable user interface. The new design, introduced in 2019, features bins, windows, and panels that can be docked, tabbed, or floated. Default workspaces have been streamlined, but you can also create your own. A unique feature compared to the competing NLEs is that open panes can be slid left or right to move them off of the active screen. They aren’t actually closed, but compacted into the side of the screen. Simply slide the edge inward again to reveal that pane.
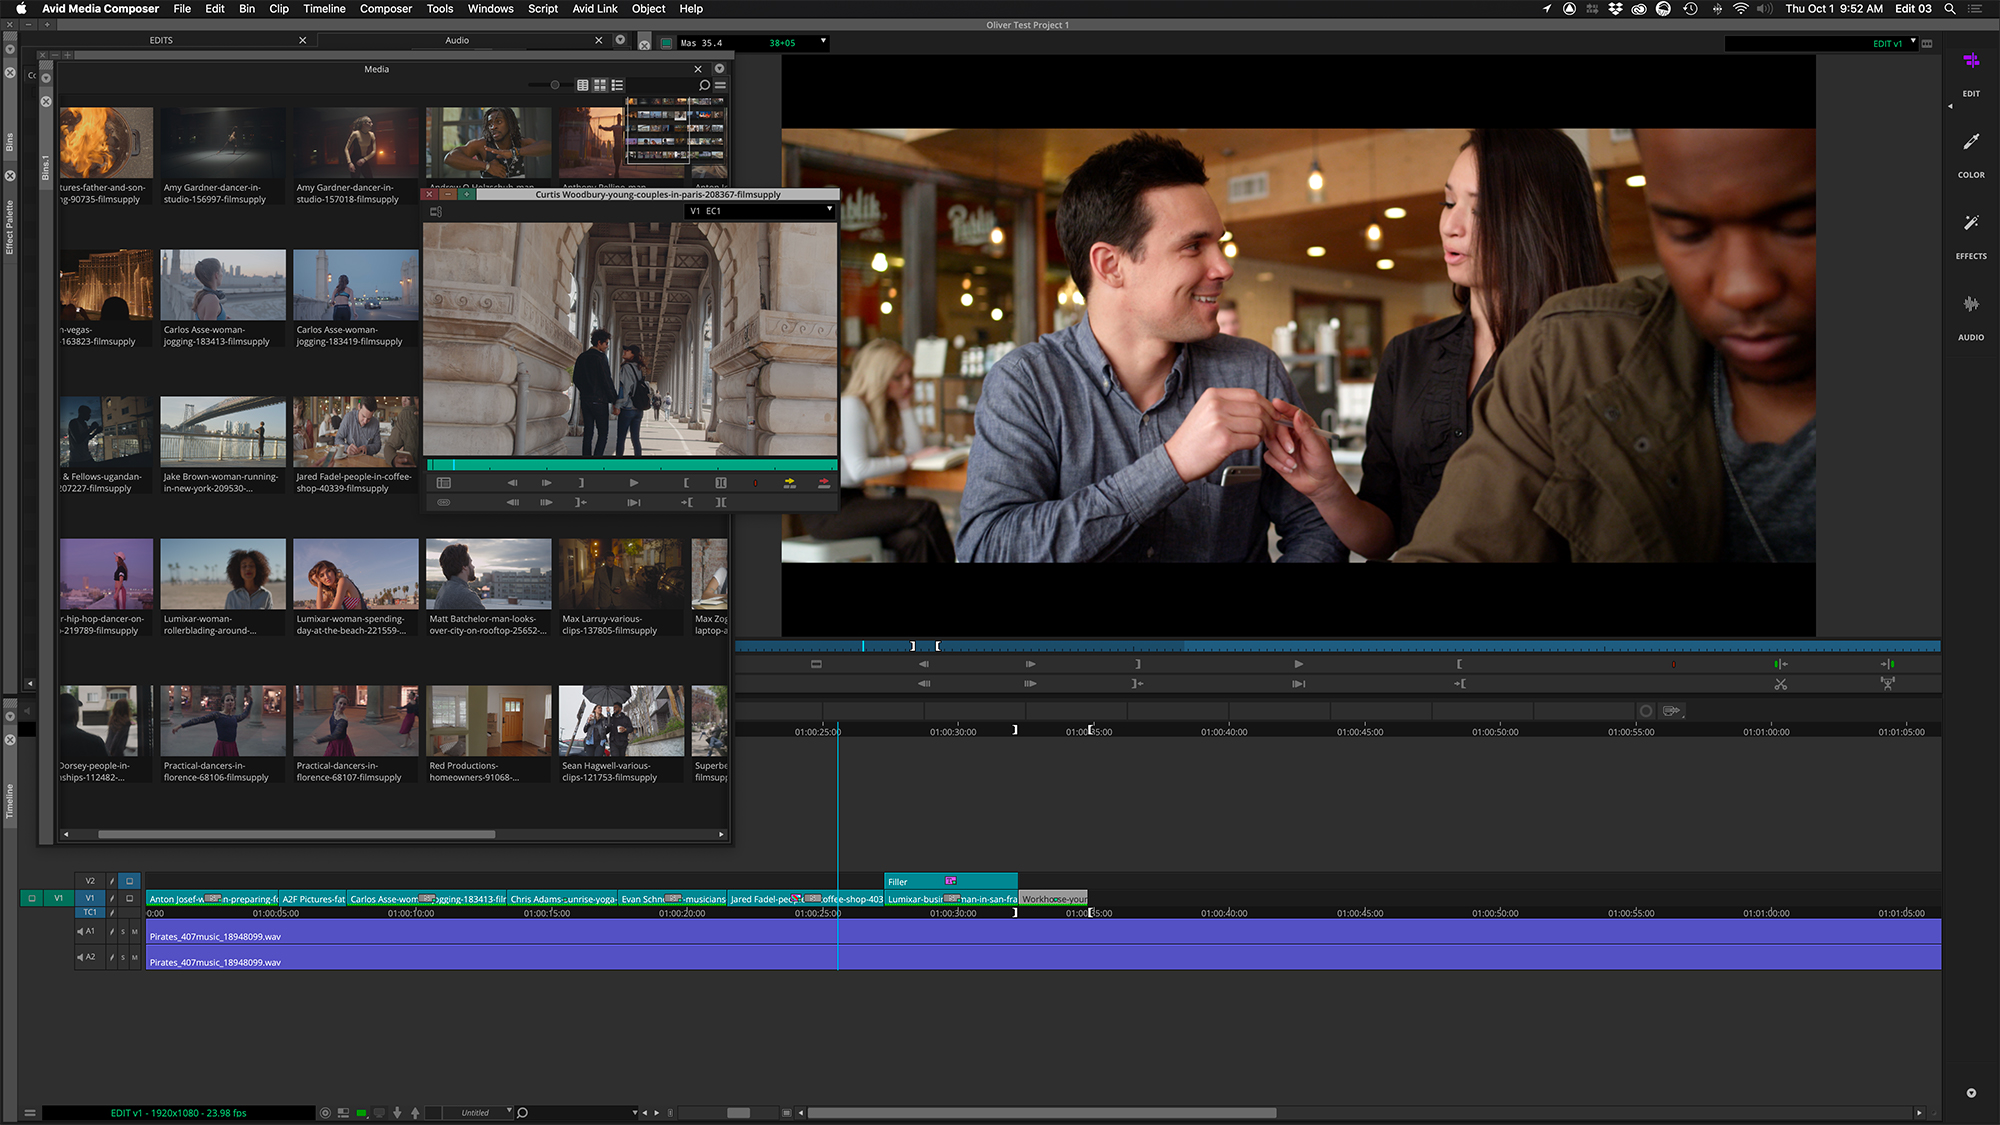
One key to Avid’s success is that the keyboard layout, default workspaces, and timeline interactions tend to be better focused on the task of editing. You can get more done with fewer keystrokes. In all fairness, Final Cut Pro X also shares some of this, if you can get comfortable with their very different approach. My point is that the new Media Composer workspaces cover most of what I need and I don’t feel the need for a bunch of custom layouts. I also don’t feel the need to remap more levels of custom keyboard commands than what’s already there.
Media Composer for Premiere and Final Cut editors
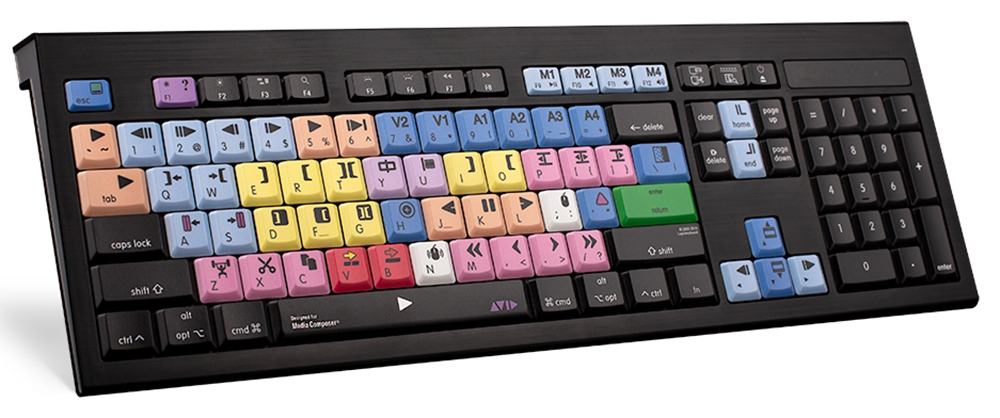
My first recommendation is to invest in a custom Media Composer keyboard from LogicKeyboard or Editors Keys. Media Composer mapping is a bit different than the Final Cut “legacy” mapping that many NLEs offer. It’s worth learning the standard Media Composer layout. A keyboard with custom keycaps will be a big help.
My second recommendation is to learn all about Media Composer’s settings (found under Preferences and Settings). There are a LOT of them, which may seem daunting at first. Once you understand these settings, you can really customize the software just for you.
Getting started
Start by establishing a new project from the projects panel. Projects can be saved to any available drive and do not have to be in a folder at the root level. When you create a new project, you are setting the format for frame size, rate, and color space. All sequences created inside of this project will adhere to these settings. However, other sequences using different formats can be imported into any project.
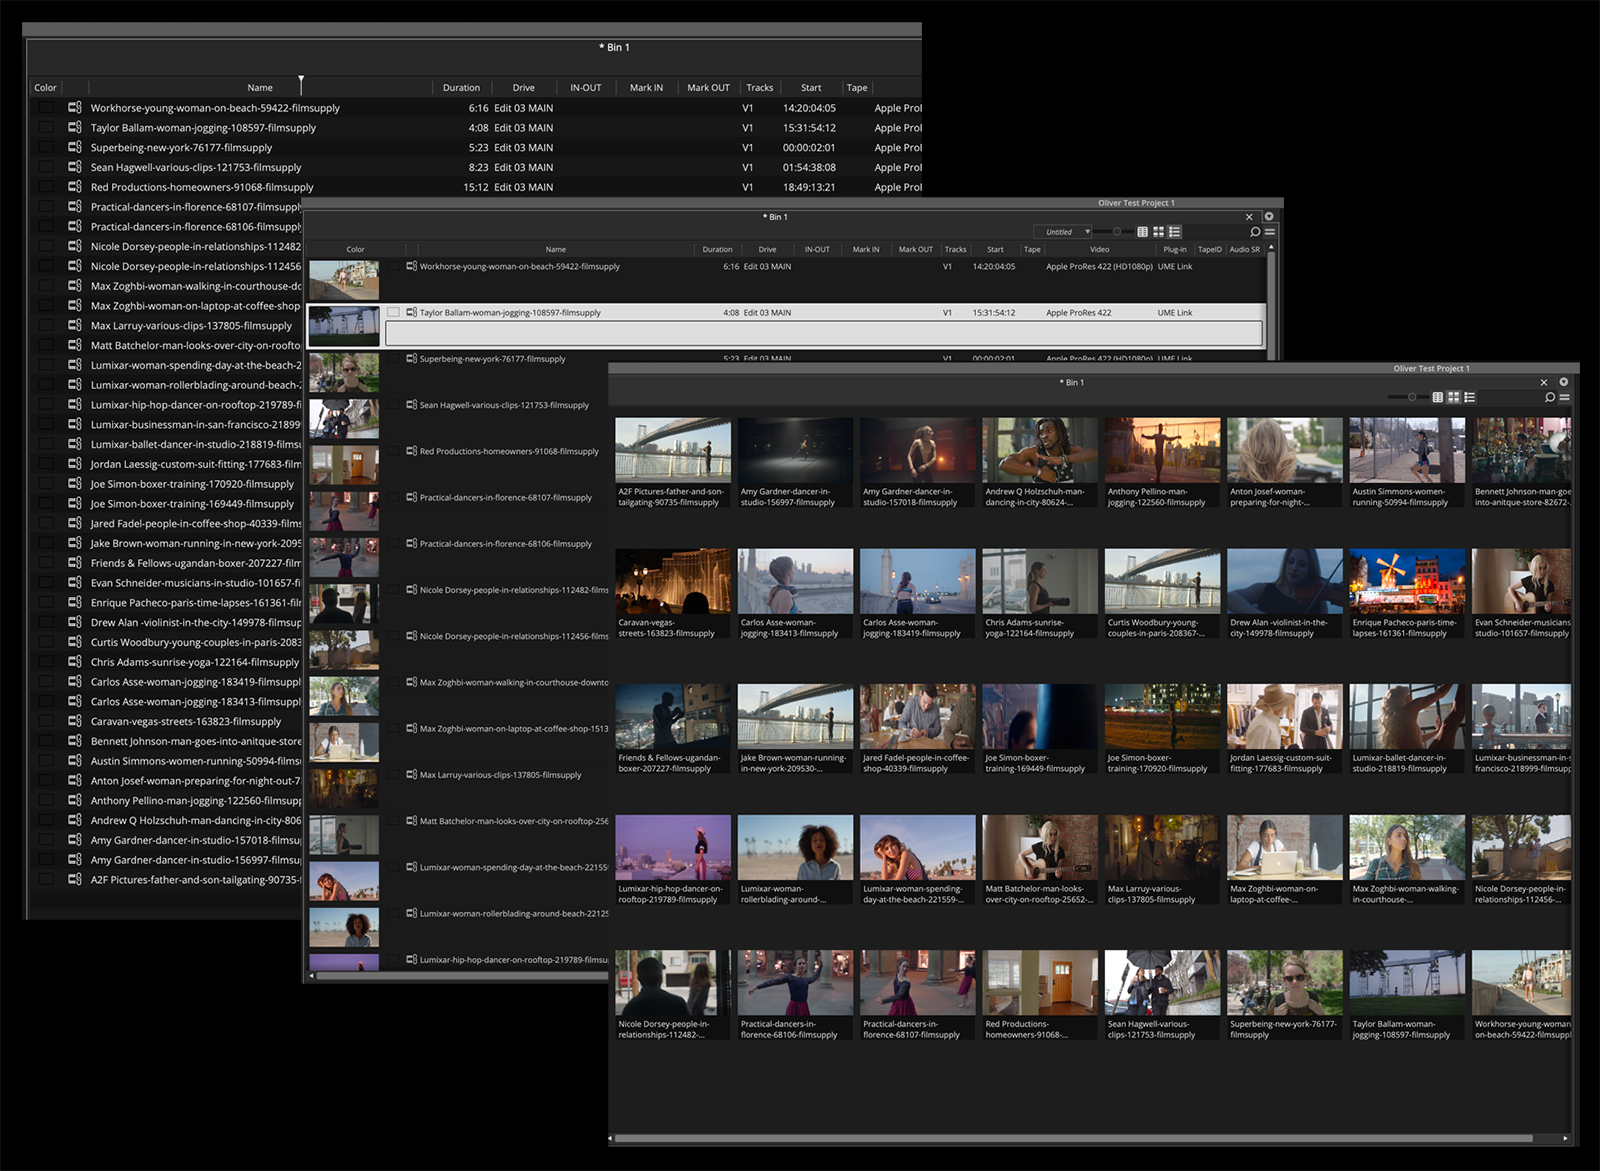
Once you open a project, Media Composer follows a familiar layout of bins, timeline, and source/record windows. There are three normal bin views, plus script-based editing (if you use it): frame, column, and storyboard. In column view, you may create custom columns as needed. Clips can be sorted and filtered based on the criteria you pick. In the frame view, clips can be arranged in a freeform manner, which many film editors really like.
The layout works on single and dual-monitor set-ups. If you have two screens, it’s easy to spread out your bins on one screen in any manner you like. But if you only have one screen, you may want to switch to a single viewer mode, which then displays only the record side. Click a source clip from a bin and it open its own floating window. Mark in/out, make the edit, and close. I wish the viewer would toggle between source and record, but that’s not the case, yet
Sequences
Media Composer does not use stacked or tabbed sequences, but there is a history pulldown for quick access to recent sequences and/or source clips. Drag and load any sequence into the source window and toggle the timeline view between the source or the record side. This enables easy editing of portions from one sequence into another sequence.
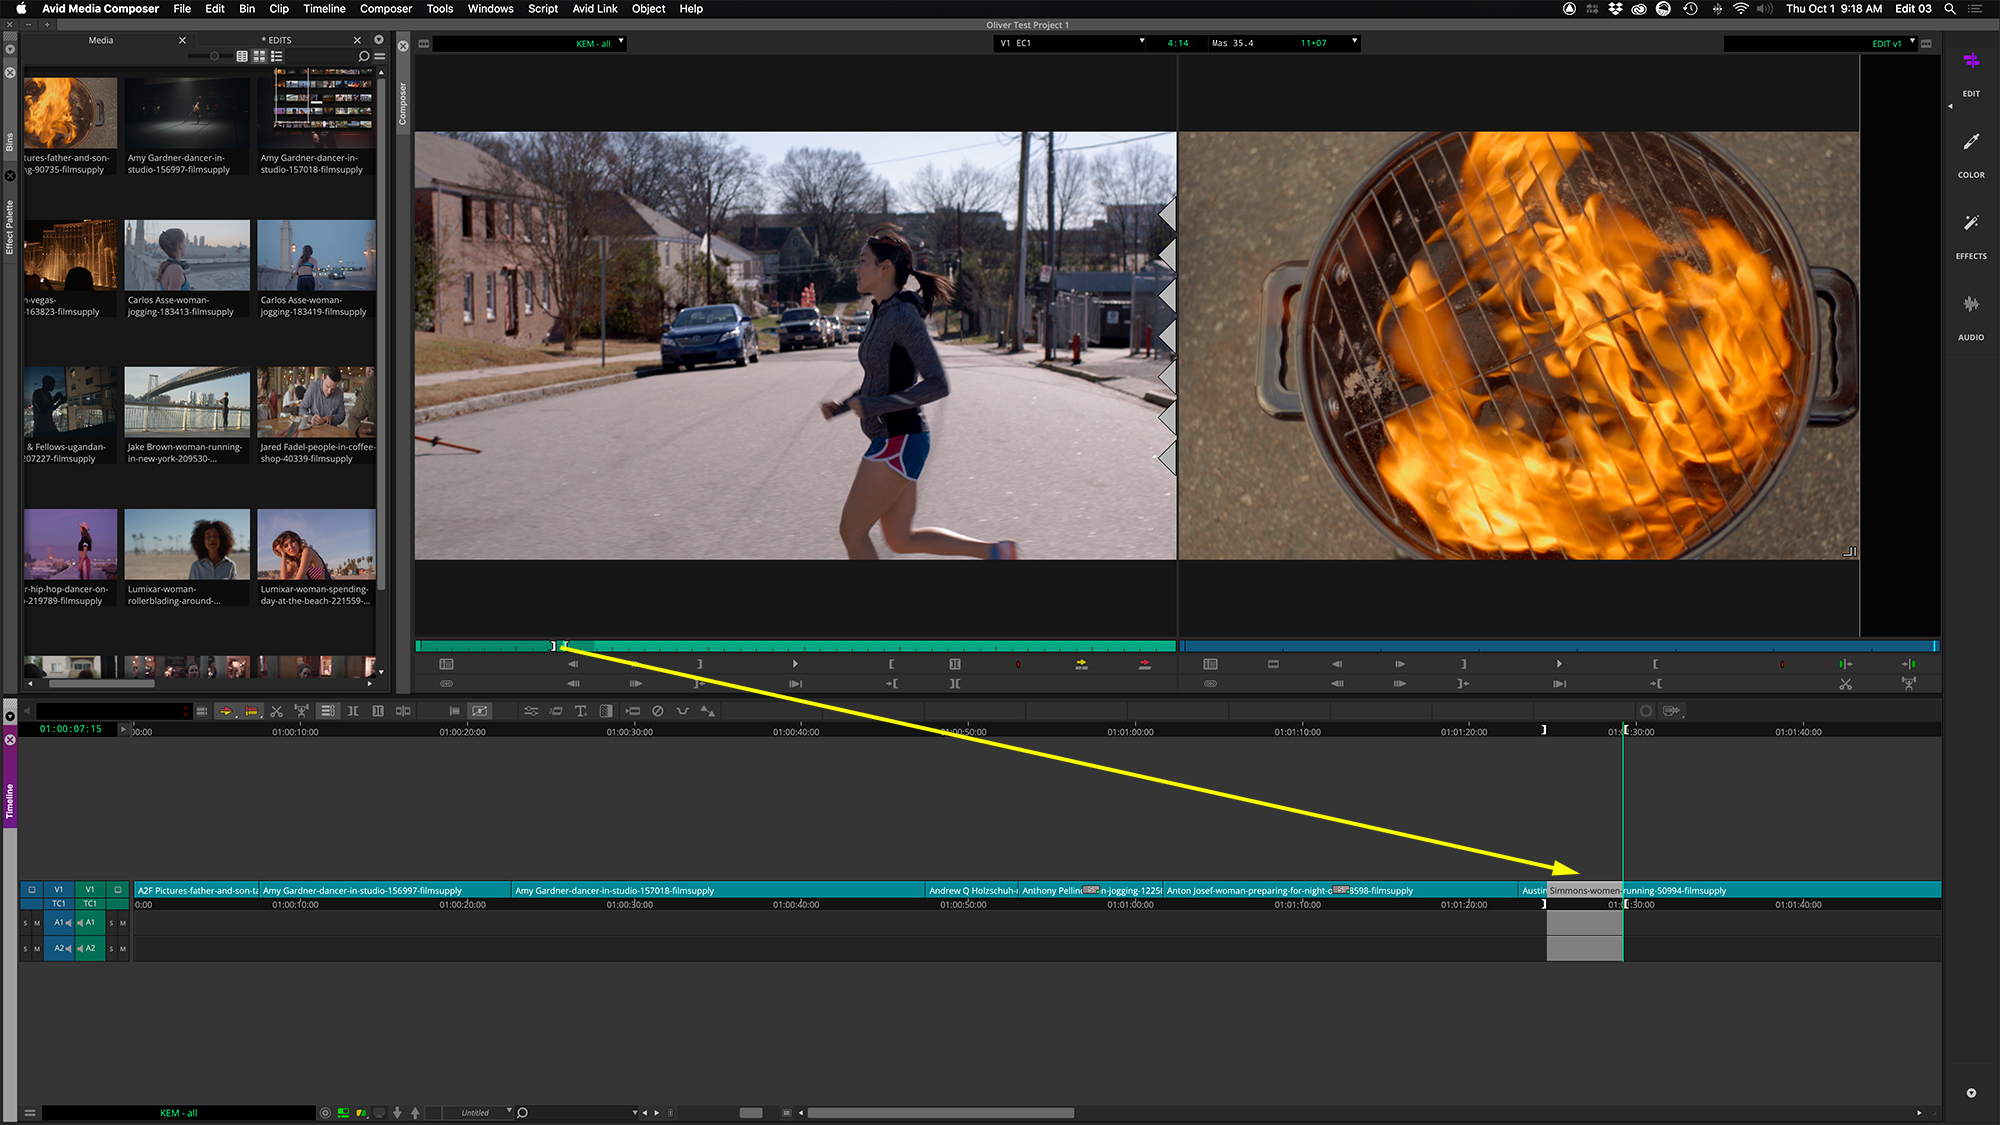
Mono and stereo audio tracks are treated separately on the timeline. If you have a clip with left and right stereo audio on two separate channels (not interleaved), then these will cut to the timeline as two mono tracks with a default pan setting to the middle for each. You’ll need to pan these tracks back to left and right in the timeline. If you have a clip with interleaved, stereo audio, like a music cue, it will be edited to a new interleaved stereo track, with default stereo panning. You can’t mix interleaved stereo and mono content onto the same timeline track.
Effects
Unlike other NLEs, timeline clips are only modified when a specific effect is applied. When clips of a different format than the sequence format are cut to the timeline, a FrameFlex effect is automatically applied for transform and color space changes. There is no persistent Inspector or Effects Control panel. Instead you have to select a clip with an effect applied to it and open the effect mode editor. While this may seem more cumbersome, the advantage is that you won’t inadvertently change the settings of one clip thinking that another has been selected.
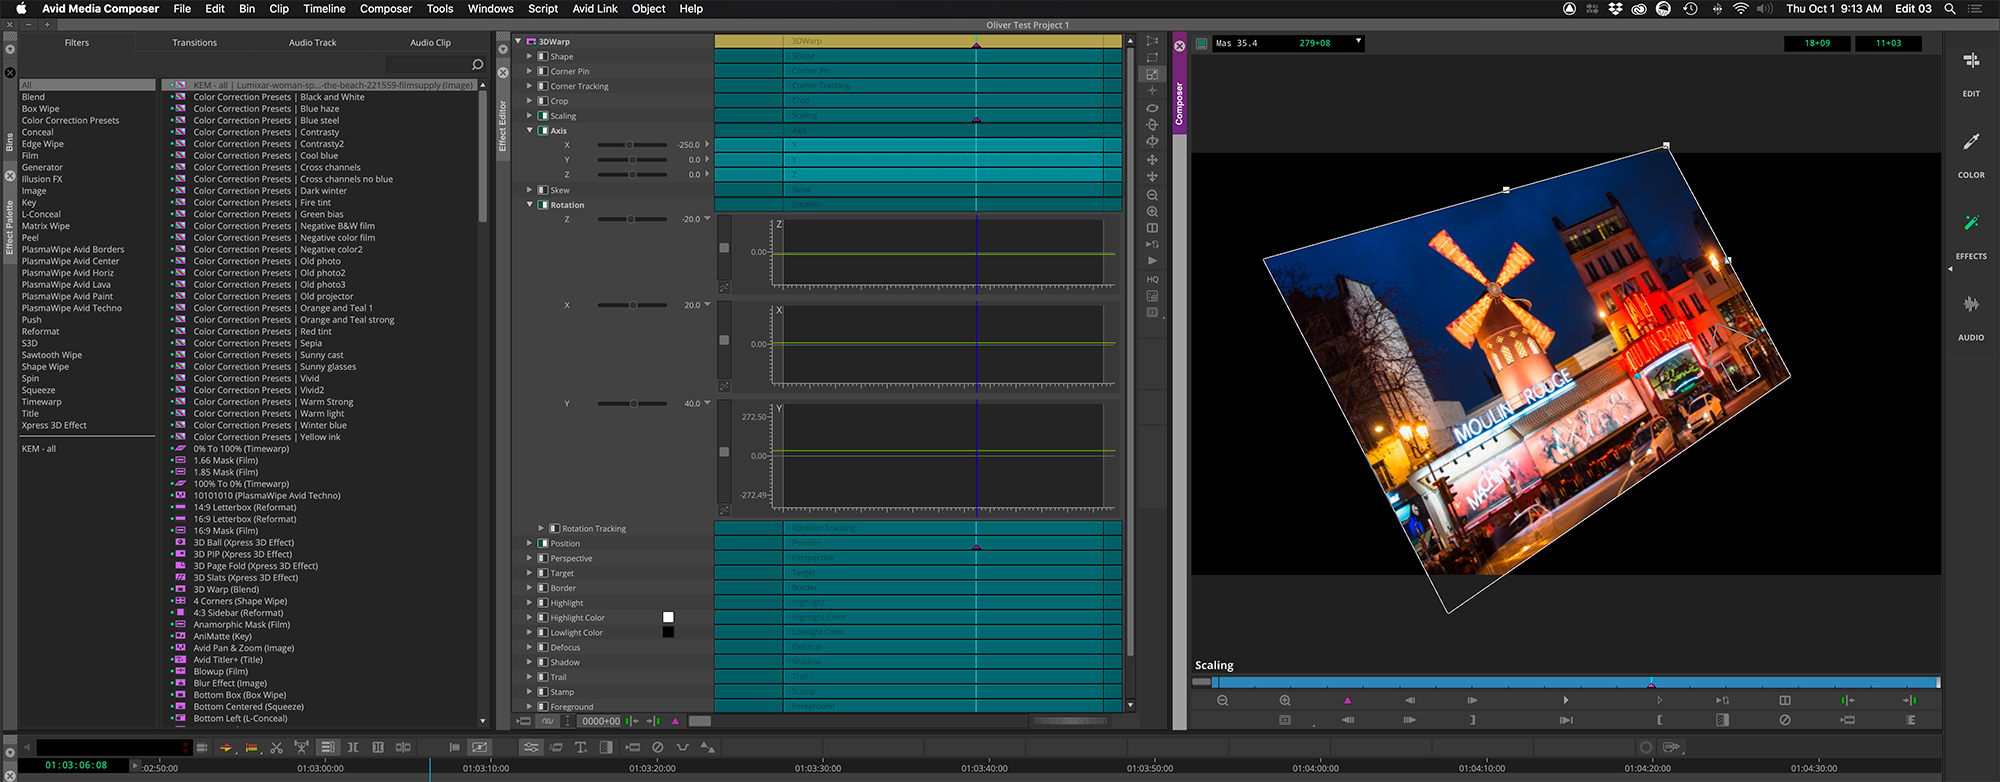
Media Composer installs a fair amount of video and audio plug-ins, but for more advanced effects, I recommend augmenting with BorisFX’s Continuum Complete or Sapphire. What is often overlooked is that Media Composer does include paint, masking, and tracking tools. And, if you work on stereo 3D projects, Avid was one of the first companies to integrate a stereoscopic toolkit into Media Composer.
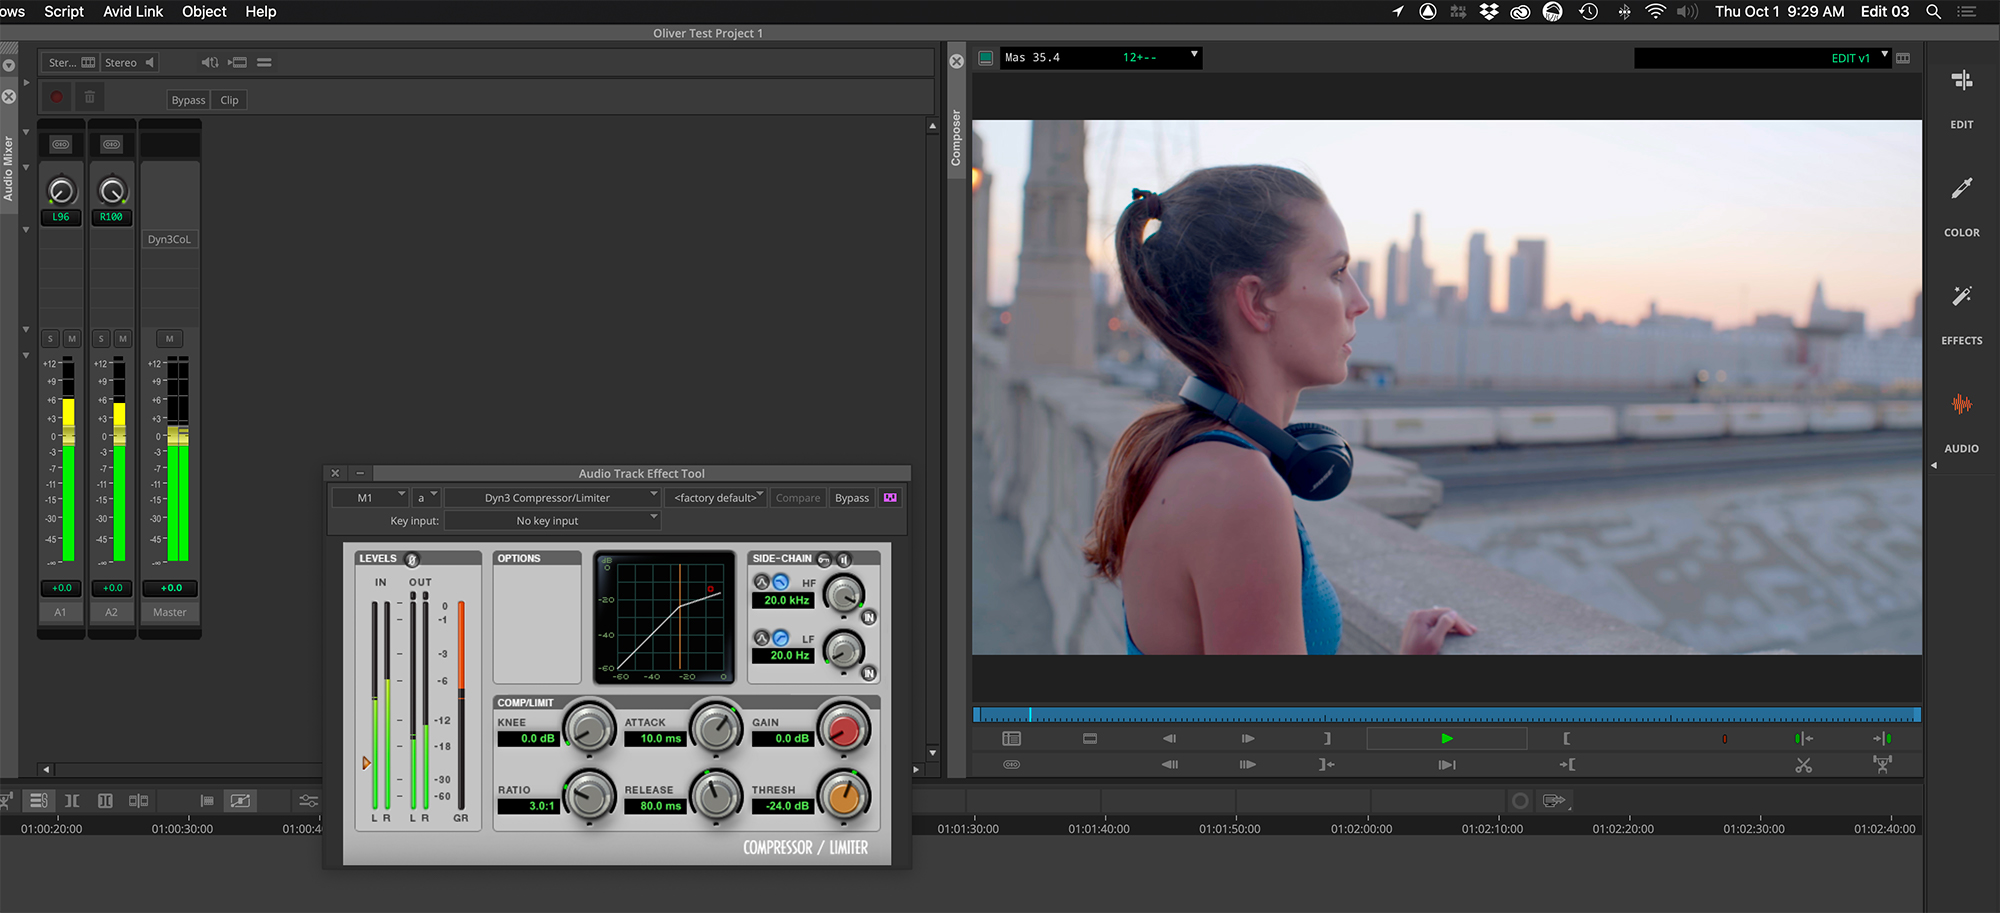
The audio plug-ins provide a useful collection of filters for video editors. These plug-ins come from the Pro Tools side of the company. Media Composer and Pro Tools use the AAX plug-in format; therefore, no AU or VST audio plug-ins will show up inside Media Composer.
Due to the 64-bit transition, Avid dropped the legacy Title Tool and Marquee titler, and rewrote a new Titler+. Honestly, it’s not as intuitive as it should be and took some time for me to warm up to it. Once you play with it, though, the controls are straight-forward. It includes roll and crawl options, along with keyframed moves and tracking. Unfortunately, there are no built-in graphics templates.
Trimming
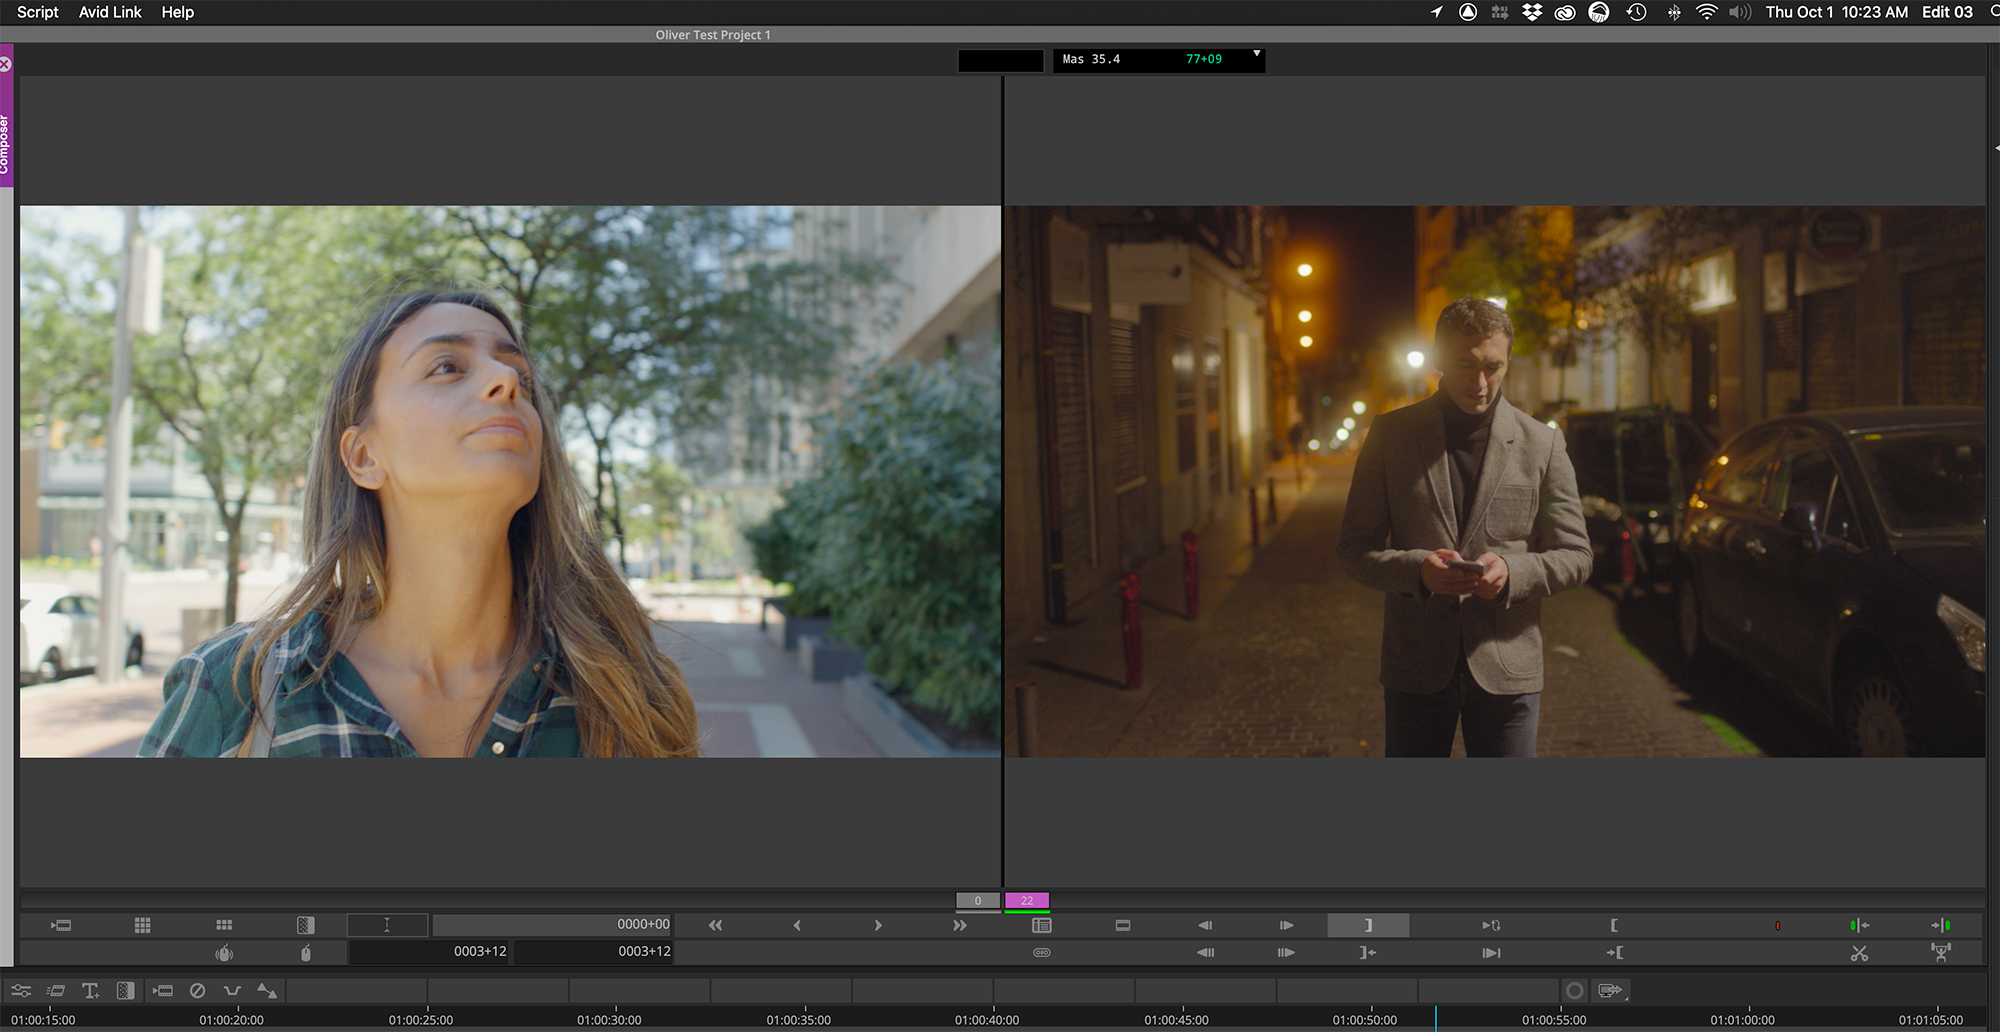
When feature film editors are asked why they like Media Composer, the trim mode is frequently at the top of the list. The other NLEs offer advanced trimming modes, but none seems as intuitive to use as Avid’s. Granted, you don’t have to stick with the mouse to use them, but I definitely find it easier to trim by mouse in Premiere or Final Cut. Trimming in Media Composer is geared towards fluid keyboard operation. I find that when I’m building up a sequence, my flow is completely different in Media Composer. Some will obviously prefer the others’ tools and, in fact, Media Composer’s smart keys enable mouse-based trimming, too. It’s certainly preference, but once you get comfortable with the flow and speed of Media Composer’s trim mode, it’s hard to go to something else.
Avid’s journey to modernize Media Composer has gone surprisingly well. If anything, the pace of feature enhancements might be too incremental for users wishing to see more radical changes. For now, there hasn’t been too much resistance from the old guard and new editors are indeed taking a fresh look. Whether you are cutting spots, social media, or indie features, you owe it to yourself to take an objective look at Media Composer as a viable editing option.
For more in-depth Avid Media Composer learning check out PVC’s own Kevin P. McAuliffe and his YouTube channel Let’s Edit with Media Composer.

Filmtools
Filmmakers go-to destination for pre-production, production & post production equipment!
Shop Now


