Here’s an interesting problem I came across on the Avid-L2 listserve:
An editor was trying to create three circle wipes to reveal three video files over a background. To achieve this the editor dropped three circle wipes onto the videos and customized the position, size and softness of each circlular “window.” The problem was that even though the circles were positioned properly, the video inside each circular window was not displaying the desired portion of the underlying video track. In order to reposition the video underneath the window, the editor “stepped in” to the effect and added a resize effect, allowing them to change the size and position of the video. The problem is that when you step in to an effect like this, you can no longer see the position of the circular window, so you have to guess where to place the video and then step out to see how close your guess is.
As several people on the -L pointed out, there is DEFINITELY an easier way.
Let’s start this effect from the beginning – we’ll just use two circle wipes over a background instead of three.
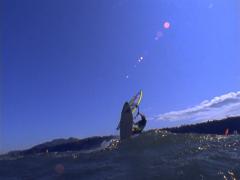
You can use any video you have lying around to try this out. I am using two nice pieces of stock from Artbeats. The bottom track – v1 – is a simple, blue motion graphics background. The golf shot – on v2 – is from their Golfing collection and the sailboarder – on v3 – is from their Extreme Sports collection.



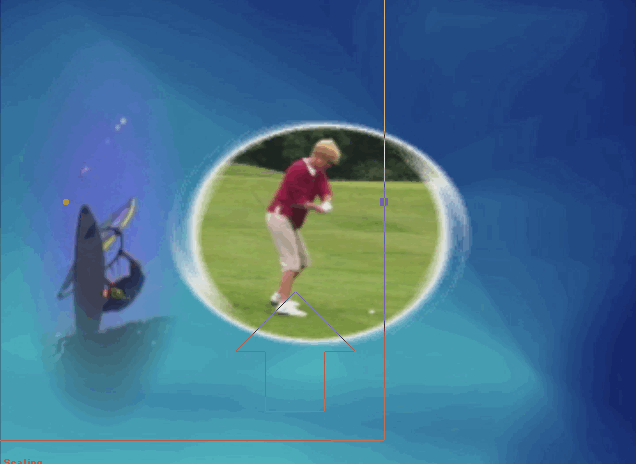
I cut the tracks into the sequence and then dropped two different kinds of circle wipes on the clips on v2 and v3. The effect on v2 is a Plasma wipe called Center multi-ring. The effect on v3 is a simple Shape wipe called Circle.
 The Plasma wipe has to start in the center. There is no parameter to change its position. However, the shot of the golfer is off-center, so you don’t really see the golfer nicely centered in the wipe “window.”
 In the Effect Editor, I used the position parameter to reposition the Circle wipe so that it was off to the side of the golfer. However, the video of the sailboarder is centered, so the wipe “window” just reveals an empty piece of sky.
To fix this, we need to add some kind of effect to the video clips underneath the wipes so that we can reposition them. There are a couple effects that could do this. I prefer to use the 3D Warp effect which is one of the effects in the Blend Category of the Effect Palette, (which you can bring up with cmd-8 on a Mac or control-8 on a PC).

However, as we already mentioned, if you step in to the effect to drop on this effect, you won’t be able to see the “window” so you’ll be positioning the video “blind.”
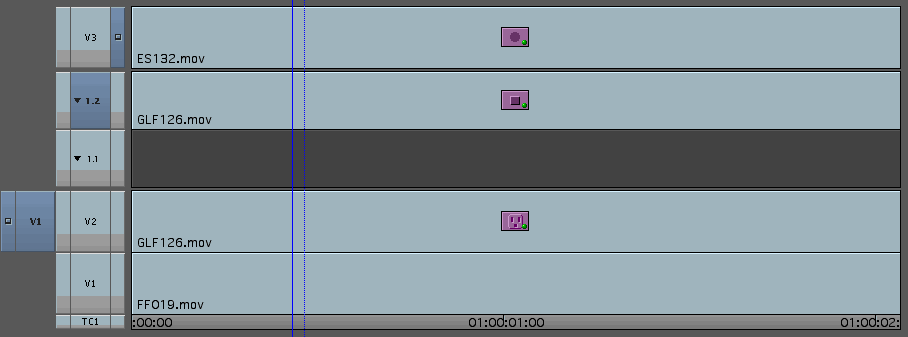
Instead, you should option-click on the Step In button on a Mac or alt-click on the Step In button on a PC. (The Step In button is the black downward facing arrow at the top or bottom left of timeline.) Instead of stepping you in to the effect, it shows the nested effect in the timeline and you can drop the resize or 3D Warp effect onto the track labeled 1.2.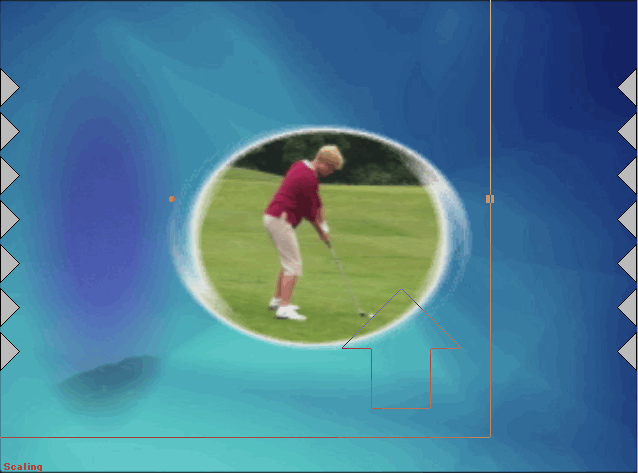
Then you can go into Effect mode and simply click on the sequence side of the Composer window and drag the clip around to fit the composition of the window. Do the same with the other track of video.
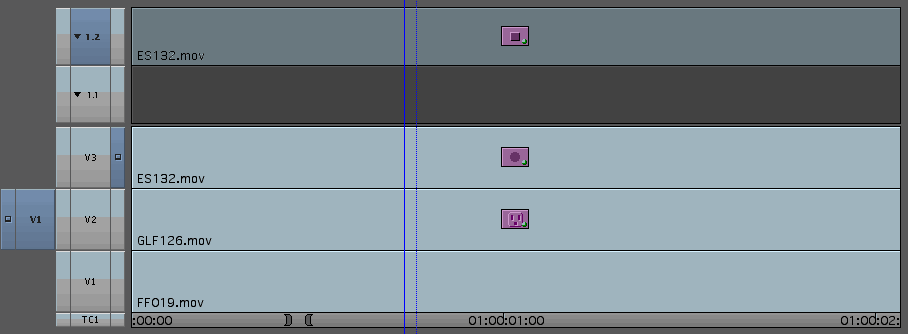
Now, like Emeril we need to kick this up another notch, so let’s map the alt-Step In effect to your keyboard or UI.
To do that, you need to go to your Project Window and open the Settings Tab. Scroll down (or hit K) to get to the Keyboard setting and open it. Then hit command-3 on a Mac (or Control-3 on a PC) to open the Command Palette.

The small radio button at the bottom left of the Command Palette should be in the default position of “Button to Button Reassignment.” If it’s not, then click on that option. Then from the FX Tab, drag the Step In and Step Out buttons onto two keys of your Keyboard Setting, or you can drag them to other buttons on your UI, like above the timeline or below the Composer windows.

In order to reduce the number of keystrokes you need to remember, let’s also map the option (on a Mac) or alt (on a PC) modifier onto these buttons. That means you only need to click a single key or UI button to do the modified Step In. To do that, go to the Command Palette’s “Other” Tab and drag the option or alt button on top of your Step In and Step Out buttons on your keyboard or UI.
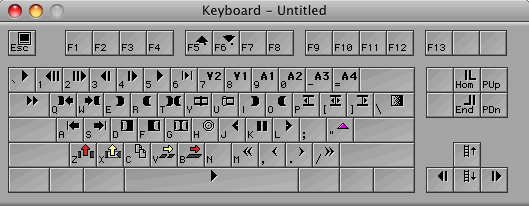
When you do that, the button will change slightly and you will see a small dot below the Step icons. This indicates that these will behave as if you held down the option or alt buttons while clicking on them.
That’s it for this week. Keep reading those manuals!

Filmtools
Filmmakers go-to destination for pre-production, production & post production equipment!
Shop Now


