I wasn’t sure if anyone was reading these, so I stopped for a few weeks. Then I got a very nice comment from Ra-ey Saleh who has been reading and learning from the tips, despite being an experienced Avid editor. He also asked if he could suggest a tip, so I’ll start this week with a great tip. Essentially, it’s nothing more than a common button, but it does perform hidden wonders, which is the whole point of some of these gems.
Avid Gem #1 (courtesy of Ra-ey Saleh)
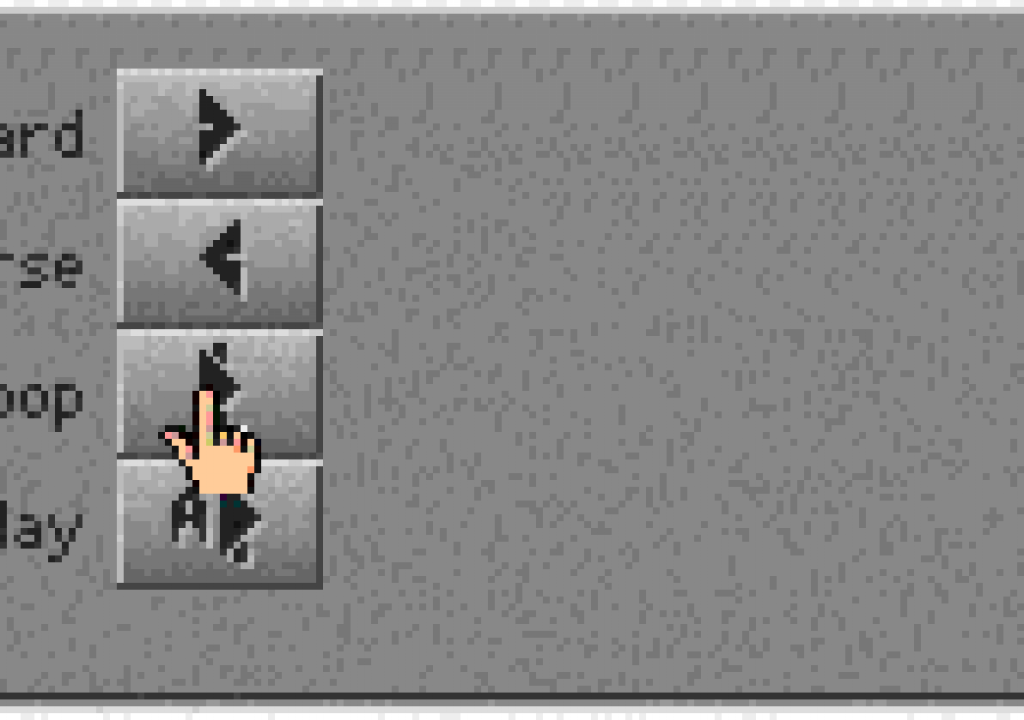
Use the Play Loop command to jump into trim mode without having to use the Trim Mode button.
RANT ON: Avid always gets crap from the FCP camp that it’s “modal” but I think that Avid’s modal nature is a plus, not a minus, because it means that the interface can do more when it’s in each mode and there’s no delay going between important modes, like Trimming, so who cares? FCP puts EVERYTHING into the main interface, so sometimes you have to be very careful about the precise spot on the interface that you’re touching. Even on a 30″ screen, clicking 1/32nd of an inch from where you meant to click can have serious consequences to what you’re trying to do. FCP folks have gotten used to that and appreciate it though, and I am impressed with much of what the FCP interface can do, but “modality” isn’t something I’d wonk Avid over the head with. RANT OFF


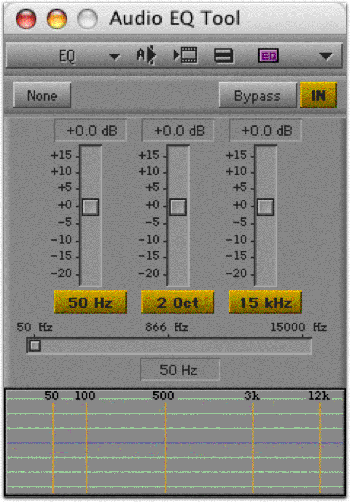
Ra-ey also points out that if you ever wondered how to adjust EQ or AudioSuite plugins while listening to the audio, the Audio Loop button is the key. Just mark an in and out over the area you want to listen to and hit the Audio Loop button before you start making adjustments. Thanks for the great tips, Ra-ey.
Avid Gem #2
OK, I thought this was pretty common knowledge but I recently worked with an experienced Avid editor who didn’t know this little gem, so I’ll include it. You don’t need to raise your hand if you didn’t know this either. Actually, even for an old guy like me, Avid has added a settings command to control what used to be a kind of “firm” key on the keyboard.
Anyway, to finally get to the point of the tip:
This used to be possible by using the F1 and F2 keys to mark the ins and outs of subclips and the F3 key for red locators. Now, there’s an entire customizable key command center for doing just about anything while capturing. Avid still defaults to the old uses of F1, F2 and F3, but you can move these around and add additional keystrokes by going to the Capture Setting in the Settings Tab of the Project Window and scrolling down to Capture Settings. This setting has six tabs. The one to the far right is called Keys. In there you can choose what keystrokes you want on each function key. You can also change the timing between your keystroke and the actual mark in or out of the subclips, so you don’t miss action due to a delayed response to an important moment. That’s really a useful little feature! Clicking and holding on any of the buttons calls up a menu to select a different button. I was hoping these were mappable from the Command Palette, but that would have caused all kinds of chaos.
Anyway, think about a nice workflow where you use different colored locators to “spot” important footage or things you’ll need to do. For example, green locators could mean “good soundbite” or red locators could mean “great b-roll shot” or pink locators could mean “needs color correction” while a white locator could indicate “tape drop out.”
With the subclipping, the thing to remember is that with the mark ins and outs, it doesn’t “take” the mark in until you mark an out or you stop digitizing, so you can continually change the in point until you get it right. The same goes for mark outs on subclips, which aren’t marked as an out “for sure” until you mark the next in point or you stop capturing. In other words, you can basically keep trying till you get it right. But the thing to remember is that if you mark the beginning of a subclip and forget that you haven’t marked an out, then the next time you mark an in, the first “in” is forgotten. So be careful. When I use subclips when capturing I try to leave my finger poised on the next button I have to push, so I remember what I have to do next. The other way to avoid this is to simply always use locators and then you can make subclips later using the locators.
Of course, you can also name clips and add comments to clips while they’re digitizing.
Avid Gem #3
I recently started working on an article on Final Cut Pro workflow tips for media management and it made me think about some of the craziness that I’ve seen in Avid workflow. Granted, Avid deals with media management a little better than FCP, but why make it harder than it has to be?
One of the ways to make batch reimporting of clips easy is to make sure that all imports come from the same folder. If you are always working in “on-line resolution” or you NEVER have to reconstruct a project after it’s been deleted from the media drives, then this doesn’t apply to you (but that has to be a very small population of editors…). You can use any project management solution that you want to use, but since you have to save the Avid projects folder, you can use that as a holding area for all of your imported files. I’ve done this on many projects. Some may be worried that this bloats the Avid project folder, and you’d be right for some projects. Like I said, this is a personal choice. The goal is to have a single folder at a certain level of a specific hard drive and bring all of your imported clips into that folder BEFORE you import them. The advantage of this is that when you go to batch import the clips once they’ve gone off-line, then the Avid can find them easily and batching is flawless. If you import music directly from a dozen different CDs and import graphics by dragging them from websites or ftp sites or client emails or your desktop, then at the end of the project, you AND your Avid have no clue how to get those files BACK once you’ve ejected the disks, closed the websites, erased your client emails and cleaned up your desktop. So get into some good habits and either drag all files that you want to import into your Avid project folder for that project, or create another folder named something close to your Avid project and drag them into that folder. And – paraphrased from us Chicago voters – save early and save often. Back up your projects to CDs. I’ve also got a .mac account (now called MobileMe accounts, I think) and my project files back up to that every night, so even if my computer crashes, is stolen or my suite burns down, Apple still has my files.


