This is a weekly series of tips culled from years of experience and hours of actually reading the manual – so you don’t have to.
This week’s tips include a console command, Title Tool help, fast info and color correction tips.
Power users pride themselves on knowing the secret little easter eggs inside “the Console.” For those unfamiliar with the console in Avid, you can bring up this secret source of information and settings by hitting command-6 on a Mac or control-6 on a PC. The console can show you many things and give you access to the inner workings of the machine. After you initially boot up your Avid, the console will show you info about your graphics cards and hard drives as well as providing your Dongle ID and System ID numbers.
GEM #1
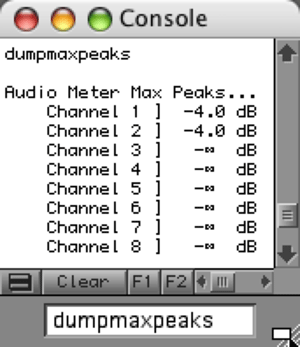 Today’s console tip allows you to do some automated quality control work on your audio. (This tip has been around for a long time. It works in the current version of MediaComposer, but it doesn’t work on my Meridien Symphony 4.5, so your mileage may vary…)
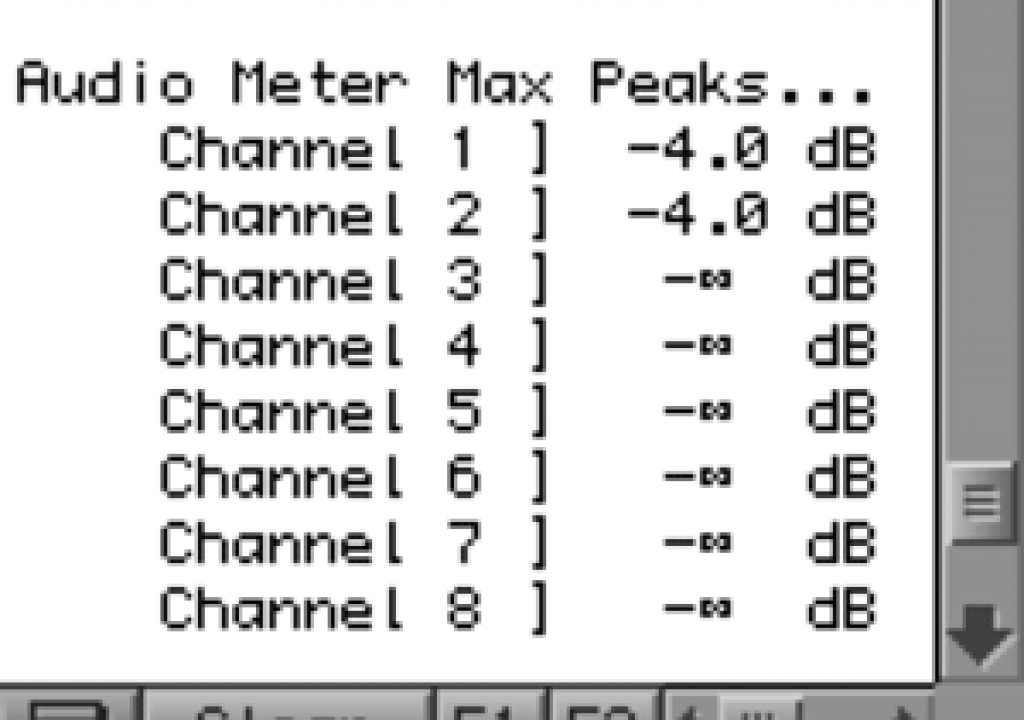
When you play a sequence, a clip or part of a sequence or clip and then type DumpMaxPeaks in the narrow text entry box at the bottom of the console, the console will display the highest peak decibel for each audio track during the section that you played, as shown here.
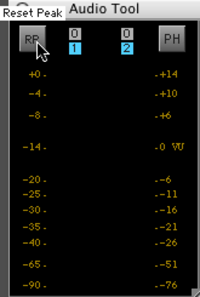 To clear the peaks to try again, you have to go to the Audio Tool and click the RP button which “Resets Peaks.”
GEM #2
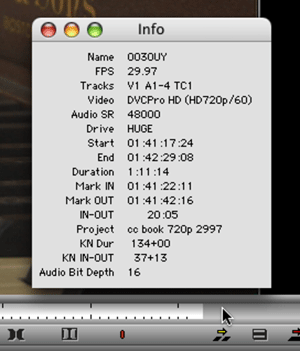 Clicking and holding on the small area just to the right of the source timeline (note the position of the arrow cursor in the screengrab) allows you to see all of a clip’s main info.
GEM #3
 Hitting matchframe on a slow-mo or still in the timeline sequence matches back to the slo-mo’d or frozen still, but hitting matchframe a second time will take you back to the original source.
GEM #4
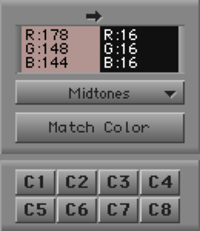 In color correction mode, if you sample a color with the eyedropper you can alt-drag (PC) or opt-drag (Mac) the little colored square and drag it to a bin to save it. You can then drag that sampled color back into the Output color area from the bin and match to it later if you want. Depending on your settings, this will usually give the color a default name based on HTML color naming conventions.
“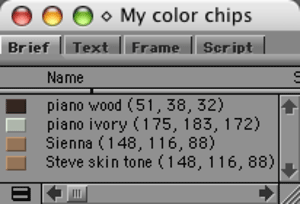 In the screengrab, the name “Sienna” was the default name for the clip along with the RGB values (in parentheses) because I had my colorcorrection mode setting set to “name and number” but you can change the clip name to any name you want that helps you remember where it came from or what it’s used for, like I did with “Steve’s skin tone,” “piano wood” and “piano ivory.
GEM #5
You can set a “default font” in Avid’s standard Title Tool. To do this, when you first open up the Title Tool, DON’T click on the main window first, but set your font styles immediately (font type, size, color, shadow). The Title Tool will remember that as the default style until the Avid software is quit.
GEM #6
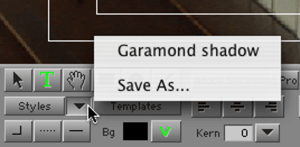 In the Title Tool, you can, of course, assign and save styles which is useful when working on a show that has a “look” for certain things like lower thirds, etc.
To assign a style, choose your font attributes as usual including font type, shadow, size, justification, color, etc., then click on the downward facing triangle to the right of the Styles button in the Title Tool (see screengrab). If you want, you can save only certain parameters with the style, so if you want a variety of fonts to all have the same shadow style, then save just the shadow information.
HERE’S THE REAL PART OF THE TIP:
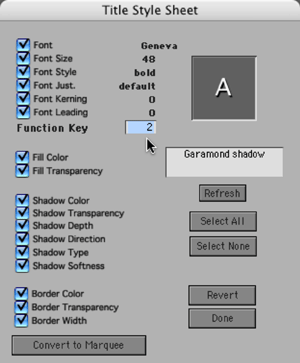 The cool thing is that when you save these, you can assign a Function key to each style. (Note the function key text box in the screengrab) They do not interfere with any keyboard mapping you’ve done to the function keys, since it only works in Title Tool. With the function key set, you can hit a single function key on your keyboard to assign a style. Or if you’re trying to pick styles with a producer or creative director, you can assign a different style to each function key and quickly show the same text with twelve different styles.
Make sure to sign up for the RSS feed of this tip series so you don’t miss a single one!

Filmtools
Filmmakers go-to destination for pre-production, production & post production equipment!
Shop Now