Here are some more gems from the Avid Media Composer user’s manual, though today includes at least two REALLY hidden gems, because they don’t seem to be mentioned in the manuals at all (based on searches on the Help menu.)
GEM #1
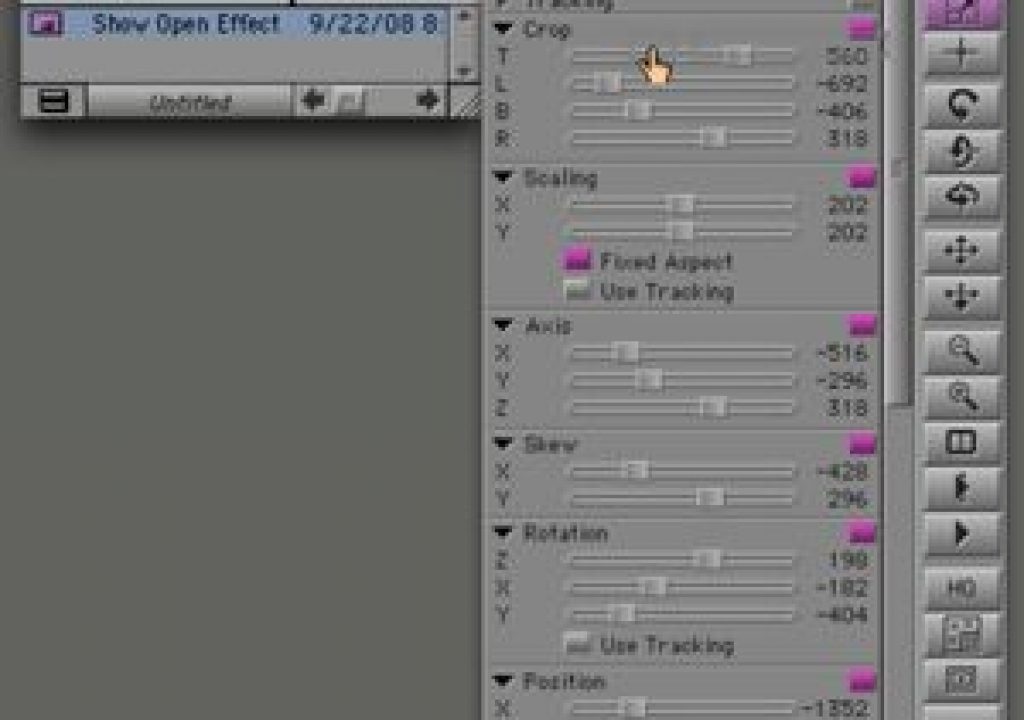
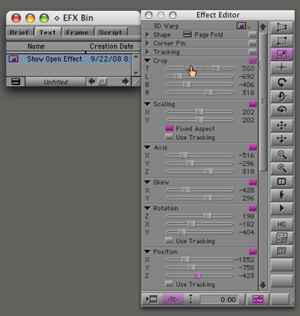 Let’s say that you’ve created an effect, customized several parameters for the effect and saved it to a bin. If you want to use just ONE of those parameters in another effect, you can drag the customized effect from the bin to an open parameter of another effect in the Effects Editor and the values from the saved effect will ONLY be applied to that parameter.
GEM #2
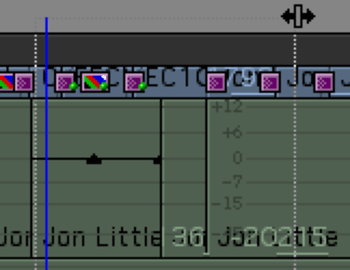 Most people probably know the keyboard shortcuts for zooming the timeline: Command-/ (control-/ on PC) shows the entire timeline (like shift-z in FCP). And Command-[ (control-[) zooms out while Command-] (control-]) zooms in (like Command-plus and minus do in FCP). But there is another useful keyboard zoom tool: Command-M (control-m on a PC) to do a CUSTOM ZOOM of a specific section of the timeline. When you hit Command-M, you’ll see a little cursor with arrows point in opposite directions, just use that to drag over the section of the timeline that you want to zoom in to and it will will the timeline window.
GEM #3
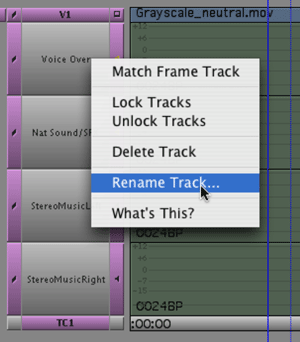 Sometimes new features slip in under the radar of more experienced Avid editors. One of the nice features that’s been around for the last several releases is the ability to rename your tracks in the timeline, so they don’t have to just be named V1, A1, A2, etc. Just right-click (on Mac or PC) on the track name (v1, V2) in the timeline to spin down a menu allowing you to rename it. Annoyingly, the names are NOT saved as part of a saved timeline view, but you can save a timeline with the names and they will stay with the saved timeline, so if you work at a place with a specific workflow or standard operating procedure about putting certain audio elements on certain tracks, then this could help editors remember those assignments. Simply have every start each edit by opening the version of the sequence with the correct naming conventions for the tracks and copy it and modify it. This is actually a very good way to work anyway many times, because you can save a single sequence that has other important starting elements like: bars, tone (at the proper db), pre-built slate, countdown and the proper timecode type and start time. I have worked many places where the editors re-do this fundamental work over and over and over again with each new sequence. Sometimes the MediaTool has 30 sets of color bars! Why? Create a single bin in its own project that never gets deleted and create these elements just once, then have each editor start their project by opening that bin into their project and OPTION-DRAG (alt-drag on a PC) the files to their new project. (Don’t just drag them or they won’t be there for the next editor! Using the modifier key with the drag places copies in the new folder.)
GEM #4
 FCP editors often complain about how “modal” Media Composer is. I don’t buy this argument. First off, the modes help contextual clicking and button presses go much quicker in Avid, because in FCP it means concentrating on clicking on very, very specific segments of the timeline or other parts of the UI. Also, there are many modal aspects of FCP. They just don’t CALL them modal. Another kick in the groin to this silly argument is that getting in and out of the modes is very quick. The modes are mapped to the keyboard, so one button push gets you in to any mode. You can also hit the “Escape” button from any mode (trim, effects, color correction) to take you back to “source/record mode.” And from trim mode, escape is just one of at least five different ways of exiting the mode, (thought the Avid manual only includes four) including clicking on the timecode track. There are things FCP is better at than Media Composer, but working in modes is not one of them.
GEM #5
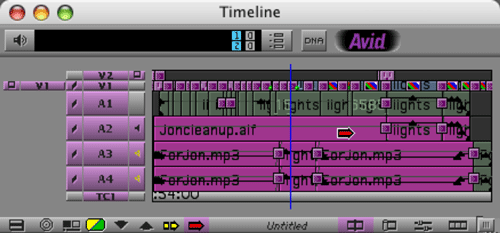 Many people expect that if they segment select a segment in the Media Composer timeline and hit delete, it will actually delete it in one tap. However, if there are effects or Auto-Gain (rubberbanding) on the clip, then the first time you hit delete, it just deletes the effect or rubberbanding instead of the segment itself. If you want to delete the segment AND the effect, the while you’re in segment mode, select the clip(s) and hit Control-X on a Mac. (I’m not sure on a PC. Maybe shift-control. The Avid manual only suggests deleting it twice! It’s not in the shortcuts page at all!)
GEM #6
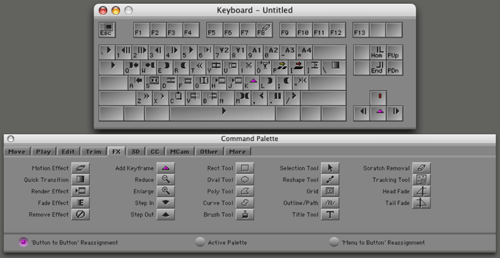 I’ve seen people do scratch removal by meticulously adding edits to the three or four frames around a drop out, tape hit or film scratch and then drop the scratch removal effect on the tiny little segment. The proper use of the scratch removal tool is to have it mapped to a keyboard key. Then all you have to do is park on the problem frame and enable the proper video track and hit the key. The scratch removal tool will automatically place an Add Edit on either side of the “scratch” and adds the effect to the small section in the middle. The first frame of the scratch segment” is the clean frame that the scratch pulls from.
Terry Curren adds this bit of wisdom to this tip:
The scratch removal button also follows in and out marks. If you want to apply it to more than two frames, mark an in and out around the area you want to apply it to, then park on one of the marked frames and hit the scratch removal button. It applies between the marks and grabs one more frame at the head to get a clean frame.
GEM #7
I learned this little nugget from Pete Opotowsky:
If you highlight clips in a bin (command-A to select them all if you want on Mac or control-A on PC) and hit any version of Clear Marks from the keyboard it will clear marks on all selected clips. Sometimes I’ve marked ins and outs in certain clips, but then I want to create a “Selects sequence” with all of my footage in a single sequence, so I don’t want the marks to limit the selection of material. This is a fast way to make sure that all of my clips make it to the selects reel.

Filmtools
Filmmakers go-to destination for pre-production, production & post production equipment!
Shop Now