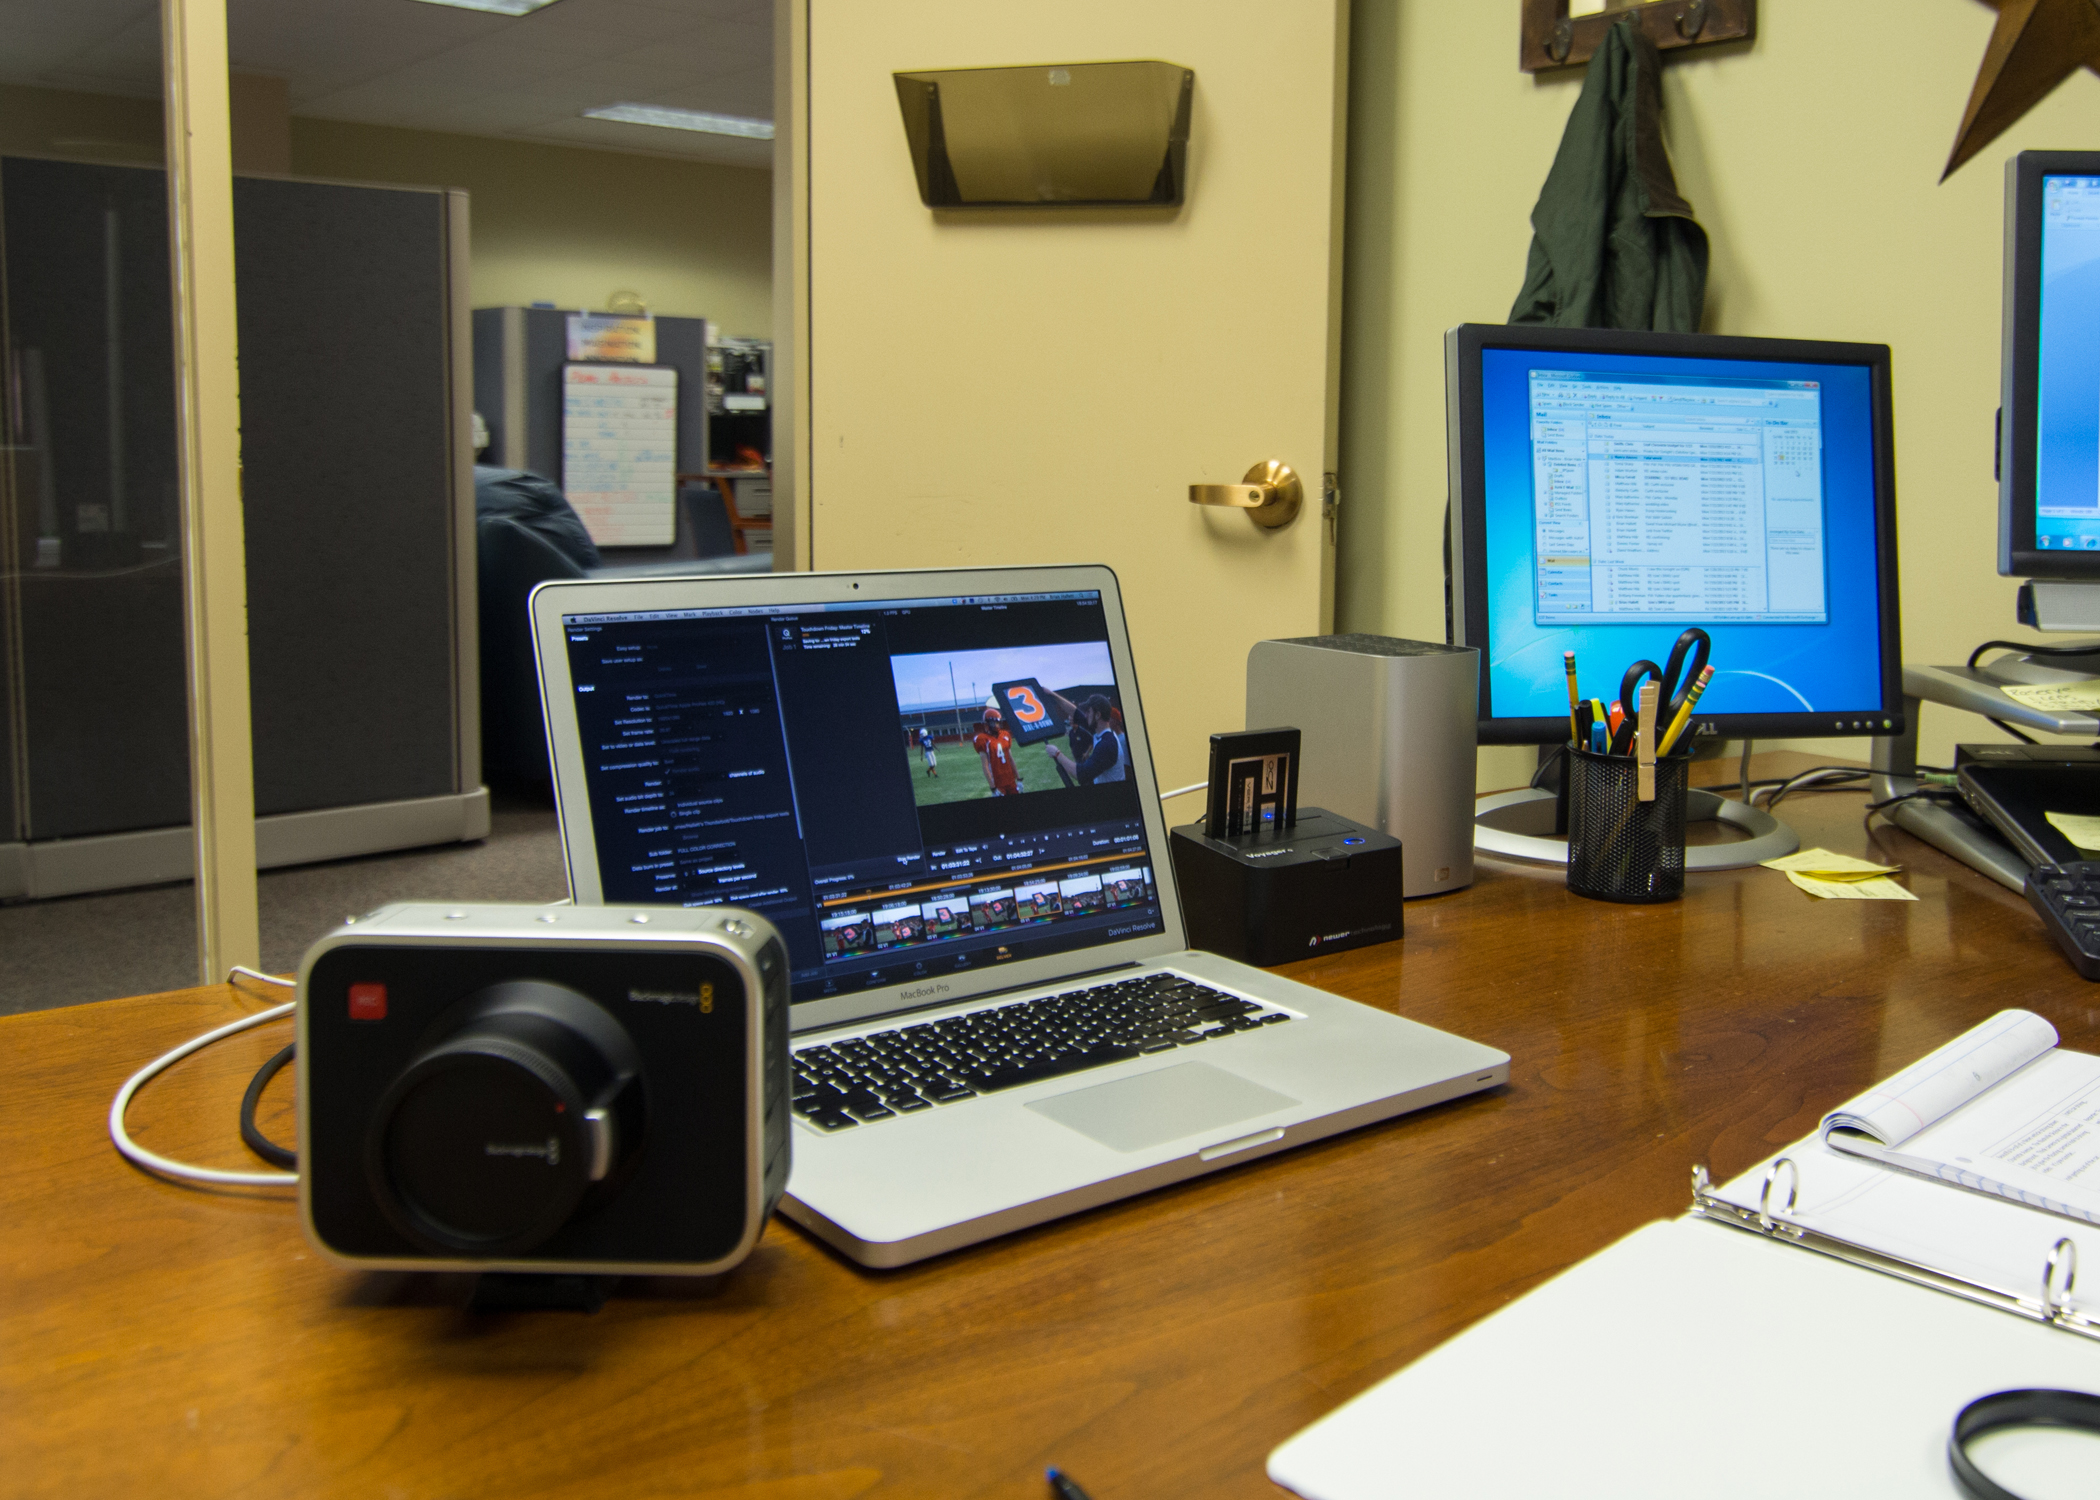
You bought the BMCC… You’ve been shooting ProRes or DNxHD… and now you want to harness the full potential of the camera. 2.5K… raw. The problem… you’re computer isn’t exactly up to the suggested specs to run DaVinci Resolve.
MY HARDWARE
I have the exact same problem. My computer is a 2011 MacBook Pro. It was the first to have Thunderbolt. 4 GB of ram. 2.0 quad core. It easily runs Avid Media composer, Motion, and just enough GPU to run Resolve. When I say “just enough” the software plays the 2.5K at the blazing speed of 1 fps. Not exactly the editing powerhouse, but it gets the job done… it just takes a bit longer.

COLOR GRADING
What this means when I color correct or grade? I can be a little limited in my choices. Mainly, I have to wait more than a few seconds to see any changes. I wanted to work faster and to see what I was doing in real time. It helps me creatively if I am able to work as fast as I can think. Not a problem if your computer has more strength to wrestle with Resolve than mine. Don't get me wrong… I'd prefer to use Resolve over Lightroom

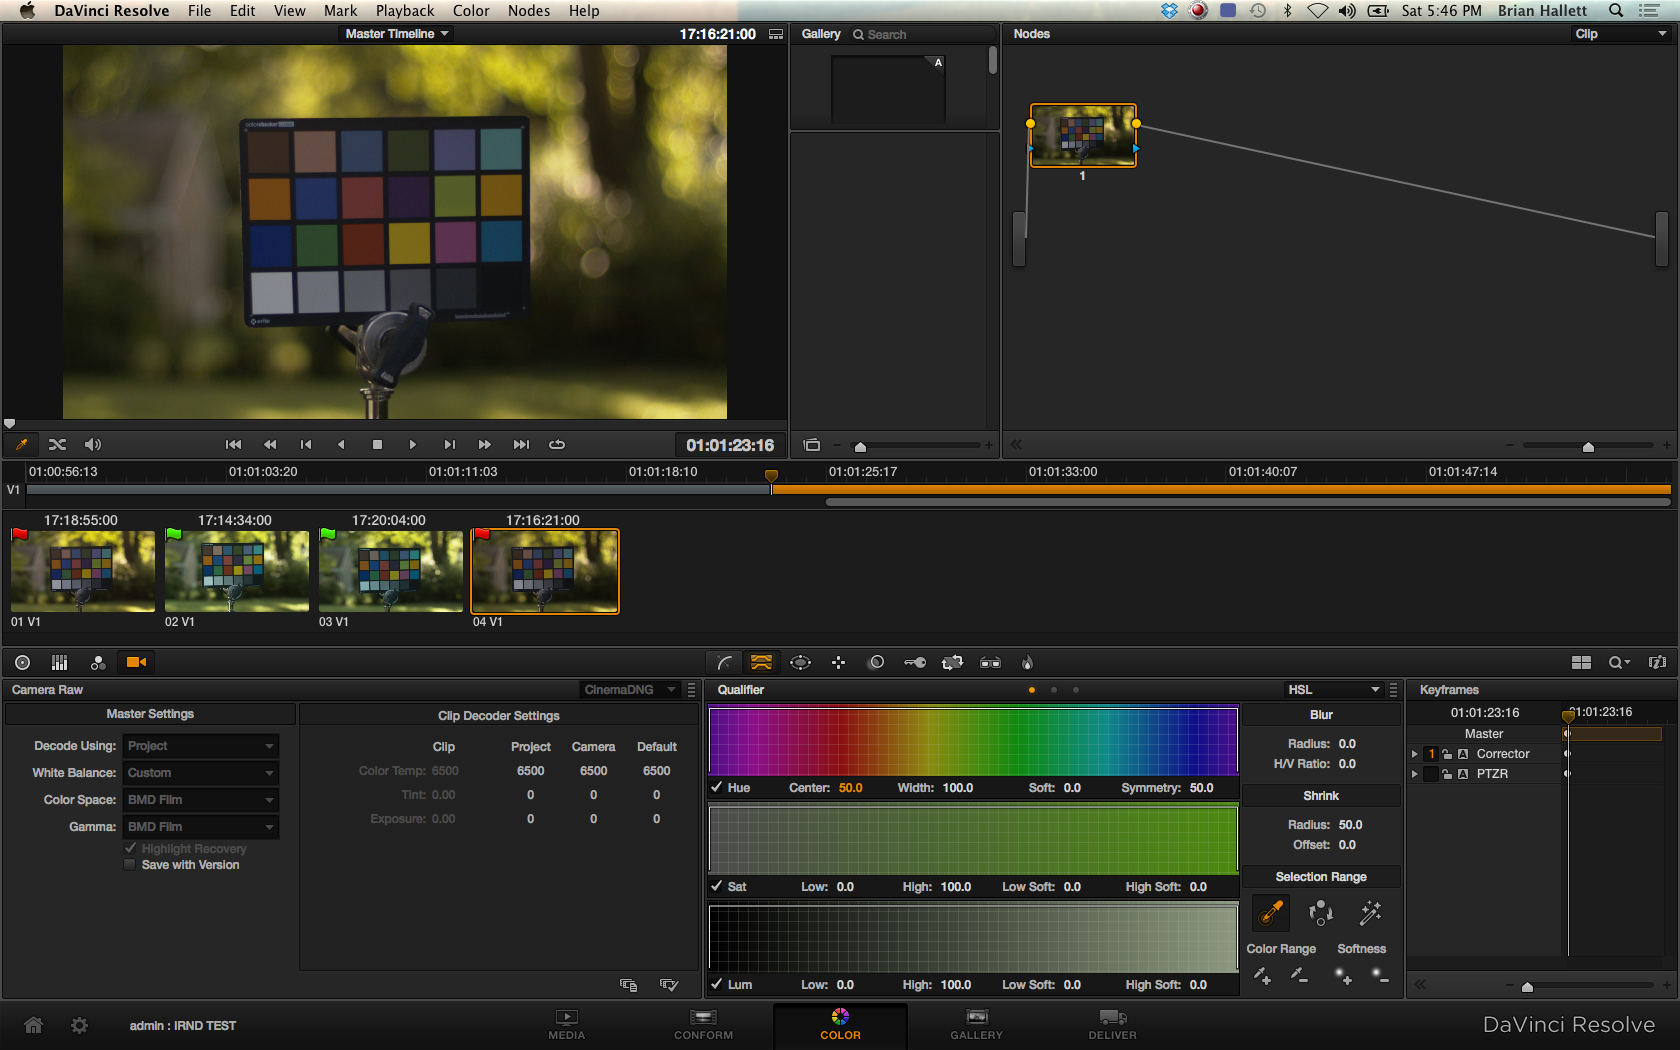
Above is a screen shot as I process the footage through Resolve. Below you can see how long Resolve takes to export about a thirty second clip on my computer.
LIGHTROOM
For me to work quickly I decided to give Adobe Lightroom a try. Like most cameramen, I have a DSLR. I use it for time-lapses and photography which means I have experience with the software. Lots of experience. Lightroom has very similar tools to Resolve, a bit less options though, and more importantly it can batch process those Cinema DNGs. It takes planning, and a strict discipline to only shoot the shot and not hunt and peck. Actually, you shouldn’t hunt and peck on camera anyway… amateurs and home video shooters hunt and peck. You’re better than that.
Back to the BMCC workflow in Lightroom. Think about it: noise reduction, white balance setting, and exposure/color tools… but it’s for still images so none of the great tracking tools from Resolve. Also, Resolve has more tools with more specific functions, which I’m sure I would love if I could use them in real time.
Above is Lightroom with DNGs loaded.
WHAT I DO
I import the shots I want off my drive and into Lightroom's catalogue. Luckily Lightroom separates each shot into separate folders in the catalogue, and this makes life much easier as you navigate through all of your footage. Then I color correct a single DNG for each shot. After that… I sync my settings for the rest of the DNGs in that folder. I go through all of the shots like that and then export… but I don't export all of the DNGs. Typically I don't need a shot over four or five seconds so I'll choose the best ten seconds of the shot and export those DNGs only. I export ten seconds instead of the four or five because I want a little bit of leeway as I edit. As I export I put all the images into specifically named folders. I keep the color consist between the shots by eyeballing it. If I have to finesse the color of a shot to match others I either go back to Lightroom or use the NLE's color corrector or a color effect. When I export the DNGs I do not name the files “specific name – 1.jpg.” Instead I start the export numbers in conjunction to the DNG number of the first image. For example: “specific name -247.jpg” This helps me navigate what has or has not been exported out of Lightroom.
THE MINUS
The workflow with Resolve is much simplier. In Lightroom you cannot round trip back to the original footage. A big loss for those who go back to Resolve for a color grade. Blackmagic’s film curve will be lost. Lightroom changes the Cinema DNGs to a more traditional image with correct blacks and whites. Additionally, I believe the Lightroom workflow equals a loss of at least one stop of dynamic range. This is a part of why Resolve and the BMCC go so well together. You can still get great results from a Lightroom workflow if you accept these compromises. Plus, you can see the color grade because you’re grading a single frame and not a whole clip of video. That single fact makes all the difference in the world. Now the import and export will take just as long as they do in Resolve. If you work with a Lightroom workflow then slates and camera reports become very important because you'll need to sync the audio in the NLE.
It takes discipline but it can look damn awesome. Here is an example. In this news promo I shot 2.5K raw for all the footage. I processed all the broll through Lightroom, and the stand-up was processed through Resolve. I needed to process the stand-up through Resolve because I needed to track an exposure correction on Lisa's eyes. They were originally too dark and lifeless. It took a bit of time and the stand-up looked much better in the end. If you're wondering why I didn't light her eyes when I was shooting it's because I hoofed it nearly a 1/2 mile straight up to get these views.
IRND IN YOUR WORKFLOW
Now, I've talked about IRND on the BMCC before. If you shoot with over a ND 1.2 and don't use IR Filtration you'll come back with muddy blacks. In the video below I give examples of both 2.5K and 1080 with IRND filteration and without IR filtation. Also, in the video below I did not color correct the image at all. Instead I pulled the footage into Resolve, matched the camera raw setting, and exported the footage.
Clearly you can see the red and green hues in the video. The 2.5K raw in Resolve means you can correct the slight green cast from the IR out really well and you'll get an amazing image with correct blacks. However, in 1080 ProRes or DNxHD that color correction is much more difficult to nail. In Avid I find it difficult to color correct the slight green cast out and end up with an accurate color image. I mostly shoot anchor/reporter stand ups where a bit of warmth from shooting without IR filtration goes a long way in the skin tones. Does that mean my blacks will be a bit muddy, yes. Am I cool with muddy blacks if the skin tones turn out a little bit better, yes.
The second part of this test.
IR filtration helps to keep you shots sharp. Below you will see examples. Here is where a lot of science and wavelengths and people smarter then me can explain this better… so I won't. Instead I'll keep it simple. in 2.5K raw IR filtration over 1.2ND helps to keep a crisp image… in 1080 the difference is less apparent. See for yourself in the example video or better… do your own camera test.
Also you'll see the 2.5K raw has been processed through Lightroom with an attempt at a decent color correction. If I wanted to spend more time I could have done the same with the footage in Resolve, but I did not have that luxury. This is not an example of one program better than the other. It is to show you options.
Find me/Follow me
vimeo: www.vimeo.com/hallettbrian
twitter: @hallettbrian

