Part 3: Recording the Audio and Video
(Part 3 of 5)
We’ve gotten past the hard part of connecting the video components, and now recording your video sources should be relatively easy. By now you should have tested all your connections, so all you have to worry about is if your recorder is actually recording all the footage. Test this early. Run a few rehearsals (As Ottis does) to make sure you have clear idea of what issues you have to face once you start shooting.
Setting up the recorder:
This was fairly simple. In this case, Ottis was just recording the output of the switcher and the input of the audio distributer onto the HDR-40. He connected the HD-SDI out of the switcher via one BNC cable.
Monitoring the recorder:
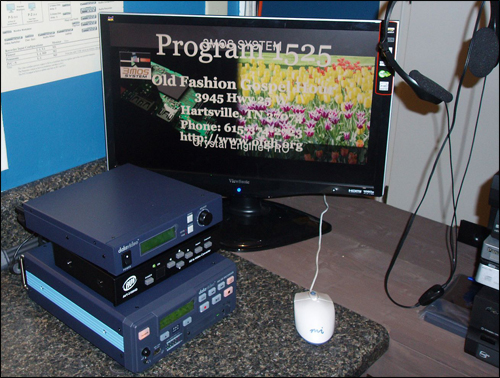
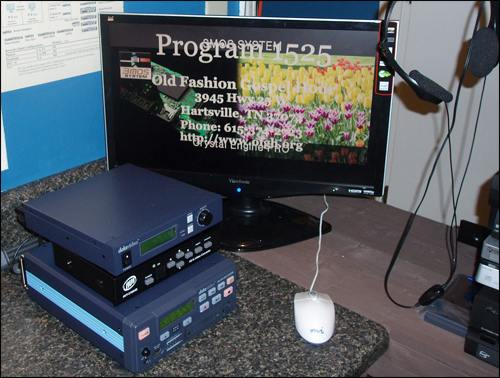
To see what the recorder is was saving, Ottis also set up a monitor (see above). This is a great idea because you want to make sure the video signal stays the same throughout. Your source video may always look great, but remember that the signal is being processed on its way to the recorder. Monitoring the signal will help eliminate any surprises you may encounter, like lines or static because of a bad connection somewhere. The HDR-40 has an HDMI out for a monitor. If that monitor has speakers you will also hear the embedded audio that was recorded.
Transferring recorded files:
Most video recorders will have the option to import files directly into your computer or connect via a removable hard drive. The HDR-40 has the latter option. Ottis connects the removable hard drive to his computer and copies the files that he wants to edit onto the computer hard drive. He does this so that he doesn’t affect his raw files by accident.
Recording Audio:
You’ll notice in Ottis’s set up diagram (Part 2 of this article), there are several audio components other than just the mics. Ottis included the following equipment: Phantom Power for two mics, an audio mixer, and audio compressor, audio delay box, audio distribution amp and a computer to monitor the audio signal.
Each of those components has a specific job (see Part 2 of this article) and in order to get the best recording, you should also run audio tests with each before you record anything. Record some audio with and without video so you have a reference point of what each file should ideally sound like. This reference point will help you determine what tweaks need to be made to get the best sound when putting your whole project together.
Audio Settings:
All of the audio components mentioned above have factory settings. It’s always recommended to research what the settings do, and what is recommended for you’re application, but you can also just play with settings to get a sound mix that you like. However there are some settings you shouldn’t just play with unless you know what you’re doing:
- Recording speed (SP or LP)
- Bit rate (Kpbs)
These settings affect the audio file in ways that are sometime inaudible, but will cause problems later if you try to sync them with video. You should only change those settings if you know exactly what you’re doing with the audio files.
Settings you can play with:
- Volume
- EQ
- Gain
Here are some other things to consider when recording audio:
Microphones: When recording your source, its best to use a mic that is designed to record that source. For example there are mics designed for singers and drummers, and you wouldn’t use one for the other. There are also mics designed for picking up the environment around it, and those are good if you’re going be recording sound for a large area like at a concert or recording a band. Find out what will work for what you are doing.
Ambient Sound:
Even in a relatively controlled environment like a studio, there is such a thing as ambient sound. It is the sound of movement of the air or traffic outside or just small sounds that we don’t think about in the day to day. However, those sounds can be picked up by your equipment. That can dirty up a sound file when you try to amplify it. This is another reason why you should do recording checks before you start shooting, and find out exactly what type of mic to use if you are recording outdoors.

