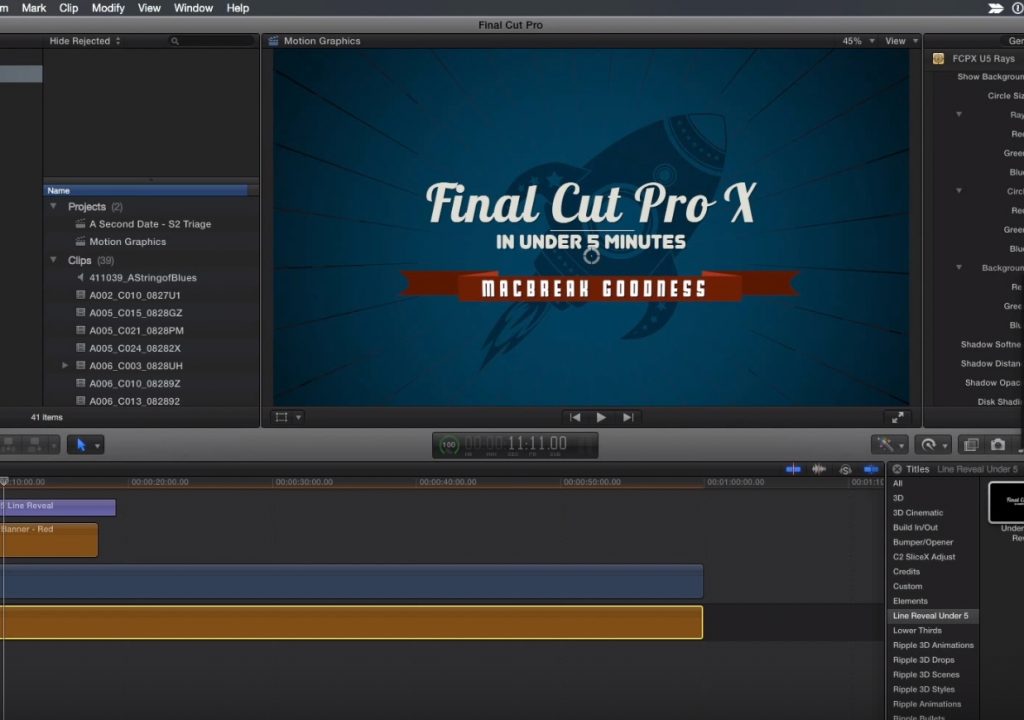
This week on MacBreak Studio, Steve Martin from Ripple Training gives us some insight regarding his workflow for building motion graphics using both Motion and Final Cut Pro X.
While I tend to do all my motion graphics design in Motion, Steve likes to build “components” in Motion and then assemble them in Final Cut Pro X. His approach allows him to create a “library” of motion graphic elements that he can then pull from to build different versions of a project.
Specifically, he creates title elements (using a Motion Title project and published to the Titles browser in FCP X) and background elements (using a Motion Generator or standard project and published to the Generators browser in FCP X). He also imports graphics into the Photos Browser for quick access from any project (be sure to see this episode on how to store your graphics in the Photos browser).
Because he published certain parameters in Motion, he can now create a show open out of these building blocks and customize it by changing these parameters. In particular, he uses different colors and graphics for each show open while maintaining the overall look and feel of the open to tie them all together.
Once he’s built an open by connecting clips to the background in the primary storyline and adjusting the timing, he duplicates the project, and then simply adjusts the colors, changes the text content, performs a replace edit on the graphic, and presto – brand new show open!
To complete the project, he turns to the Music and Sound Browser, where he has stored a set of stingers he likes to use. Once again, in addition to large amount of built-in content in these browsers, you are free to add your own.
It’s a great workflow for quickly assembling motion graphics right inside Final Cut Pro X. Check out the details above. If this kind of thing floats your boat, our Warp Speed Editing tutorial is worth checking out.

Filmtools
Filmmakers go-to destination for pre-production, production & post production equipment!
Shop Now


