As we mentioned last week, we’re re-publishing some of our older (but still useful!) courses for free.
This course shares one of our favorite tricks: using 3D lights in After Effects on “2D” layers – including already-shot video, renders, text, and graphics – to greatly increase their visual impact. Virtually no knowledge of 3D is required: You don’t need to create a 3D camera and fly it through space, or even re-position the layers; you just need to enable a 3D layer switch and play around with the position and settings of the light.
Even though this course was recorded with an earlier version of After Effects, 3D lights are virtually unchanged since then; the only addition has been a Light Falloff parameter that you should leave Off for these tricks. The choices in 3D rendering engines have evolved a bit in After Effects over the years; to employ these tricks in After Effects CC 2017, we recommend using the Classic 3D renderer: It’s the fastest, and has all the features you need to create these looks. Select it in Composition > Composition Settings under the 3D Renderer tab.
Part 1/3: The Basics
https://youtu.be/hGBJHlkkZdA
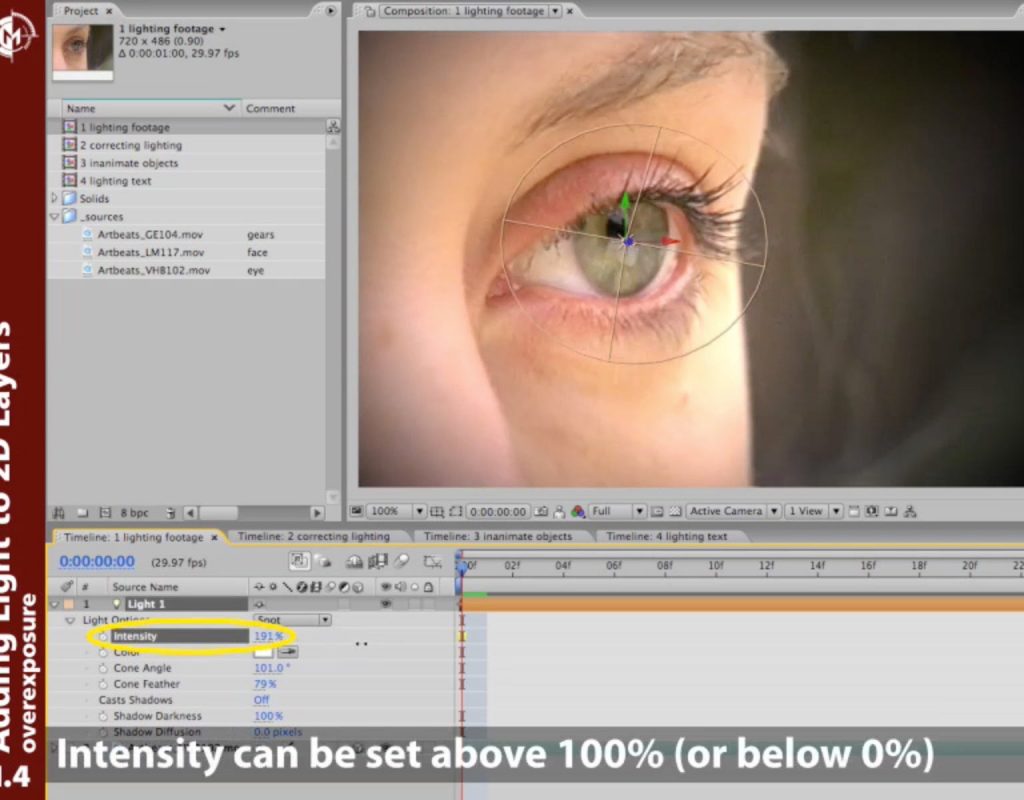
This movie gives an overview of the course, and then shows you how to create and manipulate 3D lights in After Effects if you have no prior experience. We then move onto playing with the width of the light to selectively re-illuminate parts of an image, and an application of selective over-exposure to help add a “glint” to an eye and bring it out of the shadow of the surrounding eye socket.
Part 2/3: Material Options
https://youtu.be/lojCMiuvWDM
This part focuses on using Material Options in After Effects to alter how a light uses the colors of a layer (not just the light itself) to illuminate it. We also demonstrate more tricks with bring a subject out of a shadow, as well how to use Ambient lights to add to or subtract from the overall illumination in a scene.
Part 3/3: 3D Text
https://youtu.be/2ZspMZ8vw_c
The previous two parts focused on improving realistic footage; this final part focuses on adding zing to otherwise flat 2D graphics such as text overlays. The tricks we teach include adding a metallic specular hot spot, making lights travel across the text, and the important steps needed to illuminate black and other dark-colored text and layers, which don’t reflect light at the default settings.

