When I was teaching the Music Video Workflow class at NAB this year, one part of the discussion centered on the editing timeline and how, if you’re not careful, it can become a multi-layered, sloppy mess. Everyone has their own way of housekeeping within the editing timeline but one thing you should never do is turn over a sloppy, unorganized timeline to another editor. I got an email from one of the attendees after the class that pointed me to a program called Auto Collapse that can automate timeline cleanup in Final Cut Pro.
Auto Collapse comes from a company called Edit Mule. I hadn’t heard of them until I got that email and boy do they ever make some handy little utilities. I contacted them and asked for a review copy of Auto Collapse and they were gracious enough to send of copies of all their software. I think this type of tool is particularly interesting to readers as it’s not a flashy plug-in you might hear a lot about but rather a simple idea that can save time. Their slogan is “cut out the donkey work” and that’s exactly what tools like Auto Collapse, Auto Scratch and Filter Remover will do. We’re going to talk about Auto Collapse in this entry and we’ll cover the other tools later.
Cut out the donkey work indeed!
One thing that Final Cut Pro’s easy to manipulate, open timeline often encourages is the haphazard moving of clips, placing things on multiple video layers and disabling of clips in the timeline while leaving them there. Couple this with an inexperienced or sloppy editor and you might end up with a timeline that looks something like this:
The single most nightmarish FCP timeline I’ve ever encountered.
One question that may be asked is: Who cares how sloppy my timeline is? Truth is no ones cares how sloppy your timeline might be until you turn it over to another editor. Then they will care … a lot. Turning a job over to another editor could be something as simple as another editor coming in to make a change or it might be a complex as a re-edit if the original editor had to leave the project. Probably the most common reason to to give your edit to another editor is when a job has to be sent for online, be it a full re-conform at a higher resolution or just graphics and/or color work.
Think about it: if you received a hard drive containing an edit that you knew next to nothing about, what would you like to see when opening the latest edit sequence and preparing to move forward in a timely manner?
This:
Or this:
If you encounter the former, that’s where Auto Collapse can come in handy. Instead of going through the timeline clip by clip, checking edit by edit andwhat should be visible at any point in the timeline and then dragging clips down to make more a compact, more manageable timeline you can automate the process with Auto Collapse.
If you’ve never had to go through that process of flattening an unwieldy timeline into something more manageable then consider yourself lucky as it’s not particularly fun. It can also cost a project more money as flattening a sequence takes time. Say you’ve sent an edit over for online and the editor has to flatten one of the sequences above; someone will be charged for that time. I’ve had sequences that have taken well over an hour to flatten. Flattening is a necessity for an online session as the editor has to get a big picture view of the entire project and that is difficult to do with so many tracks and so much media in a timeline. There’s more chance for error the more unused stuff that’s crammed in there. It’s much easier to move from clip to clip when they are all on one track or a few tracks as possible. It’s also easier to see and work with graphics, lower thirds, superimposed clips and comps when the timeline is organized and you can see particular elements on their own tracks. If you’re having to re-conform an edit at full resolution then any media left in a timeline video track under media on a higher video track would get re-conformed taking up extra time and disk space. Both of those things can cost money. Plus it makes it easier to work onscreen, taking up less screen real estate and not requiring so much scrolling of windows when the edit is just a few layers as opposed to many. I can promise you that the editor you are handing a sloppy timeline to won’t be nearly as happy as one who gets a well manicured sequence.
Enter Auto Collapse
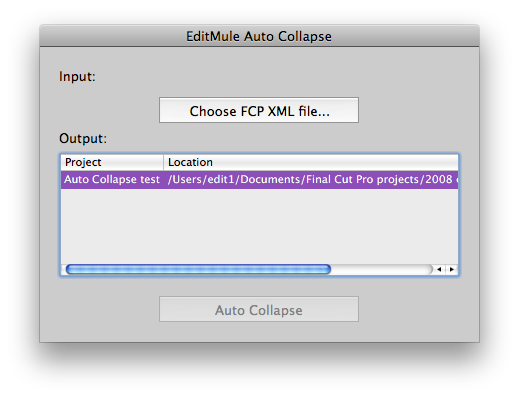
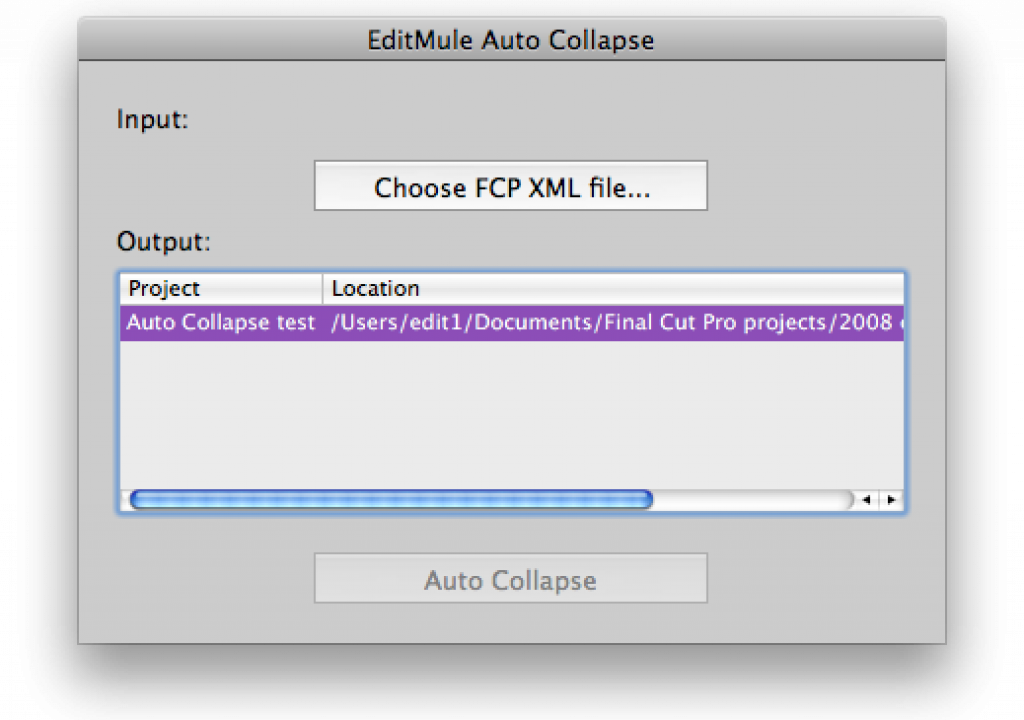
Auto Collapse can help get that well manicured sequence by taking an XML of your FCP timeline, examining that XML and creating a newly flattened sequence while leaving the original edit untouched. It does this in a smart manner by taking into account things like opacity, keys and graphics that have to be on an upper video track. Upon completion you’ll get a new sequence (with a unique identifier suffix if you desire) and possibly a happier editor.
The application gives you options like selectively collapsing filters as well as leaving disabled clips and tracks behind.
After you export an XML from the sequence you want to flatten you re-import that into the Auto Collapse application. It examines the XML, the application says it can take up to two minutes but even on a half hour sequence it was less than 30 seconds, and presents you with the options seen above. I always leave the Add Extension option checked as I want an easy way to identify the new sequence. Hit Collapse and it goes to work collapsing the sequence and then reimporting the newly flattened sequence back into FCP.
It’s worth noting that while Auto Collapse does a great job at its single task you should always compare a collapsed/flattened edit to your reference edit to make sure everything has collapsed properly. This is true when using Auto Collapse or doing the flattening by hand. I’ve caught my own mistakes when doing this task by hand as a clip has shifted a frame or two or I accidentally collapsed a title and deleted the clip beneath. No matter how you are doing it never flatten the original edit, always work on a copy. When collapsed, compare the edits by loading the original in the Viewer and ganging the Viewer and Canvas together while you step through edit by edit to make sure the newly flattened version is identical to the original.
Here’s another before and after example:
A more complex timeline but one that should be able to collapse into a single video track.
Auto Collapse successfully and correctly flattened it to a single video track.
Auto Collapse is a great tool to have on-hand if you are having to send projects to other editors. It’s equally useful if you’re an editor who often gets jobs (either to online, fix or output) that you know nothing about. I find it particularly useful as I often have to pull an EDL for an edit that is going to color grading on our DaVinci 2K Plus. An EDL wants a single layer of video to identify the cuts so the DaVinci doesn’t have to auto-detect them on its own. Auto-detection requires a playback of the piece and that can take a lot longer than a simple import of an EDL. Another example where time is money. It’s here I would probably say that I would love to see Auto Collapse to be able to collapse an Avid Media Composer timeline as well but to be honest I have rarely (if ever) encountered edits so sloppy that it was more than just a few minutes to prep them for online or output.
Edit Mule’s Auto Collapse is $69. That cost might be made up on a single job. A demo is available. There’s a pdf available online as well so you can get a bit more detailed information before you spend your $69.
And as for that “single most nightmarish timeline” that I mentioned above? Here’s the results after Auto Collapse; not perfect but not too bad. Oh how the time that would have saved!

