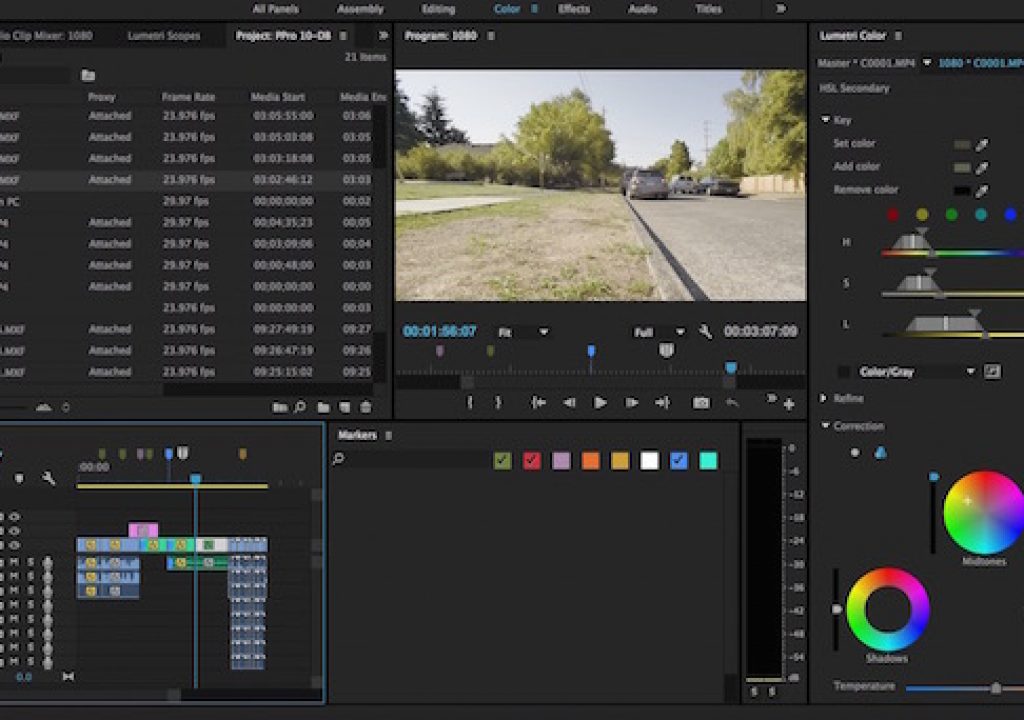
Here we are just a few days ahead of NAB 2016 and Adobe has announced what will be coming in the next update to the Adobe Creative Cloud audio and video tools. There’s some great things hitting the professional audio and video apps across the suite. Among the highlights are enhanced performance for After Effects, an Essential Sound Panel in Audition for novice audio mixers and expanded functionality for Media Encoder including a Media Browser built-in. We’ll focus mainly on Adobe Premiere Pro CC and it’s updates. Here’s the big ones: Secondaries in the Lumetri color tools, a VR video mode and a proxy editing workflow. More details of all the new features have been cataloged on PVC already so let’s dig into this new Premiere stuff.
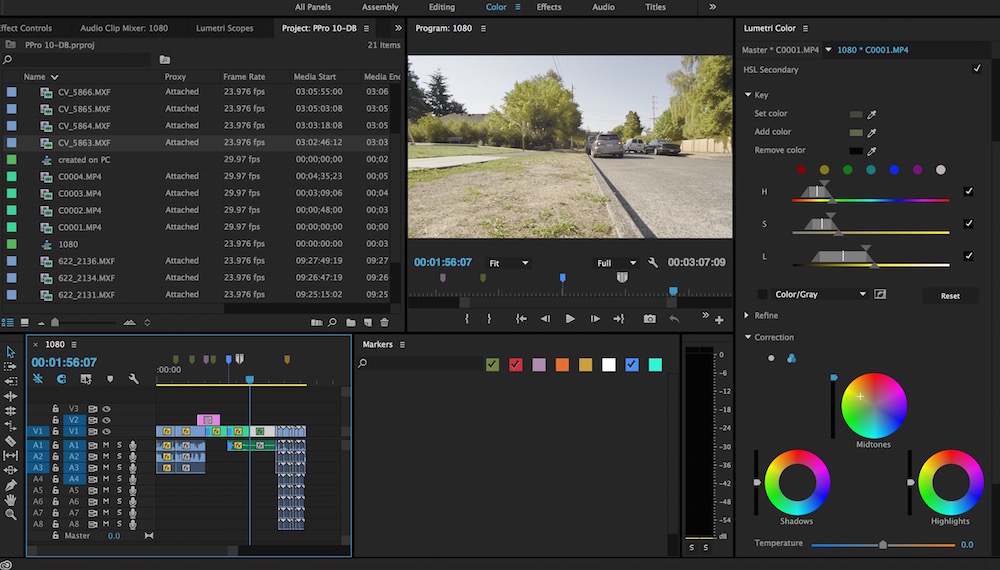
Back in December of last year I wrote an article called 4 THINGS THAT WILL TAKE ADOBE PREMIERE PRO TO THE NEXT LEVEL. One of the things on that list was an Easy proxy offline editing mode. The next update to PPro will get just that. Adobe didn’t respond to my article as I’m sure this feature was in the works before December. I’ve been able to work with the beta a little bit and coming off a 4K job last year that had me creating proxies and going through a lot of relinking hoops this new proxy workflow looks like just what I was hoping for.
Proxy media creation and editing
I know next to nothing about creating complex software but my guess is a proxy workflow that can seamlessly (and properly) switch between offline and online resolutions is probably complex. In addition to just tracking and linking the media, remembering file paths and deciphering wrappers the NLE has to track its way through clips that have had effects and scaling adjustments applied. That might prove tricky.
This next version of Premiere will introduce a new Project Setting for Ingest. There we’ll be able to allow Premiere to do some media management that hasn’t been possible before outside of Prelude (No updated to Prelude this time? Hmmmm).
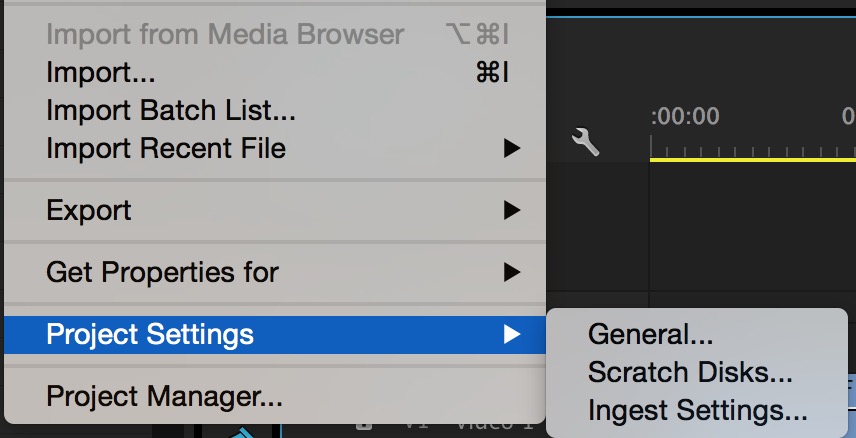
This is an important thing to understand as it’s a fundamental difference in the way we’ve gotten media into PPro if you choose to use this option. Before this setting the editor was responsible for placement of media on a media drive. Now we can let PPro do some of that for us.
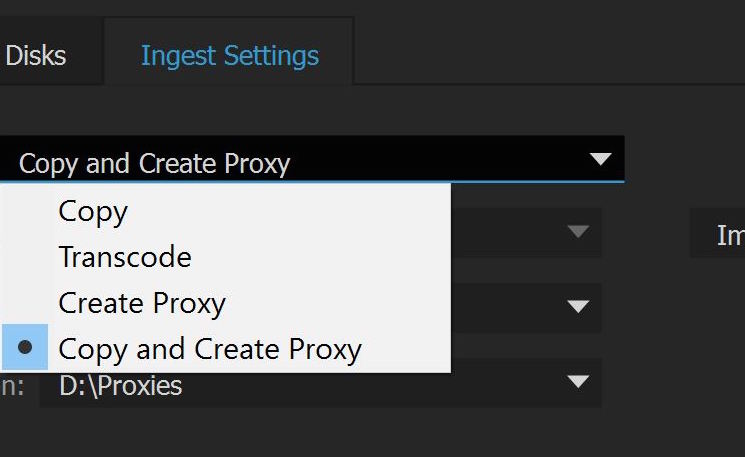
It’s going to take some getting used to this new Ingest option for longtime PPro editors. Inevitably at some point you’re going to forget it’s on and some media will do something you don’t want it to do. Learn how to use it can add a new level to your workflow. There’s also going to be an option to transcode proxy files to your Creative Cloud directory. That’s some good use of the cloud space but that might not be feasible for very large projects as even small proxy files can add up.
As far as using proxy media it’s a solid workflow. There’s a new metadata column for Proxy.
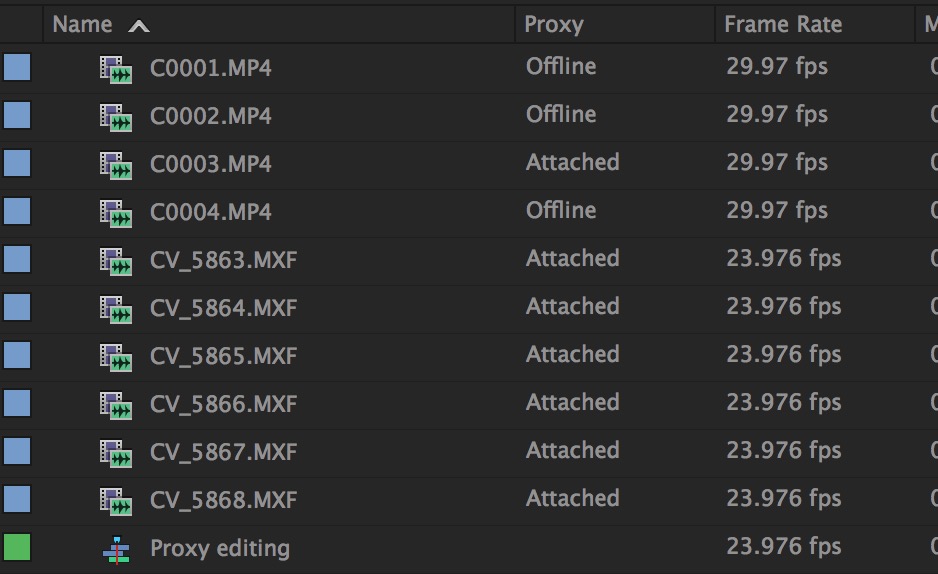
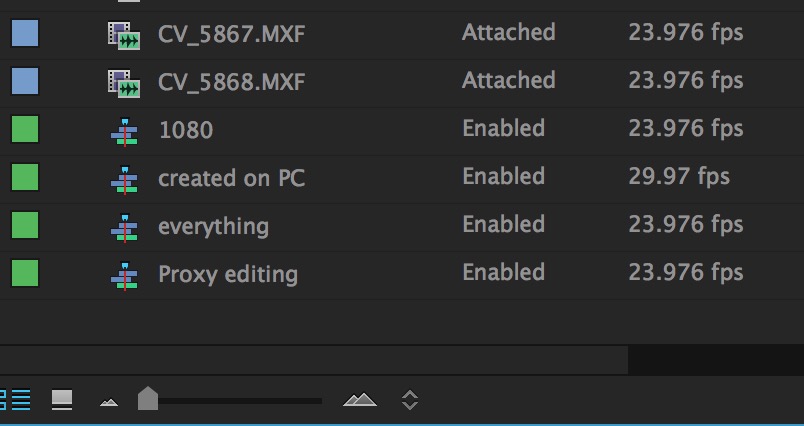
This column is going to be very important for tracking a proxy workflow, both for clips and sequences. It will be blank indicating there’s nothing proxy related to a clip. All master clips above have proxy at some stage of creation. Offline means proxy files are currently being created. Attached means clips have had proxy files attached. You can go to work right after ingest as Media Encoder creates the proxy files (it’ll show offline) and it can relink in the background to those newly created proxies via a new preference.
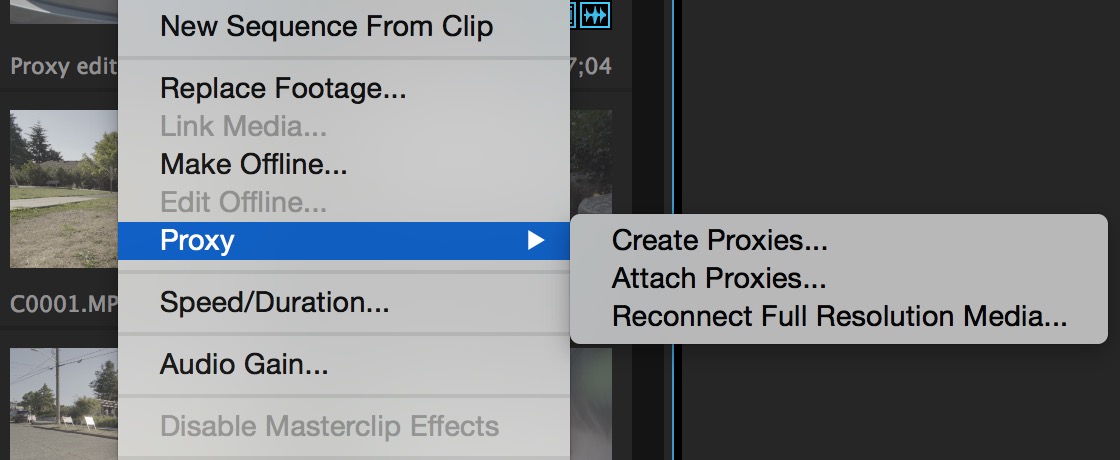
Attaching proxies is the key. Adobe Media Encoder is enlisted to create proxies in any flavor you wish via AME. While there are some presets built-in you can create and save whatever you want by saving AME presets.
You can also use other tools to create the proxy files. Premiere is just looking for identical files with a _Proxy designation as that’s what happens when AME creates those proxies. I took a batch of 4K .mxf files from a Sony camera and used EditReady to create 1080 downscaled (with a LUT applied) DNxND and ProRes Proxy .mov files. I then used the Attach Proxies… command to attach those proxies. Premiere seems to be able to muddle through the different file wrappers and recognize the media it needs to recognize.
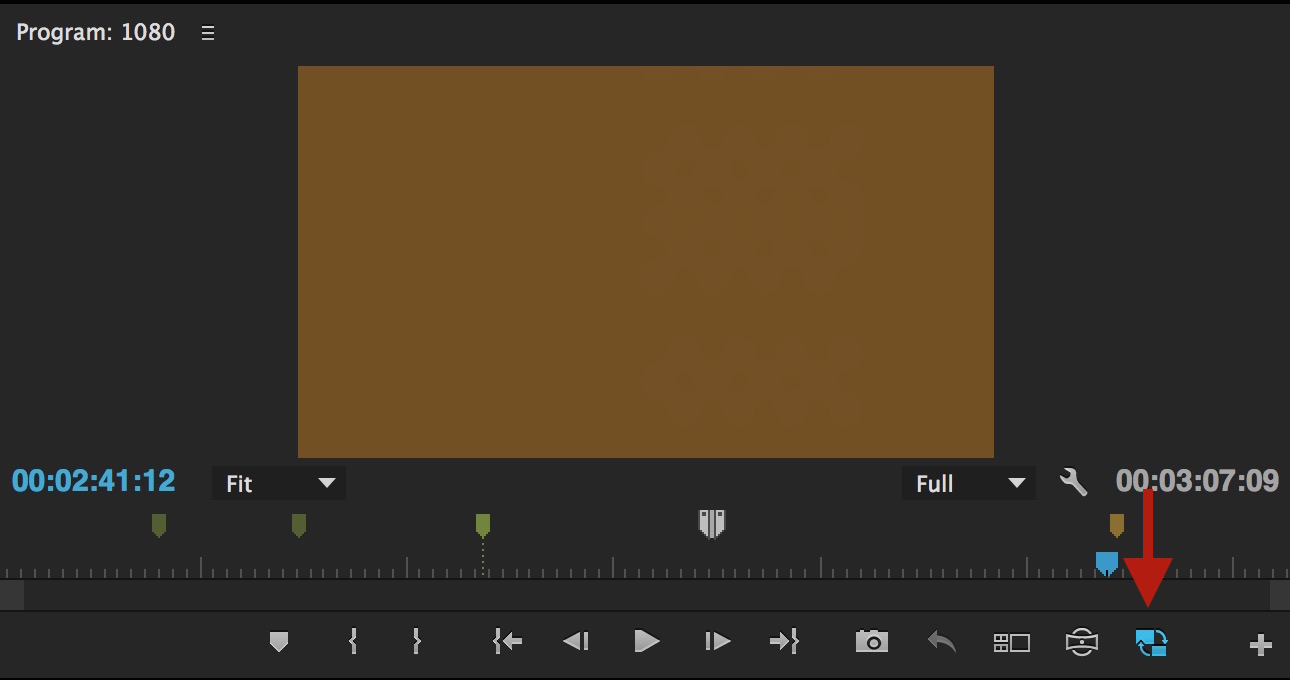
Want to edit with proxies? Hit the proxy button in the Viewer. This new button has to be mapped from the button list under the Viewer. That button next to it? That’s the new Toggle VR Video Display. Enabling proxy mode is also a new preference under Media.
While messing around with it I thought I would do a stress test where I would create 1080 proxies right to a portable drive and remove them from the main system. This is what we want to do with proxies often right? Take them and edit anywhere. That worked great and sending the project file back to the other machine I was able to easily reconnect the edit I made with the proxy files back to the full rez 4K media.
Proxy workflows aren’t for the faint of heart but a good editor should be able to use this workflow (once it ships) to full advantage. I took some of that 4K media into both a 4K and 1080 timeline, added some titles, scaled and animated some clips, switched to proxies, did that some more and took that back to full 4K. All the scaling and animations translated between proxy and full rez mode without a hitch. As it should.
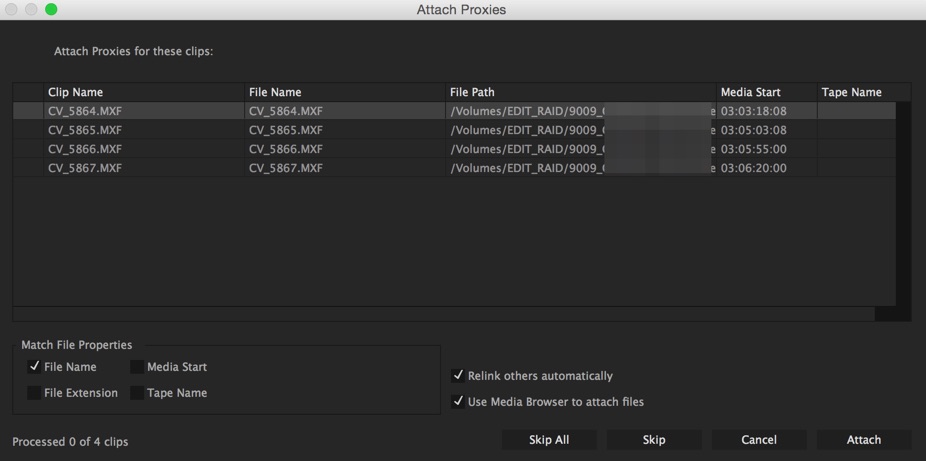
It’s going to be important for editors to know their media well, know where proxies are stored and what you’re cutting with. Codecs like ProRes Proxy look very good for the low bandwidth they use and on a small laptop screen you might be hard pressed to tell the difference between a proxy clip and a full rez clip. But you’ll feel the difference as you scrub around a timeline that’s for sure.
New Keyframe keyboard shortcuts … and more!
How we editors love the small things and new unassigned keyboard shortcuts for keyframing are going to be welcomed by editors everywhere.
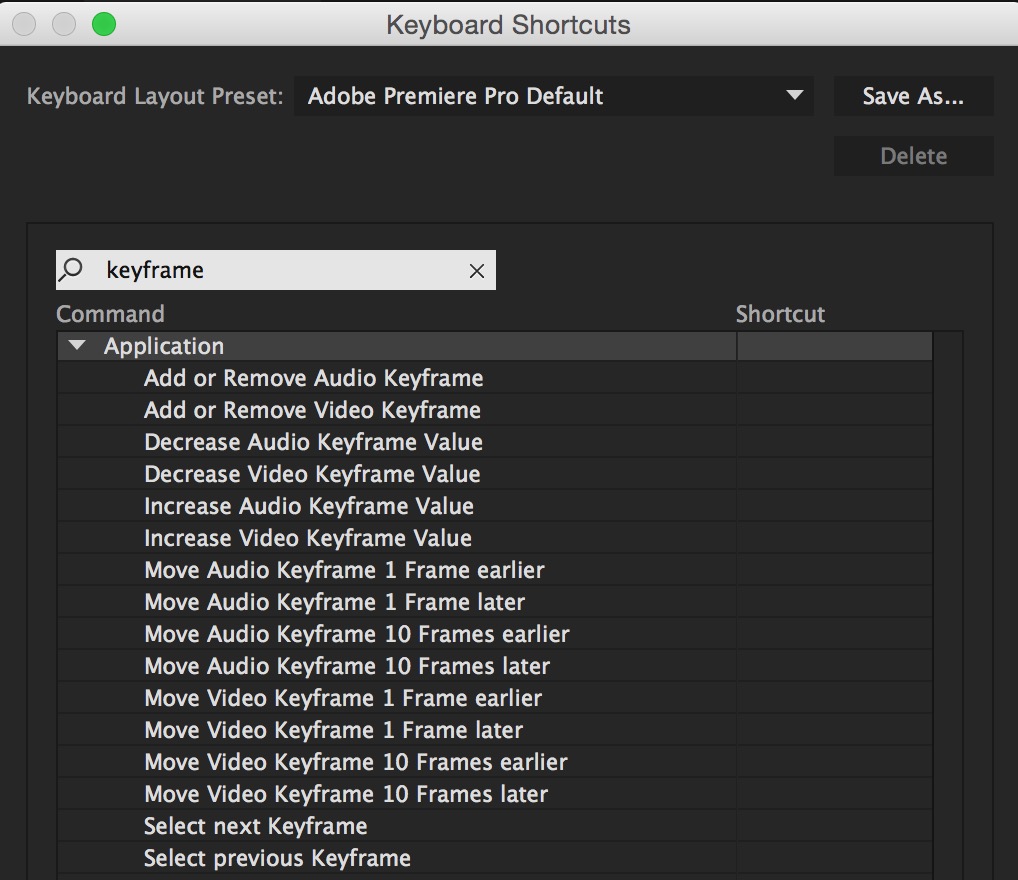
There are new options for both adding audio and video keyframes via the keyboard as well as navigating between them via the keyboard. I can feel my custom key layout getting more and more crowded with each update.
These shortcuts will work in both the Effects control window as well as in the timeline. When working in the timeline it’ll help to get to know the FX badges and how they work.
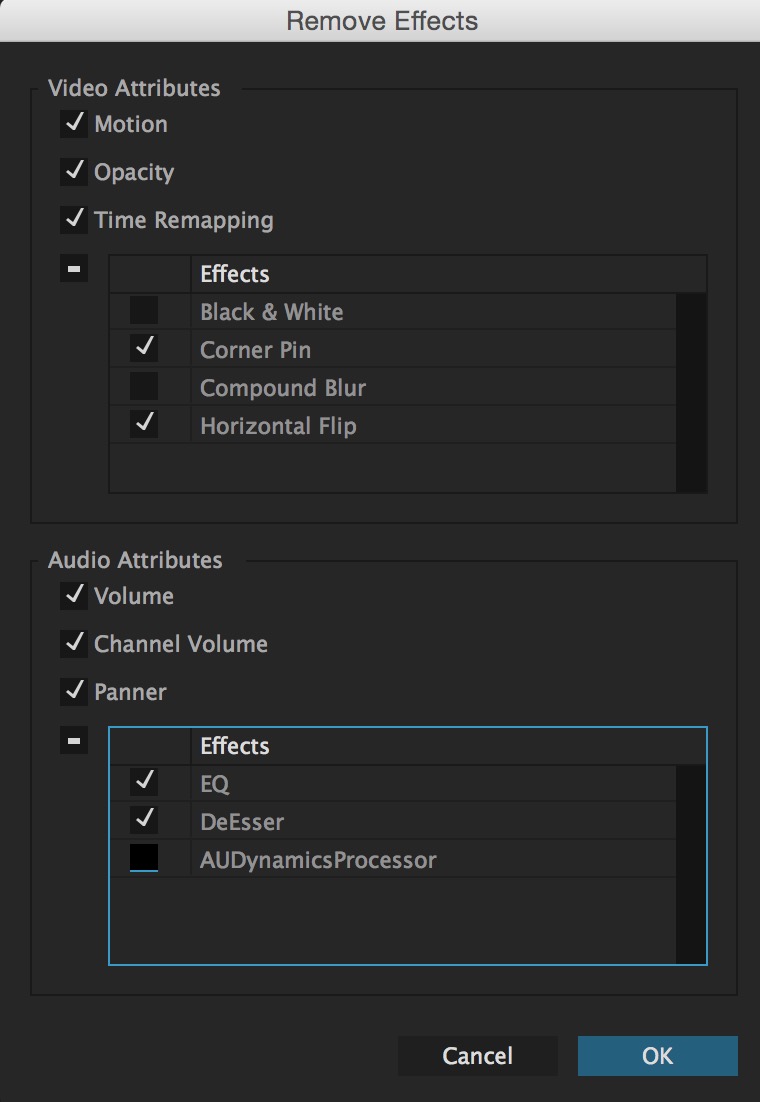
The Remove Attributes box now lists all applied effects and lets us selectively remove them.
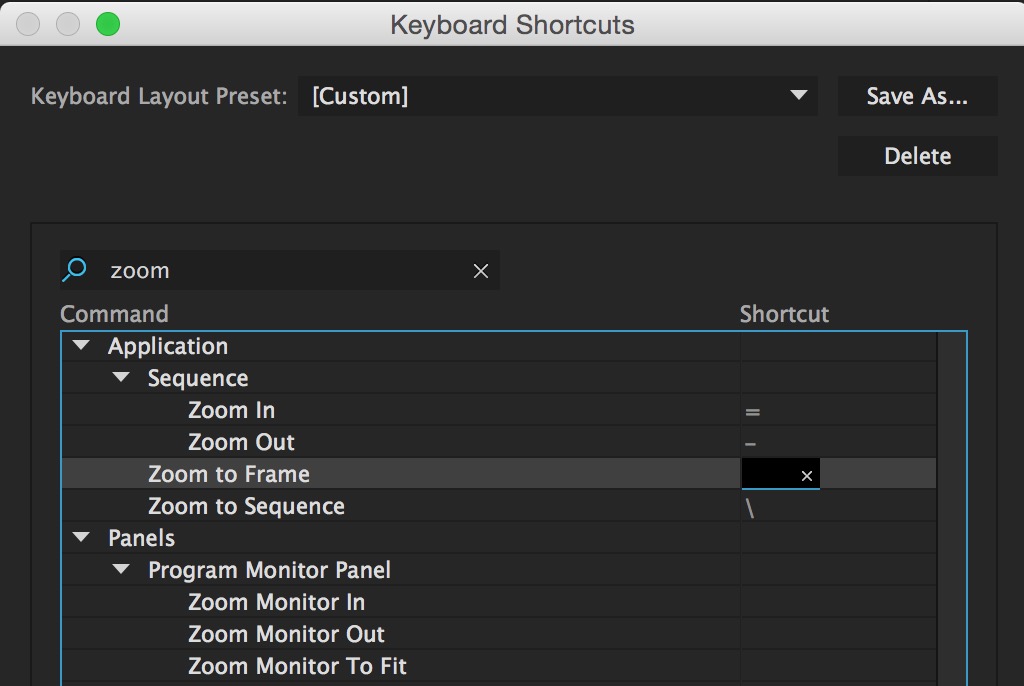
Are you a fan of the Avid Focus keyboard shortcut? We get something similar with the new Zoom to Frame shortcut. Only it zooms in even closer, to the frame level with one keyboard shortcut. Hit it again and it zoom back to where you were zoom level wise.
Lumetri color enhancements including secondaries
https://youtu.be/iYaTWlKM23w
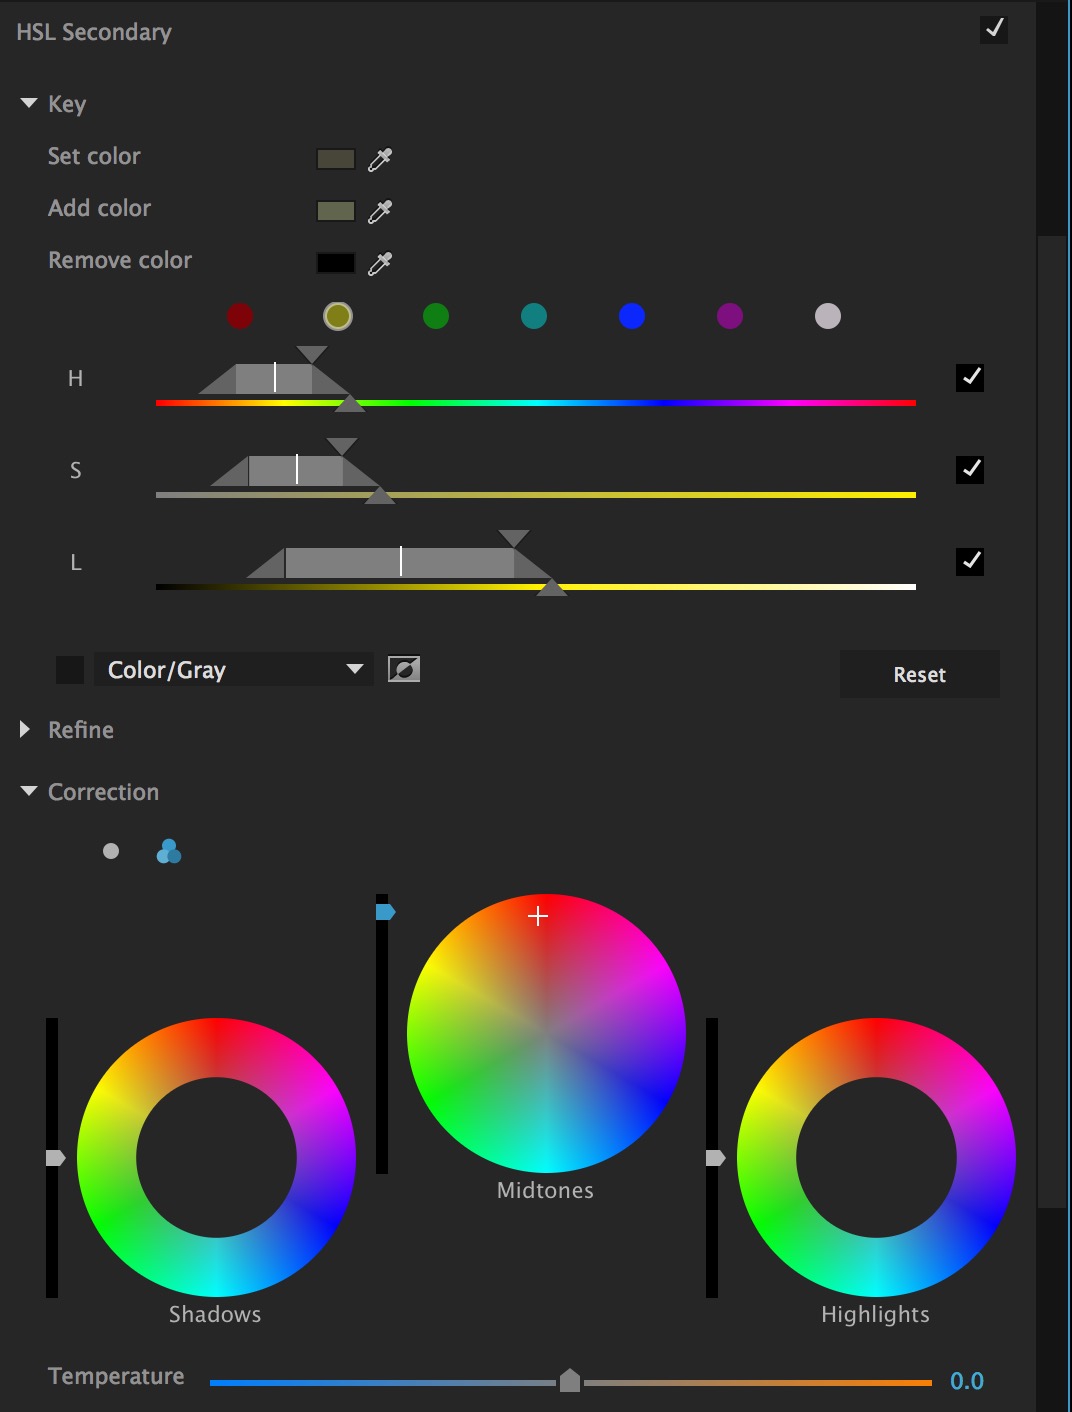
It’s hard to have complete color correction without secondaries and the next Premiere update will add an HSL Secondary as another level of color grading. There’s some preset color qualifiers built in but also eyedroppers for grabbing colors for the secondary key. And those Lightroom-inspired temperature, tint, contrast, sharpen and saturation sliders are there in the new secondary as well.
Bring up the Lumetri Scopes and you’ll get a new Rec 2020 option and a three options for brightness on the scopes.
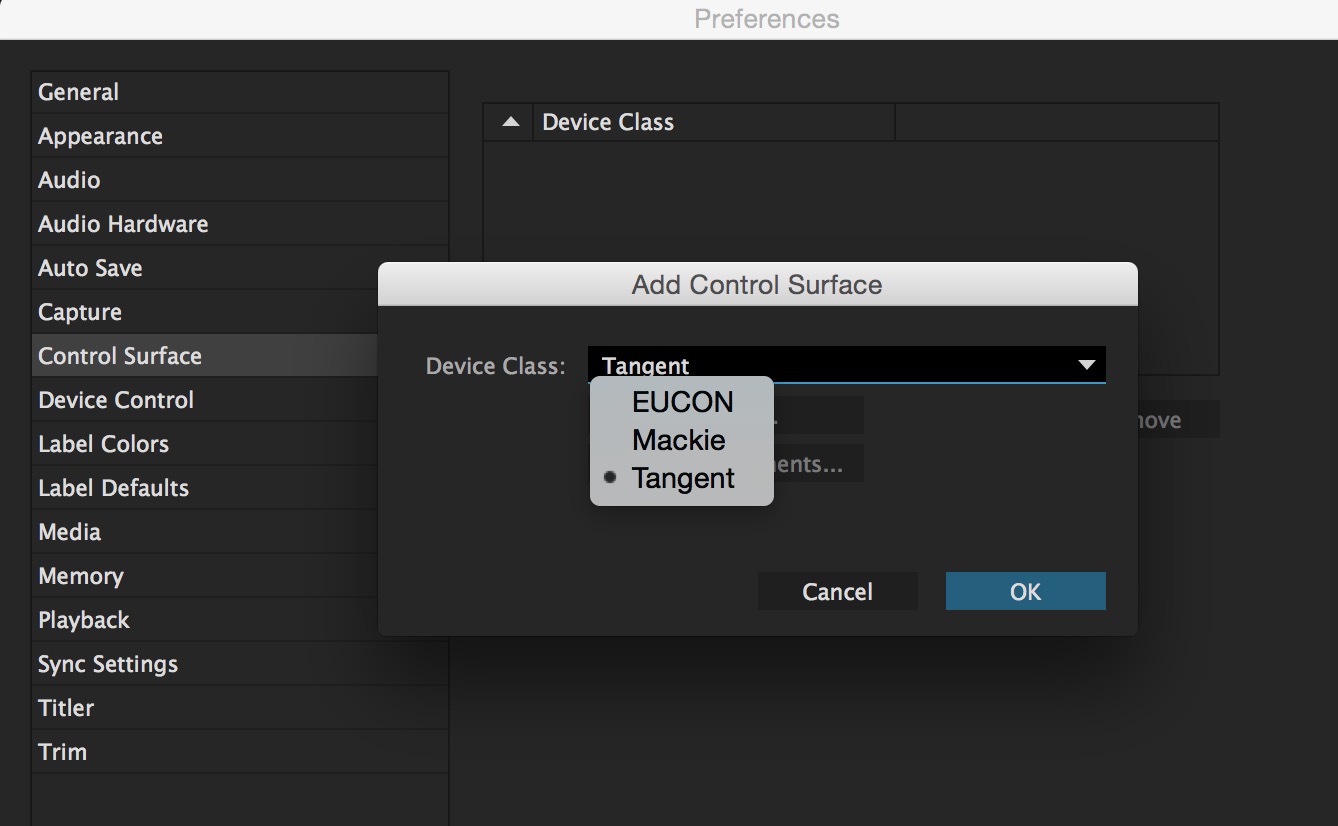
The biggest thing about better color support addresses one of my 4 things that were missing: Control surface hooks into the NLE will allow ”Support for color control surfaces like the Tangent Elements, Wave and Ripple.”
VR mode … of course
https://youtu.be/u1eUb0OiBxU
What would anything related to video these days be without something related to VR. VR footage is fully supported with a VR mode where you can use the viewer in Premiere to scan around a full 360 scene.
There’s a lot more in all of these coming Creative Cloud updates. The Adobe YouTube channel has a number of videos about them all. This was a beta build I was working with so features many changed or be dropped entirely by the time we get the full release. But some new stuff might be added too. If you’re at NAB drop by their booth and see them in person!

Filmtools
Filmmakers go-to destination for pre-production, production & post production equipment!
Shop Now