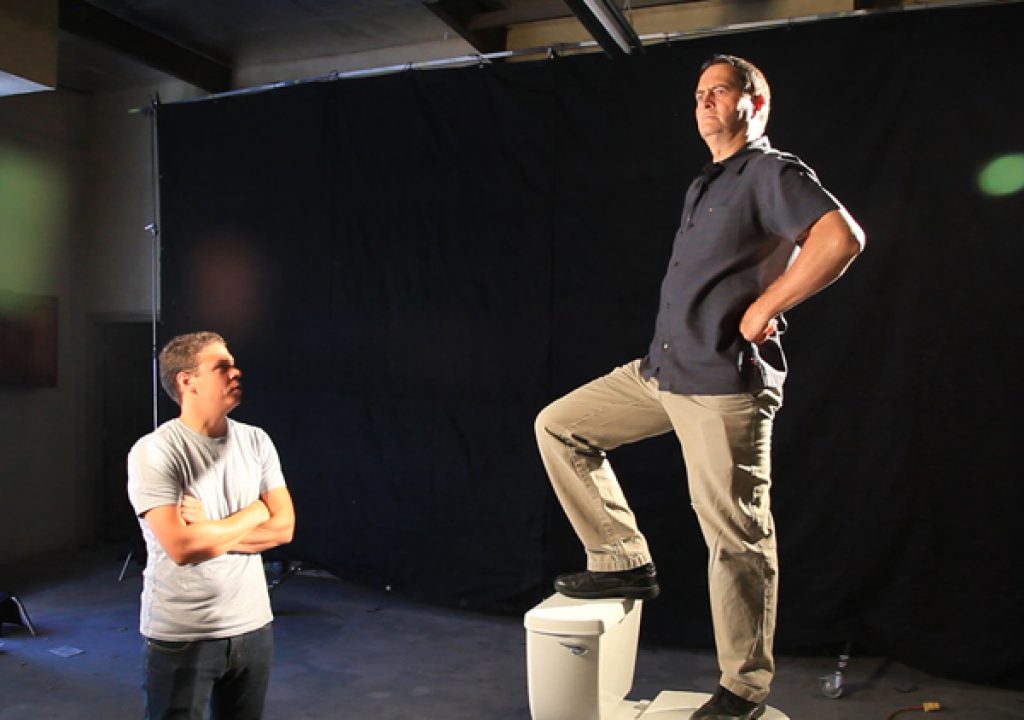
Today on The Slanted Lens we will create lighting for a superhero shot using a simple set, smoke and cookaloris or cookie. We will demonstrate the different hang times of the three Rosco smokes. We will show how to make a cookie or cookaloris and how to use it. We will show our lighting breakdown for the shot. Last of all we will show a very simple way to fly a cape. This has been a great shoot. I have a better understanding of the different Rosco smokes and how to use them. I hope you will find this helpful.
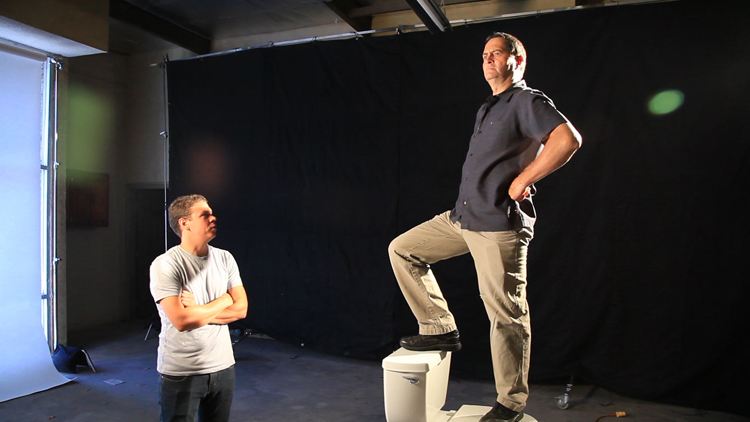
1. Let's look at how we set up our scene today. First we rigged 2 12' x 12' duvateen pieces side by side to create a large black background. At the seam in the middle where the two duvateen pieces meet we rolled the edge with the grommets away from the camera and clamped them together. Then we brought in a toilet for him to stand on. This is our entire set. It's very simple.
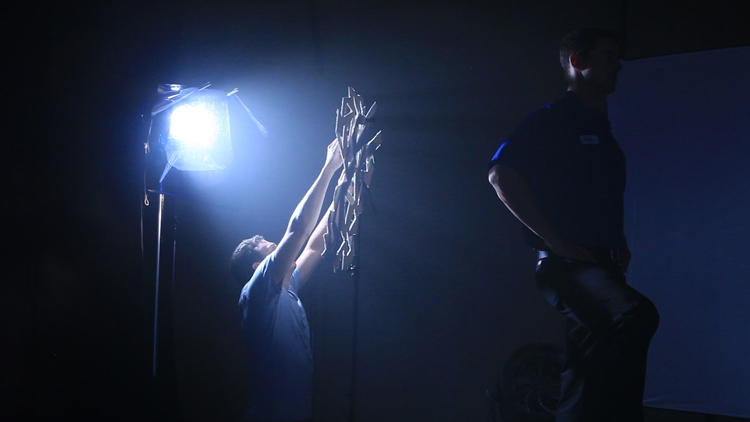
2. The first light that we set was the 1K that we aimed at our talent's back. He literally blocked it from the camera view. This light was pivotal to the shot and everything else we did depended on it, so it's the first light up. We next set up our Rosco smoker and proceeded to create a cookaloris or cookie to shape the 1K that we aimed at our talent from the background. The goal of our cookie was to create light streaks that emanate around our talent making him look like a super hero. Our cookie was cut out of Foam Core.
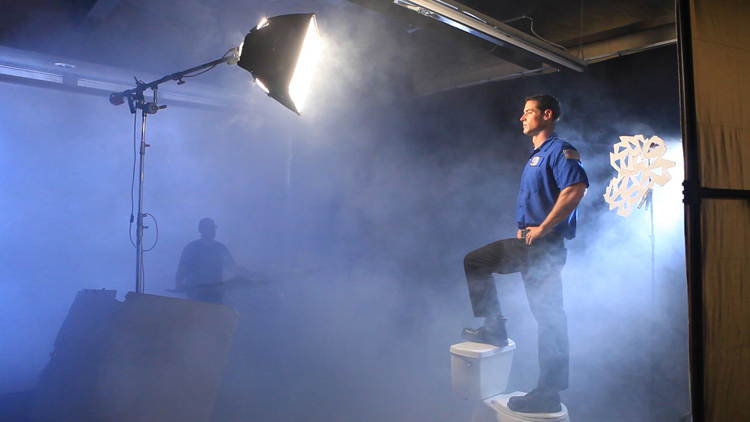
3. We used Rosco’s original Academy Award Winning Green fluid – It's a very thick, opaque, and billowy smoke with a long hang time. This smoke hangs in the air for a long time and creates a great effect. It can be overpowering to the shot. You see that you can hardly see the talent's face. We used this smoke for our shot but used short bursts followed by fanning it to thin it out and clear the face of the talent.
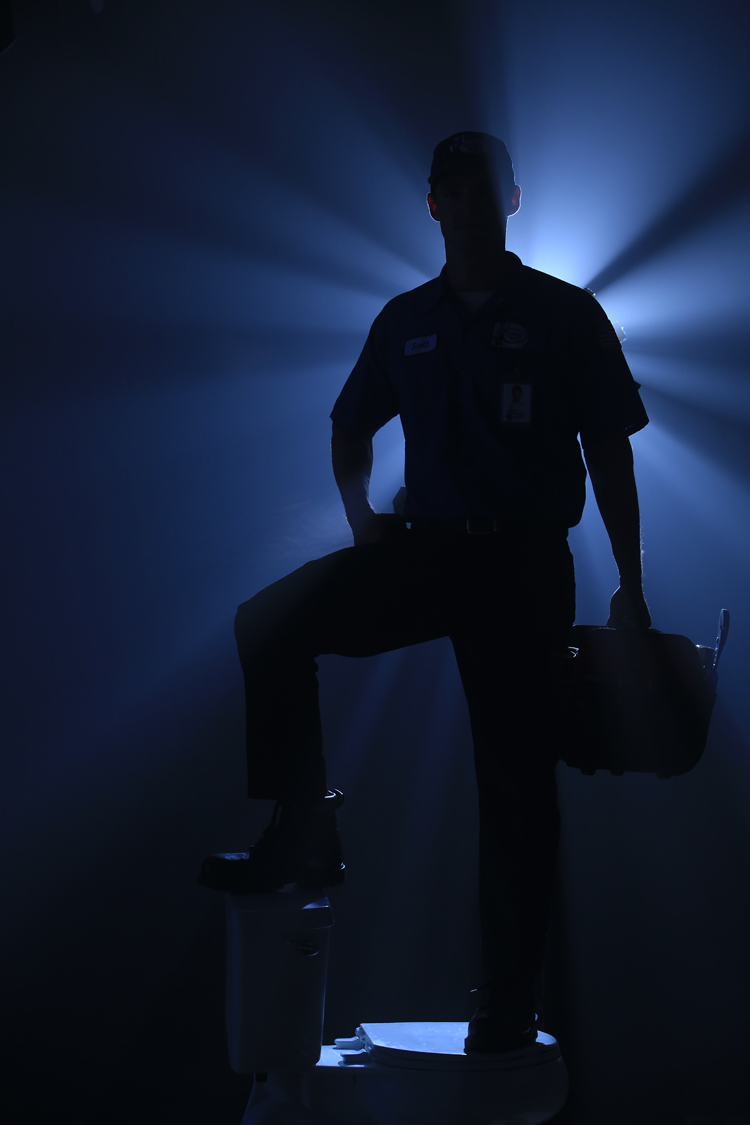
4. We started with a 1K as a backlight to create our smoke effect. It's working with the cookie and looking great.
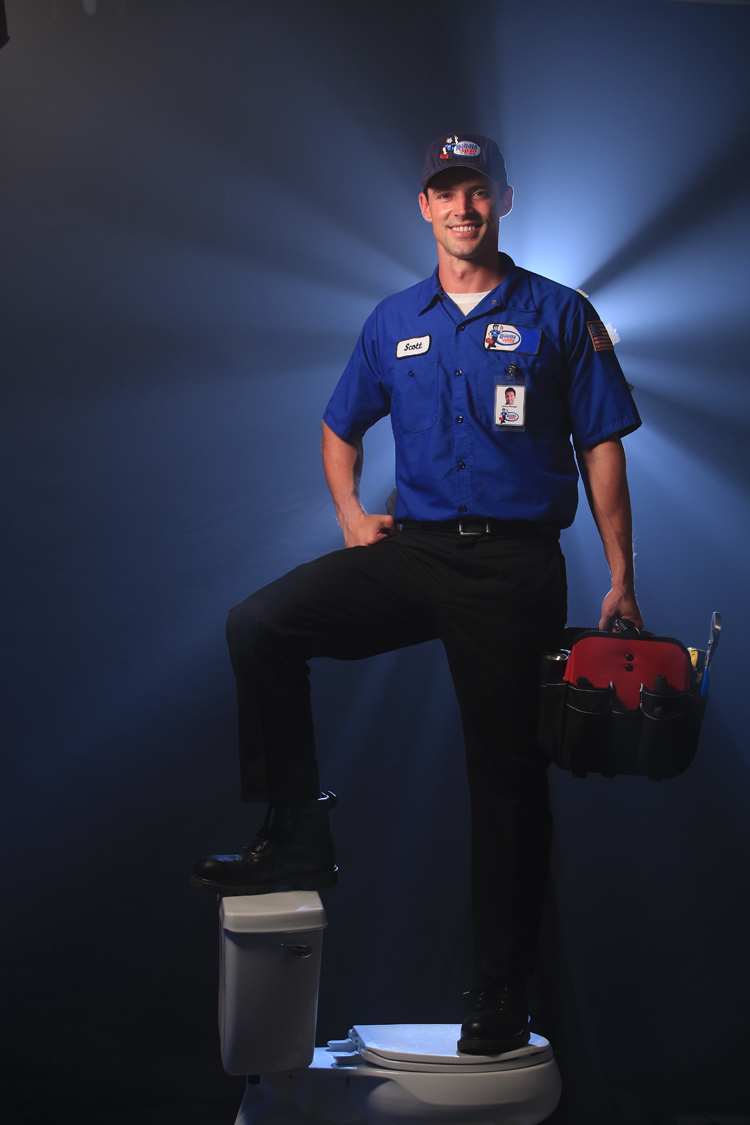
5. We next added a medium soft box on our talent. This is a Photoflex medium soft box with a starlight tungsten light. It is boomed overhead and feathered up just slightly so the light falls off the pants and concentrates on his face. He needed to look up to keep the brim of the hat from casting a shadow on his face.
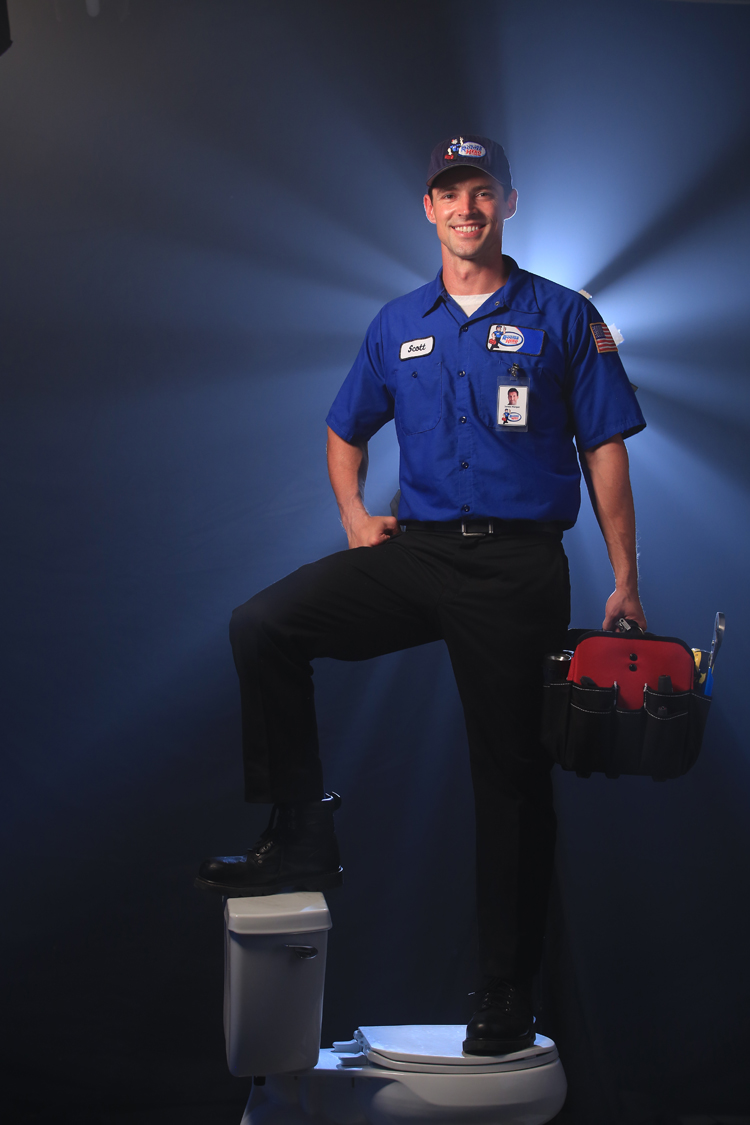
6. Next we added a 39 X 72 inch litepanel as a fill light. It opened up the shadows and made the image a little more pleasing.
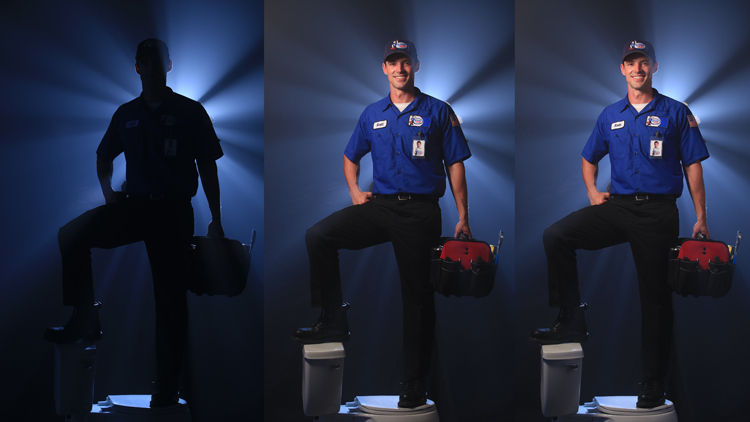
7. Here is our lighting breakdown. 3 lights and some great smoke. In a very real way smoke is a lighting effect. It disperses the light; it gives light a way to be seen. Smoke is our 4th light. Keep those cameras rollin’ and keep on clickin’.

Filmtools
Filmmakers go-to destination for pre-production, production & post production equipment!
Shop Now