 When Blackmagic Design acquired the assets of Fairlight, the software was refreshed and developed into the Fairlight page within DaVinci Resolve and Resolve Studio. Even though it’s nested inside of a video editing and grading tool, DaVinci Resolve Fairlight is capable of being used as a standalone audio application. No need to ever have video enter into the equation.
Nearly all Fairlight features and effects are the same in both Resolve versions, with the exception of ATMOS and spatial audio mixing/monitoring, which requires the Studio version. If your only interest is stereo recording and mixing, then Resolve is one of the only, truly free DAWs on the market. No significant feature restrictions and no Blackmagic hardware required. Plus, it works in Windows, Linux, and macOS.

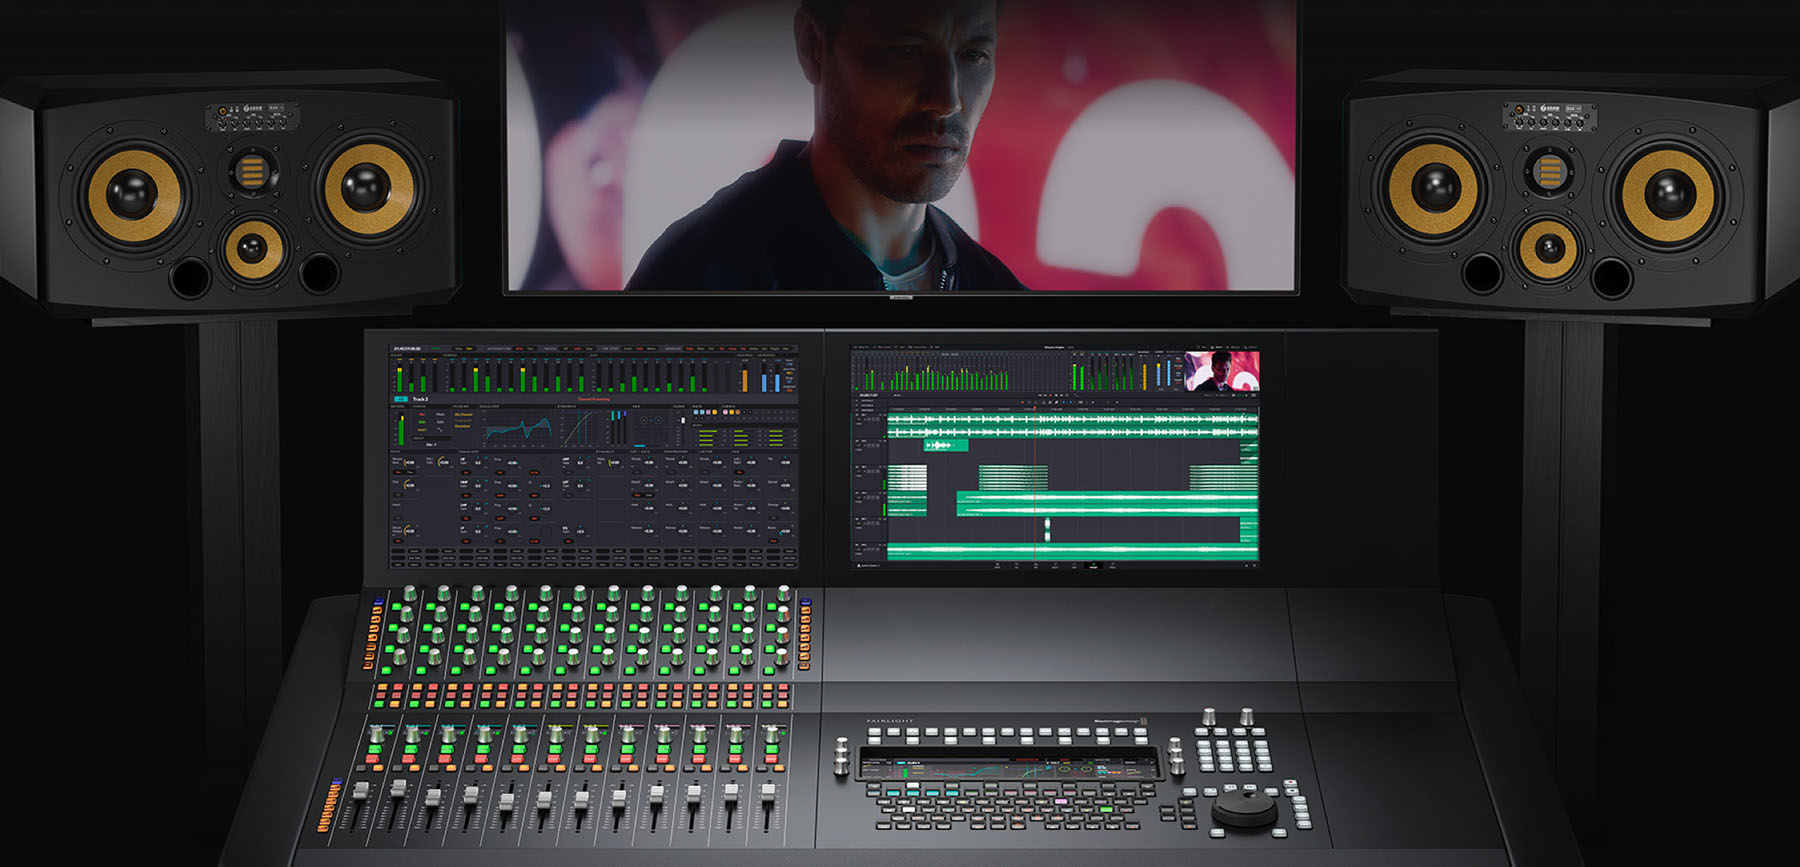
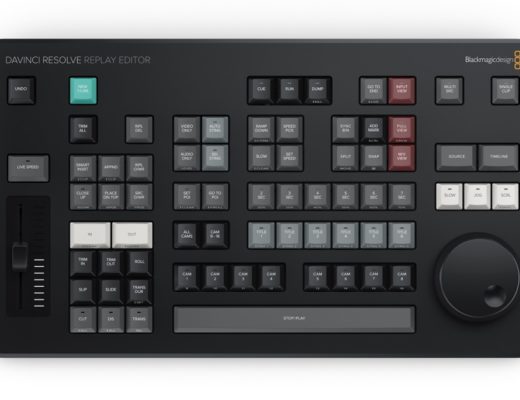
Along with this software development, Blackmagic Design expanded the ecosystem of companion Fairlight hardware products. These include an accelerator card, a modular chassis, control surfaces, controllers, and an audio interface. The Fairlight page also supports Blackmagic’s two editor keyboards. You can run Fairlight without any external hardware, yet it’s scalable up to a full-blown, recording studio console configuration. On a Mac, any Core Audio device will do, so recording into Fairlight and monitoring the output is compatible with simple USB audio interfaces, like PreSonus, Focusrite, and others.
Understanding the interface
If audio post for film and TV is your primary focus, then Fairlight is up to the task. Resolve will import XML, FCPXML, and AAF files for both color and sound finishing. Fairlight includes an ADR recording routine, a free sound effects library, and a foley sampler plug-in.

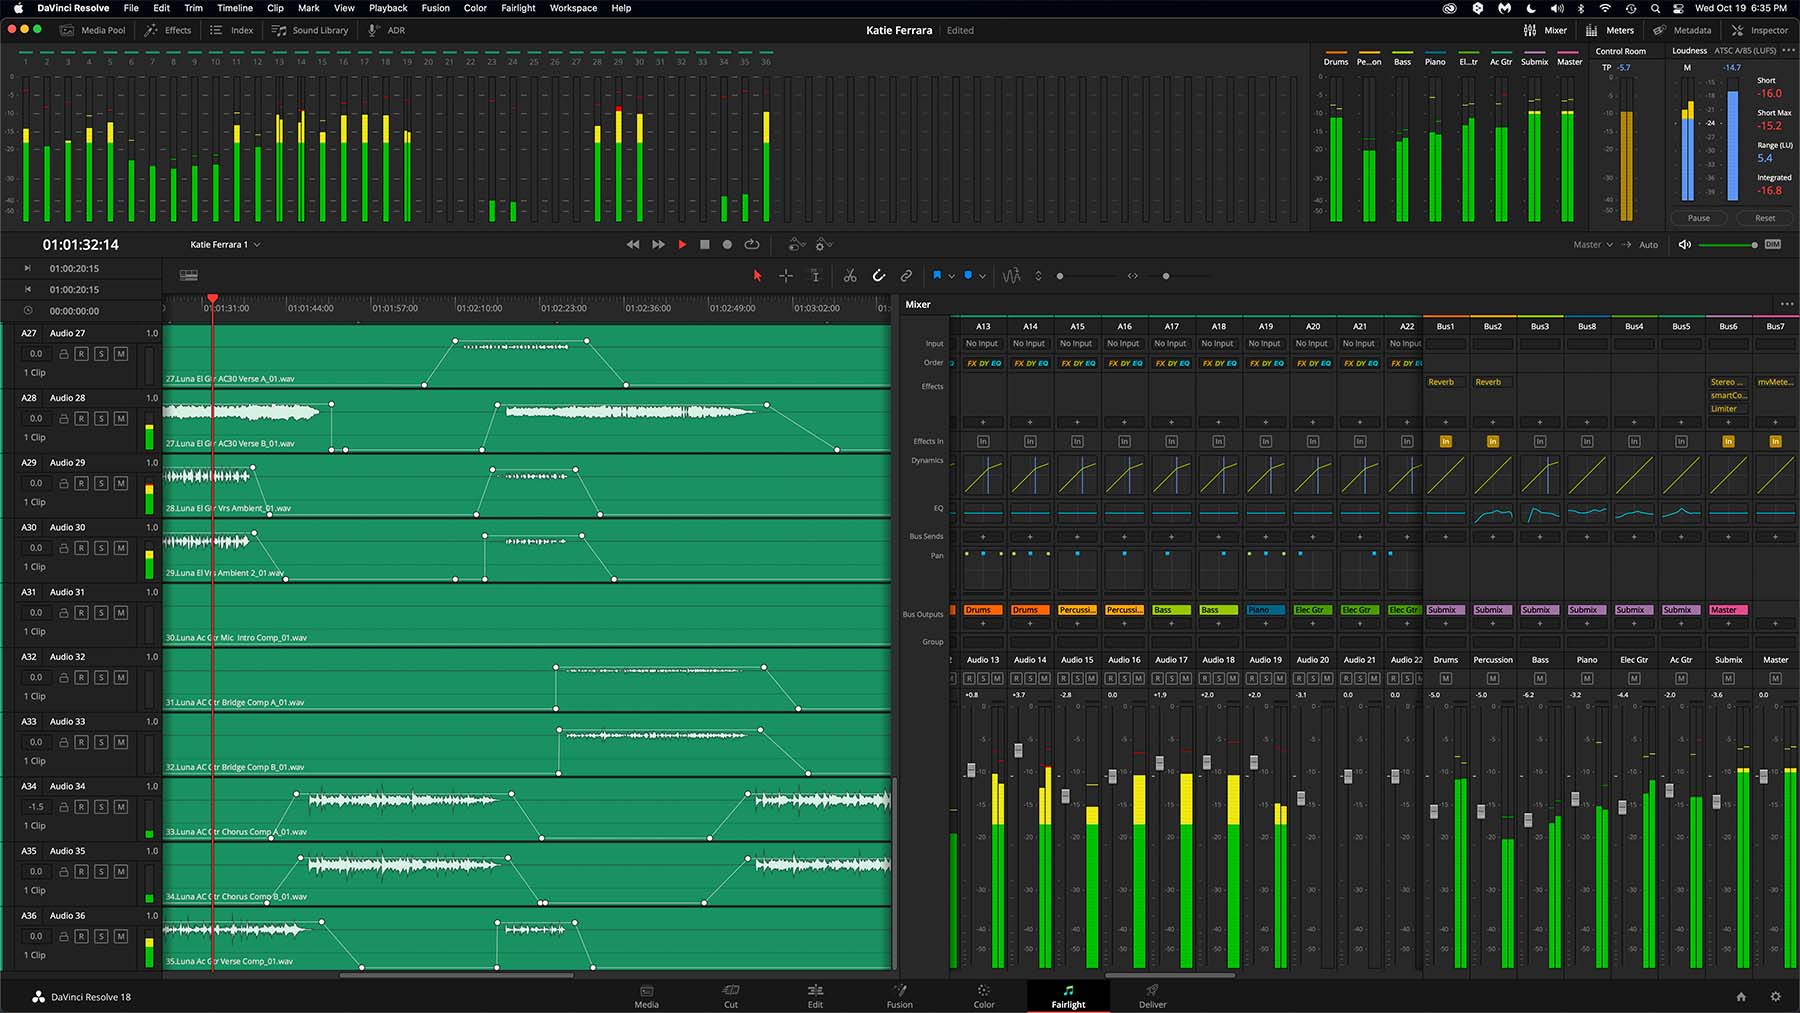
The Fairlight interface is compatible with single and dual-display configurations and uses UI panels that can be turned on and off or slid onto the screen as needed. You can show or hide individual pieces of the mixer, as well. Unfortunately, on a single-display system, like an iMac, you cannot display the mixer panel full-screen. A project with 20 to 30 or more source tracks requires left to right scrolling. However, after the 18.1 update you can now display the meter bridge with two rows of meters.
The mixer uses a channel strip format for each track, which includes input/output/send routing, effects, and a built-in parametric equalizer and compressor. This is much like the channel strip of a traditional analog studio console, such as classic SSL and Neve desks. Unlike some other DAWs, you can also change the signal order of effects, EQ, and dynamics (compression) within each channel strip.
Modern plug-ins
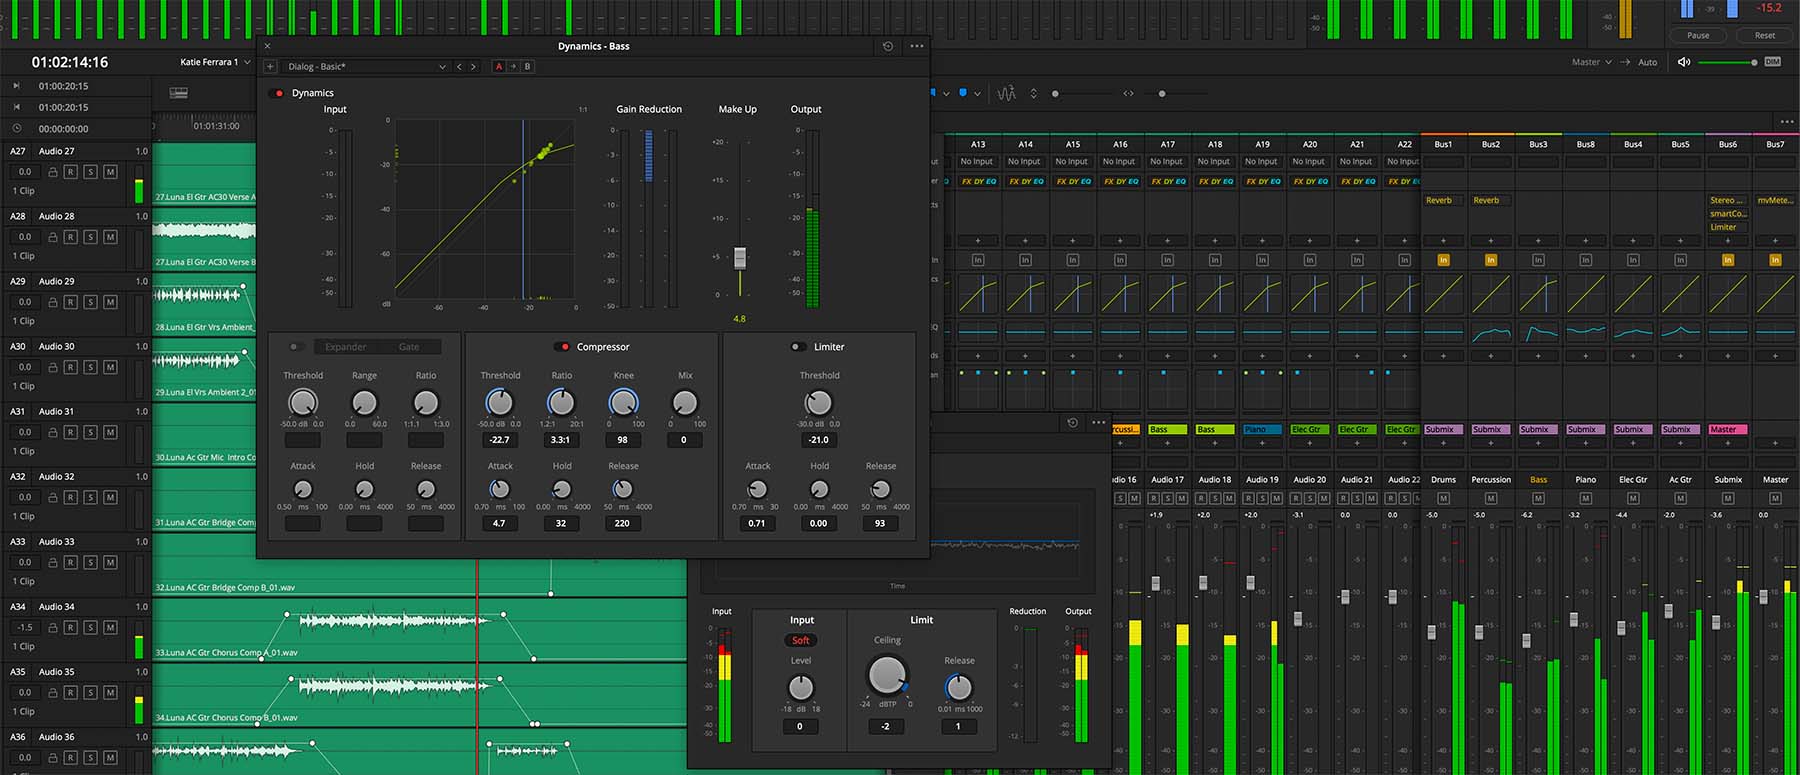
Resolve comes with native Fairlight FX audio plug-ins that cover most common needs. But since this software is targeted towards the film and TV post customer, it doesn’t include music-centric plug-ins, like the guitar amp and pedal emulations offered in Apple’s Logic Pro. That focus is true of the plug-in presets, as well. For example, the factory preset choices in the compressor will be for dialogue and not musical instruments, such as a drum kit or guitar. That won’t keep you from working on music with these plug-ins. Presets are just suggestions anyway, so you should tweak based on what sounds right to you.

Fairlight does not color the sound. The sonic character, interface, and plug-in design takes a clean, modern approach. There are no “vintage” options and none of the plug-ins are designed as skeuomorphic emulations of studio gear synonymous with classic recordings from the 70s. After all, film re-recording mixers have never been particularly precious about certain consoles or outboard gear from ages ago. Other than maybe a love for old Nagras, I doubt there’s much fondness for old audio gear like mag dubbers. At least not in the same way that music recording engineers still like to use analog recorders in their signal chain.
If you do want vintage tools, then Fairlight supports third-party AU and VST plug-ins. However, as with other video applications, I’ve found that some of the skeuomorphic effects don’t always work or look right. For example, I often use the free VU meter from TBProAudio. In Fairlight, only the AU version will appear as intended. And if you own an M1 or M2 Mac, then double-check that your favorite third-party plug-in is natively supported.
Setting up your tracks
I’m a video editor, not a mixer. But as a hobbyist, I like to experiment with music mixing to hone my audio skills. To test Fairlight, I started with multitracks of song covers available from Warren Huart’s “Produce Like A Pro” YouTube channel. I didn’t record my own tracks, other than to test how recording might work. I’m a big believer that a great mix is achieved by doing 90% of the work at the time of the studio recording. It’s not about building the sound through plug-ins and tricks, but getting the right blend of gear, mics, and performance from the players. That was already there in these multitracks, so the mix was more about finding the right balance of these elements and enhancing what was there.
Fairlight works with as many tracks and busses as are created in your timeline. My standard layout for mixing is to use summing busses. You can create as many as you need. The 35 tracks for this song include drums, percussion, bass, piano, electric and acoustic guitars. I route each set of instrument tracks to a buss dedicated to that group, even if there’s only one instrument track in that group.
These six busses are then routed to a submix buss, which in turn is routed to the master stereo output buss. This allows for gain staging and quickly balancing levels. You can apply effects onto any track or buss for total flexibility. Fairlight’s default setting automatically routes the first buss (drums in my case) as the output to the speakers and on the Deliver page. Be sure to change each of these to your master buss for the proper output when you deviate from Fairlight’s default assignments.
Polishing the mix with Fairlight
My goal was to come out with a result that hit desired loudness targets and sounded good to me, primarily sticking with the stock plug-ins. You’re going to adjust levels, but most of the effects center around EQ, compression, and reverb. Each of these is adequately covered by the complement of Fairlight FX. If you have singers, then there are also vocal processing effects, like de-essing. However, an investment in iZotope RX is certainly a useful add-on. For example, RX includes a specific tool to remove or reduce guitar squeaks and string noise. The Resolve 18.1 update added many audio-centric features, including a new voice isolation feature. It works well for any vocal situation and in my opinion has fewer negative artifacts than most of the competing options.

I adjusted level, panning, EQ, and compression on each channel strip. At the buss level, I added more EQ and compression, plus some reverb. The last stage was a multiband compressor and a brick wall limiter on the submix buss. Only meter plug-ins were added to the master buss. Of course, Fairlight includes its own useful set of level and loudness meters.
Since Fairlight is built into an NLE, the project supports multiple mixes. You can use bins and timelines to organize the tracks and mixes for different songs, as well as different versions of each mix. Resolve 18 added new cloud collaboration tools; however, you can also collaborate on mixes by exporting a timeline file to send to a colleague. Assuming the other system has access to the same audio files and third-party plug-ins (if used), then it’s simply a matter of importing that timeline file.
Processing for this number of tracks and effects was easily handled by my iMac. It could have handled more, including more intense third-party plug-ins, like Gullfoss, Ozone, FabFilter, or Sonible. If you really need to go BIG, then Blackmagic Design promises up to 2,000 real-time tracks with a full Fairlight hardware installation! So if Pro Tools isn’t in the cards for you, then make sure you give Fairlight and Resolve a closer look.

Filmtools
Filmmakers go-to destination for pre-production, production & post production equipment!
Shop Now


