https://www.youtube.com/watch?v=0Yre-8CszJg&feature=push-u-sub&attr_tag=n6-pl49D4xNNiqS5-6
This week on MacBreak Studio, I show Steve Martin from Ripple Training how to create an animated outdoor scene using only a photo and a few effects built in Final Cut Pro X.
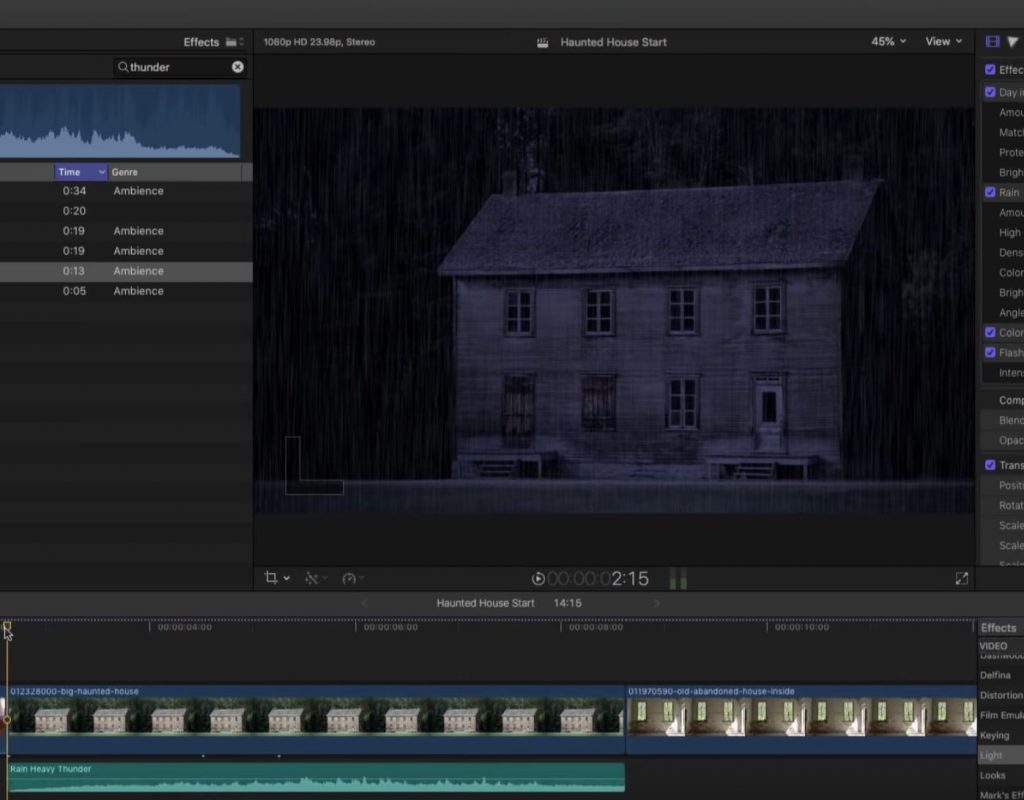
The goal is to create an establishing shot of a scary-looking house at night in the rain. The starting point is a stock photograph I purchased on Pond5.com of a rather dilapidated but not very scary house shot in broad daylight.
Now normally I would build this type of composite animated effect in Motion but I discovered for this particular project it was faster and easier to use the built-in effects in Final Cut Pro X – which of course were created originally in Motion, but since they’ve already been constructed they save a lot of effort and are still highly customizable.
One tip off the bat to get started: you can set the spatial conform option for your images all at once, before adding them to a project, by selecting them in the Browser and making the change in the Inspector. I prefer the “fill” setting as opposed to the default “fit” (even though you’ll still likely want to reframe each shot).
Searching for “rain” in the Effects browser reveals a rain effect which, with a few tweaks, creates quite realistic rain and also significantly darkens the shot.
Searching for “night” brings up a “day into night” effect which really helps sell the shot as a night shot. One important note is to remember that the stacking order of your effects can have a significant impact on the final result, so try moving them up and down in the order. In this case, I like the new effect above the rain effect.
Adding a color wheels correction lets us make the scene even darker and to make the color balance colder.
Back in the Effects browser, in the Light category, the “flashing” effect creates a realistic lightning effect. Revealing the animation controls with Control-V lets us restrict the lighting to a shorter section of the clip.
From here, we go into the built-in sound effects to add some rain and thunder sounds to make the clip come to life. And finally we use the Ken Burns effect to add a camera move that dollies into the shot.
Check it all out above – and if you want to know more about creating effects in Final Cut Pro X, check out our Warp Speed Effects for Final Cut Pro X tutorial.


