https://www.youtube.com/watch?v=r-JbXQ0zJX0&feature=youtu.be
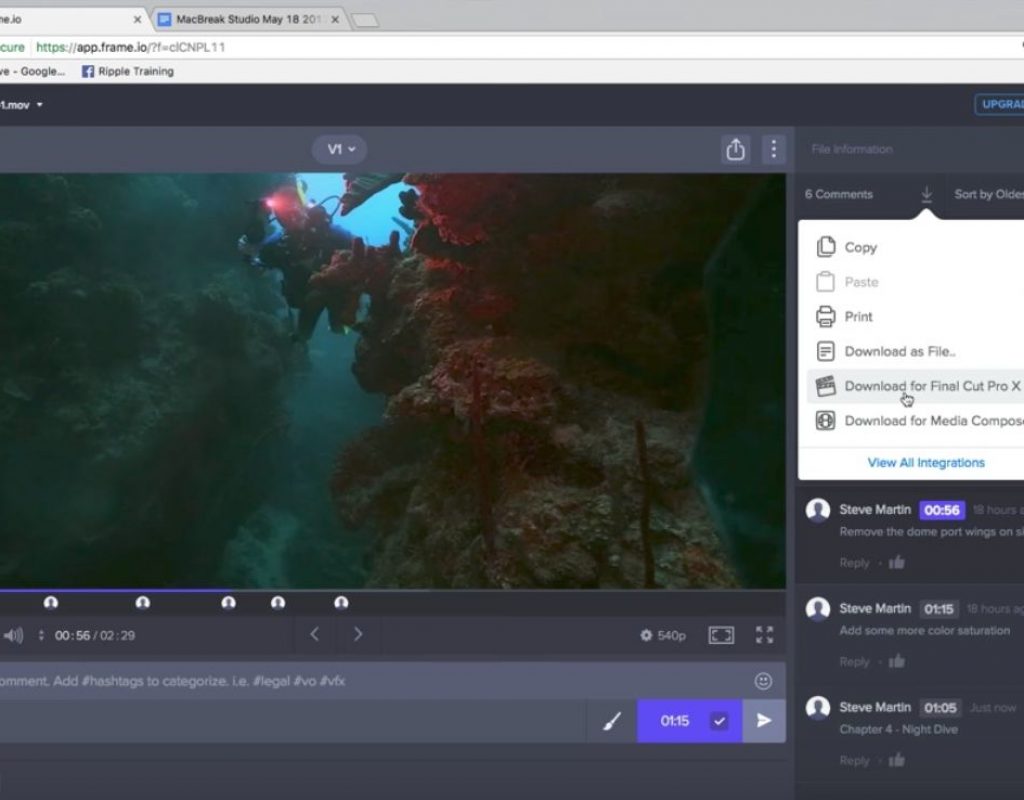
This week on MacBreak Studio, Steve Martin from Ripple Training shows us how you can use frame.io to add chapter markers for Final Cut Pro X.
Frame.io is a feature-rich and flexible video review platform. If you missed our episode on how to use it to export your project as separate clips, check it out here.
We use Frame.io extensively in our tutorial editing process. Editors post drafts and authors review the drafts, adding notes – not only for fixes, but also for identifying chapter marker locations and titles.
Previously, the editor had to manually add this chapter marker information into the Final Cut Pro X project before exporting. But now this process is much simpler thanks to a new feature in Frame.io that allows you to download all comments as an fcpxml file.
Double-clicking the file opens a dialog where you select the appropriate library for importing. Once selected, a new compound clip appears in a new event in the library. You then add this compound clip to the matching project and all the comments from Frame.io will appear as markers in the project. Navigating to markers reveals not just the comment text as the marker field, but there’s also on-screen text at the marker frame that shows both the marker content as well as the Frame.io project and date.
What Frame.io has done is to add a one-frame text generator at each comment location, connected to a timecode generator, with a marker attached. If you break apart the compound clip in the project and delete the timecode generator, you are left with these 1-frame text generators with markers attached, each connected to your primary storyline.
From here, you can use the timeline index to navigate to each marker. They are all to-do markers by default, but you can easily change them to chapter markers by double-clicking and selecting the chapter marker option.
One great thing about these markers is that, because they are attached to one-frame connected clips, they can easily be moved later or earlier in time. Try that with a regular marker on a clip!
Before exporting, you’ll want to disable the on-screen text from those text generators. While Steve demonstrates a method involving moving all the text generators below the primary storyline, I prefer to select them all and disable them with the “V” key since they could still appear if placed below a gap clip.
Finally, to have your chapter markers appear in your exported movie, you’ll want to make sure “Include chapter markers” is checked in the export dialog.
All the good details above. If you want to improve your Final Cut Pro X editing skills, check out our Warp Speed Editing tutorial.


