https://www.youtube.com/watch?v=IuIxTC5Nzk0&lc=z23twfdh0wawxpfwc04t1aokg323picn15now1jp1r3sbk0h00410.1506601906835950&feature=em-comments
This week on MacBreak Studio, I show Steve Martin from Ripple Training how to create custom shape icons in Motion.
What does that even mean? Well, in Motion’s Library, there is a Shapes category: these are simple shape objects like a star, hexagon, heart, arrow, and more that you can add to your project and take advantage of all the properties of these vector-based shapes to do things you can’t do with images, like scale them to any size, manipulate the control points, change the fill and outline, and animate them with shape behaviors.
You can even add shapes that you make yourself to the library, but your own custom shapes won’t appear with the nifty icon that lets you quickly identify the shape without needing to click on it. If you have a lot of these, it quickly becomes tedious to locate the shape you want.
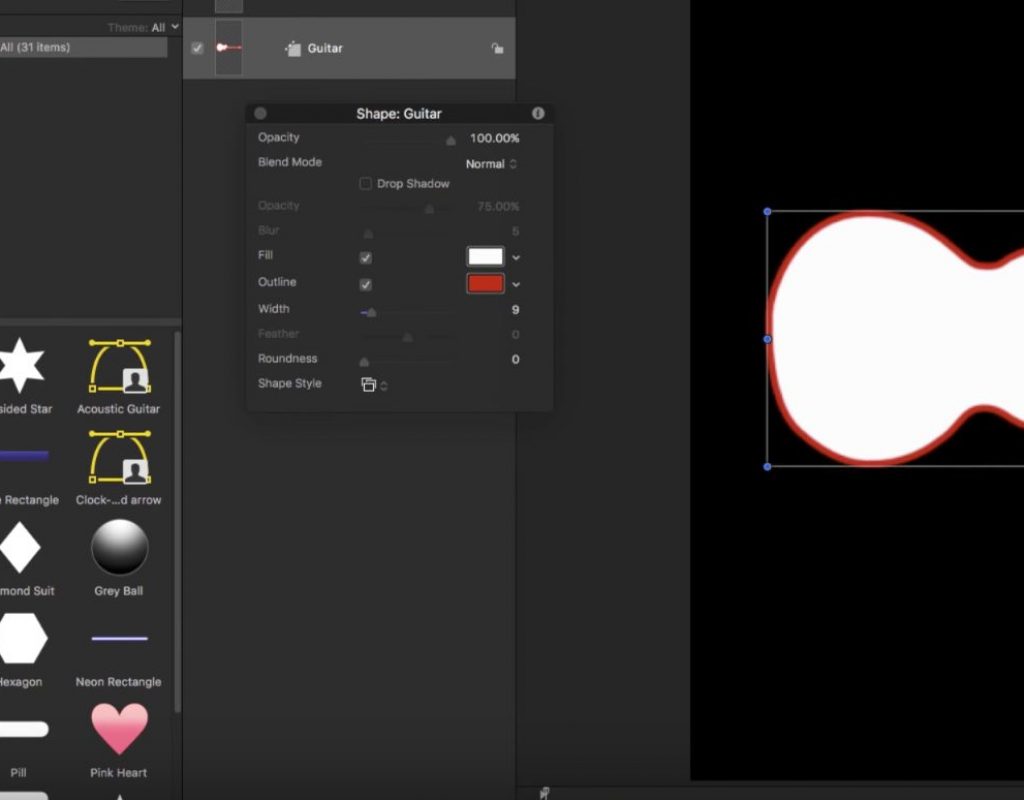
Luckily you can create your own shape icons, and it’s pretty simple. First, you want to start with a project that has a custom square resolution; I like 500 by 500 pixels. Then, add your custom shape to the project and scale it to fit. You can leave it as is, or you can modify it to make it look better as an icon – perhaps giving it a different color or an outline.
Once it’s ready, you export the current frame as a .png file in order to maintain the transparent background. The next step is important: you need to name this exported image with the same name as the shape in the Library.
So where to put it? In the Finder, navigate to User > Library > Application Support > Motion > Library. Here’s where all user-generated library content lives. So just drop the exported .png file into the Shapes folder inside the Library folder. Now, you’ll notice there’s already a file in that folder with the same name – but that’s the shape object itself, and it has a .molo extension (that may not be visible).
Go back to Motion, and check out the Shapes category in the Library: there’s your new custom icon, ready to go! All the good details in the video above. Have you been meaning to get more familiar with Motion? Check out our Warp Speed Motion for Final Cut Pro X Editors tutorial, it’s just the ticket to get productive, fast.

