https://www.youtube.com/watch?v=Txn1cLCKd_4
This week on MacBreak Studio, Steve Martin from Ripple Training shows us how to create a tilt-shift effect on a drone shot in Final Cut Pro X.
The process Steve demonstrates will work on any shot but it’s most effective on shots including people or objects like cars, trains, boats, etc. – anything that could be made into a miniature set on a table. It also works best when the camera angle is about 30 to 45 degrees, as if pointed down towards a table.
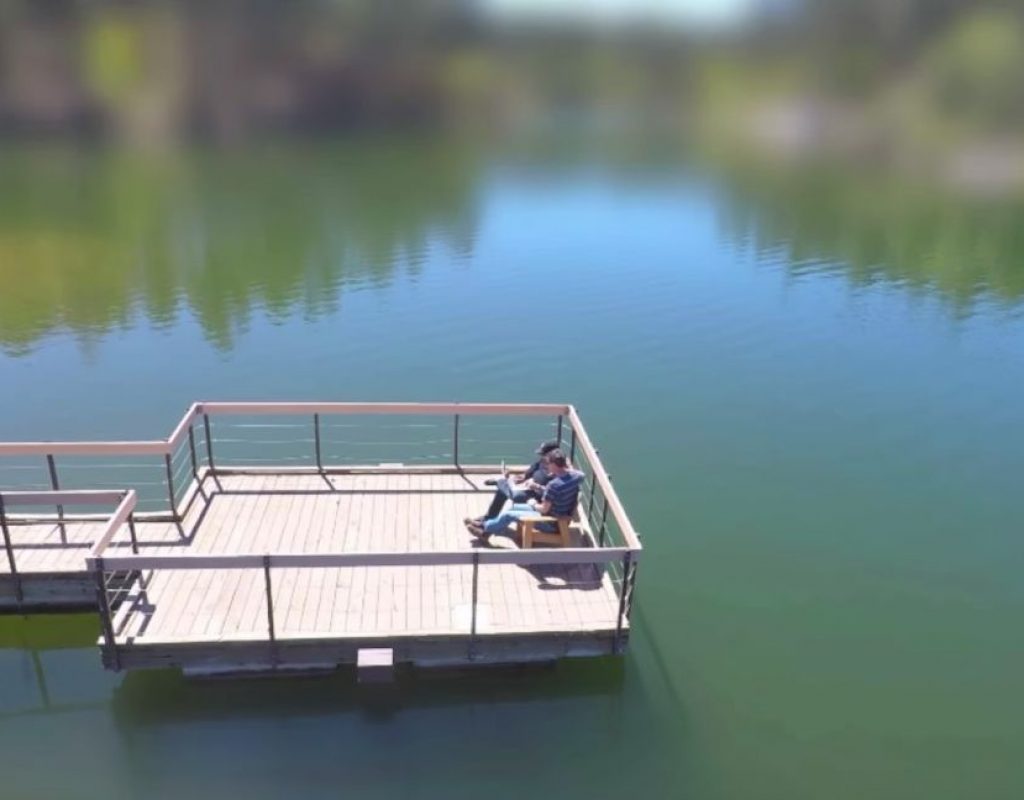
The shot he uses is a from a drone, pointed down to a dock on a lake, where Steve and I are sitting and chatting about Final Cut Pro X, of all things. By the way, this shot was accomplished with Steve’s GoPro Karma drone set to automatically rotate 360 degrees around a target object.
The process is quite simple and involves three steps. First is blurring the shot. Steve uses a Gaussian blur but you could use a lens blur if you published it from Motion. Second, he adds a shape mask, resizes it to create a horizontal band across the shot, and inverts it so that everything inside the center band is sharp, while everything above and below is blurry. The feathered mask in combination with the blur is what makes the shot work by tricking our eyes into thinking we are looking as something small due to the implied shallow depth of field.
As a finishing touch, the third step involves increasing the saturation of the shot. Models of objects are often painted, and the paint is usually more saturated than the real-life object, so this step really helps sell the effect.
All the good details in the video above. If you want to work faster and more efficiently in Final Cut Pro X, check out our Warp Speed Editing tutorial.

Filmtools
Filmmakers go-to destination for pre-production, production & post production equipment!
Shop Now


