As an editor I don’t do a lot of extensive color grading in DaVinci Resolve but every now and then I can’t send a job to a real colorist and the grade is beyond the color capabilities built into the NLE. Resolve is the easy answer. I was working on one such job earlier in the year and I was turned on to a relatively new little feature that came into the software somewhere in the version 14s.
You may be used to using the color picker or some color picker like tool in your NLE’s color grading system to select something that is supposed to be white and correct a color cast. Or maybe you need help with the exposure to get the image looking better with only a click. Sometimes it works and sometimes it doesn’t but it can be a good place to start.
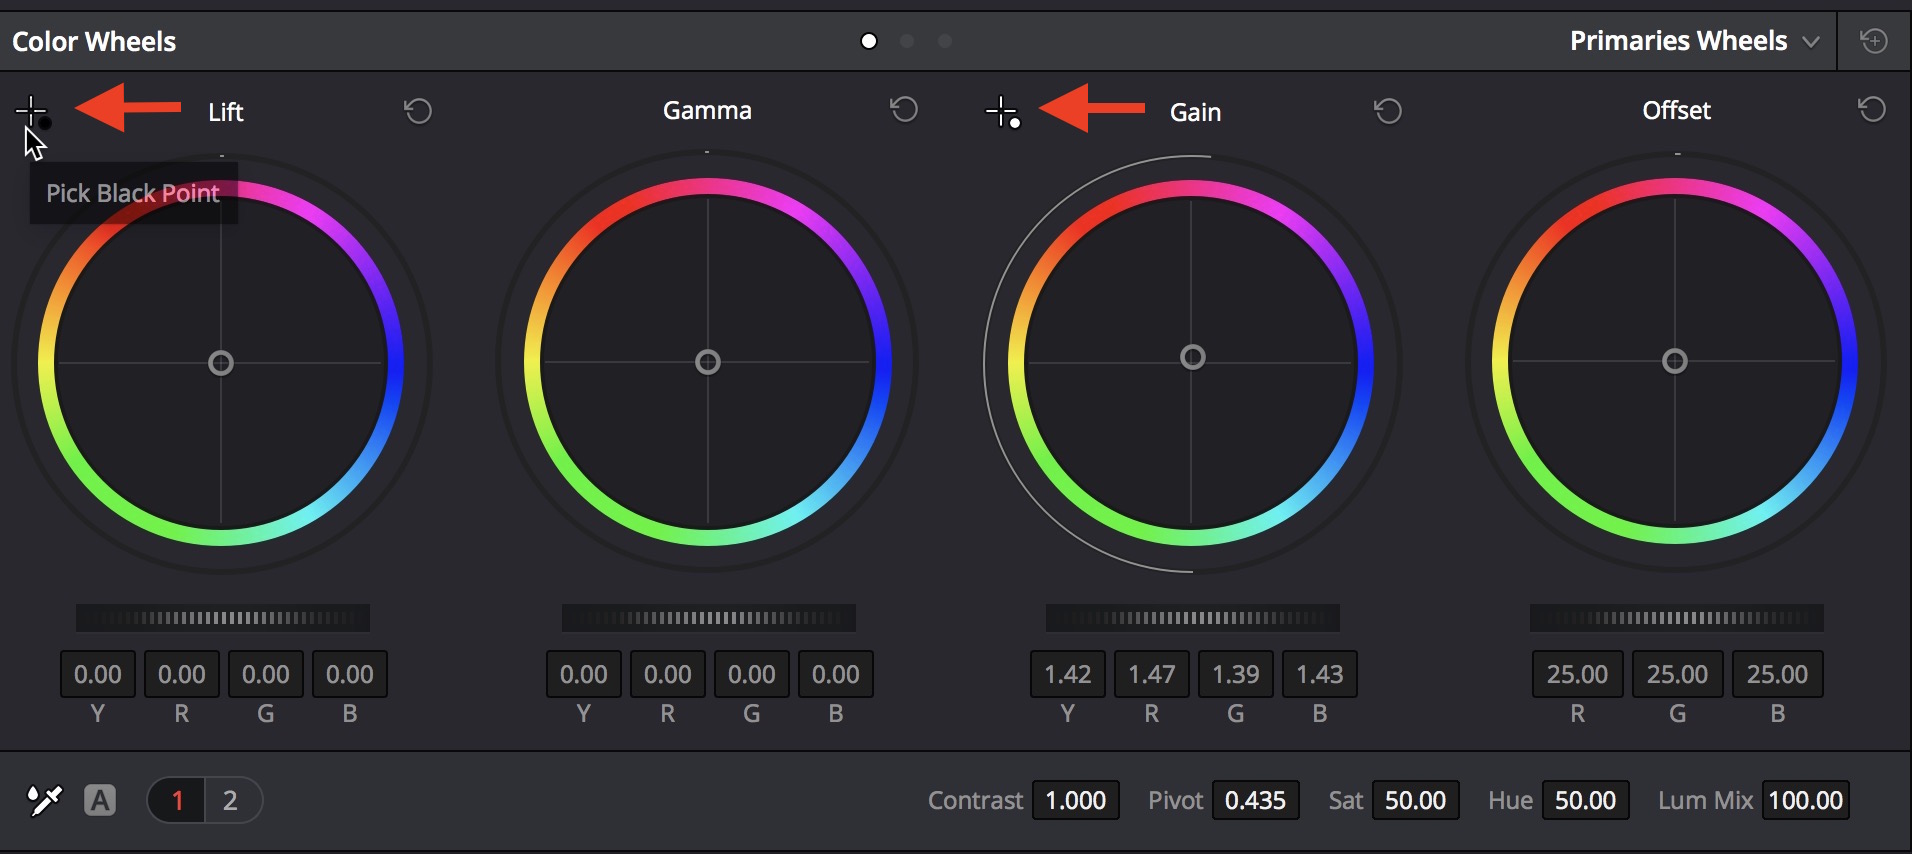
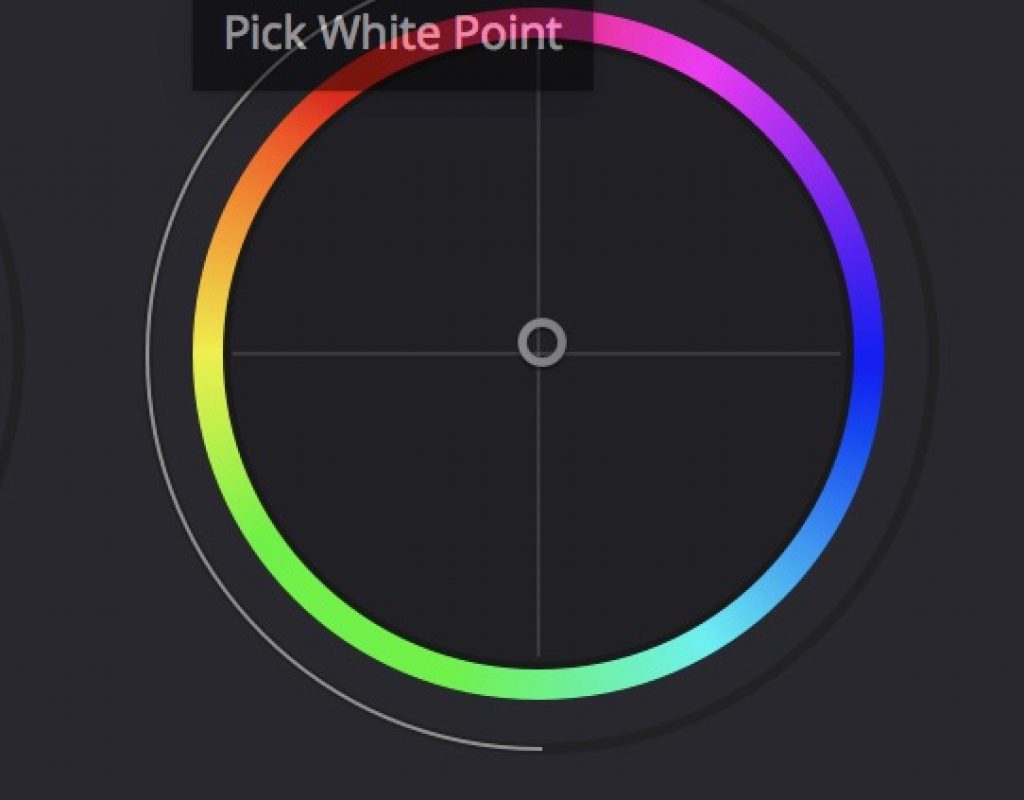
DaVinci Resolve has this little feature x 2 with the ability to pick both a black point and white point. These little controls are located in the Color Wheels panel (both the Primaries Wheels and Primaries Bars). Click the little + thingy next to the Lift and Gain wheels and you can whisk the control away and pick a black and/or white point in your image.

These quick and simple controls can do wonders to get you a more balanced image than just a single white-balance color picker alone. Resolve still has both a White Balance and Auto Balance picker as well, located in the lower left of the Color Wheels panel.

But the Black Point and White Point pickers provide a level of quick adjustment that I haven’t found in the NLEs.
But be warned … you have to use these tools with caution as they can crush an image into oblivion or blow it out to the sky. You’re best advised to hit the super extensive Resolve user manual and read over the section called Automatic Adjustments in the Color Wheels Palette to get the full scoop on how to best use these tools.


