Today’s Quicktip comes to us from Josh Short of EditVideoFaster.com. It’s an effects based keyframing tip that is buried deep within Avid Media Composer’s Effects Editor. It is imperative an editor knows these tips if they want to get the most out of animating effects in Media Composer. Take it away Josh.
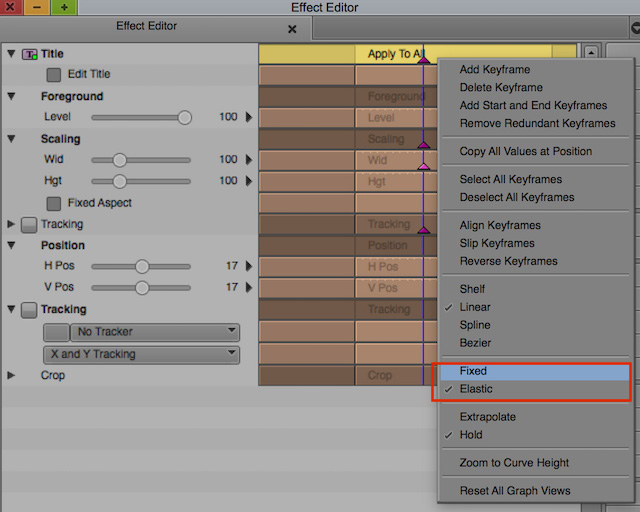
By default keyframes are set to Elastic. For example if you set a keyframe on the first and last frame of a clip and roll that clip out another 10 frames then the keyframe on the last frame will move to the last frame. However you can right-click a keyframe and select Fixed. If you rolled the clip out another 10 frames the keyframes will not move. You’d then have a keyframe on the first and 10th from last frame.

Elastic vs Fixed keyframes.
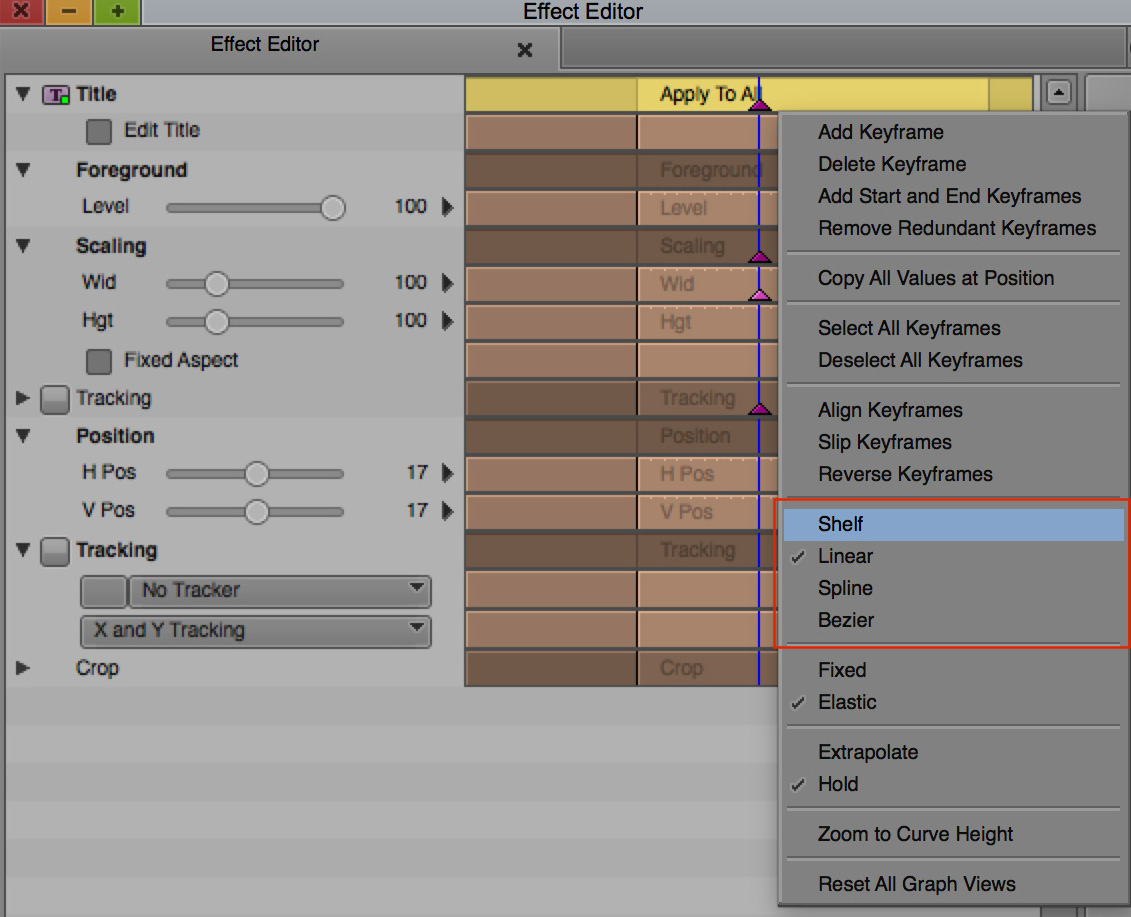
There are different types of keyframes. By right-clicking a keyframe you can select shelf, linear, spline or bezier. Each does something different. When keyframes are set to shelf they stay at their values and jump to the next keyframe’s values. Linear keyframes move on a steady path between keyframes. Spline keyframes ease into and ease out of their movements. Bezier keyframes also have the ease-in and ease-out properties but also give you the ability to adjust those handles.

Shelf vs Linear vs Spline vs Bezier
Click the small black rectangle next to a parameter to see its graph as well as animation curves.


