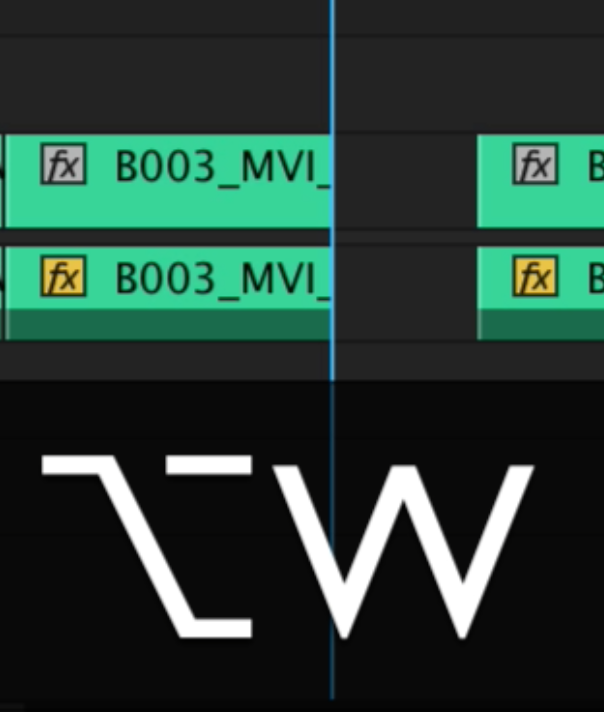
 There’s a batch of keyboard commands that kind of all work together in Adobe Premiere Pro CC to improve trimming and make it considerably faster once those keys are learned. It takes a bit of time to remember them but once you do they are very handy.
This is a good example of why studying the rather clunky Keyboard Settings in Adobe Premiere Pro is a great idea. You’ll find some hidden gems in there that aren’t always readily apparent or commands that aren’t mapped to any keys at all and don’t appear in the menus. In other words, some hidden gems.
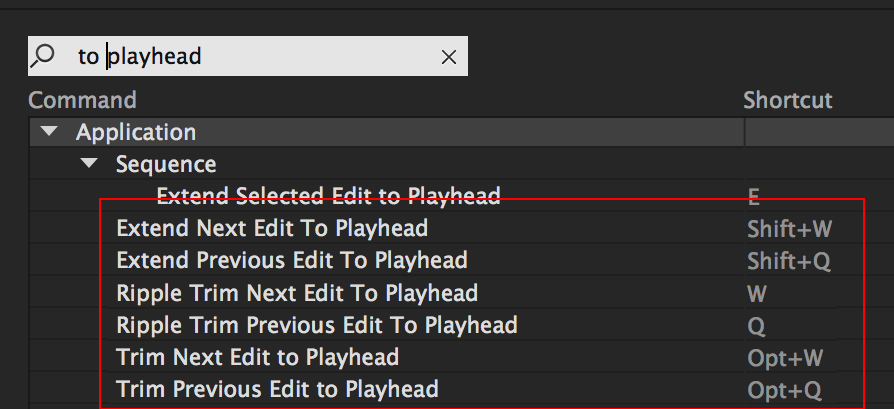
These commands you see in this post are all from the Adobe Premiere Pro Default keyboard mapping.
They key here is knowing the “to playhead” part of the description. What you get is a batch of three different “trim … to playhead” options that can speed edit trimming operations and provide a quick way to make those trims.

It’s very important to note that these trim operations work on whatever tracks you have selected in the timeline control panel.
Here’s how to think of these commands:
- Q W without a modifier: Ripple Trim (like using the yellow edge trim tool)
- Q W with SHIFT: Rolling Trim (like using the red rolling trim tool)
- Q W with OPTION: Trim single clip in Rolling trim leaving a gap (like using the red edge trim tool)
A lot to remember but very versatile. See them in action below.

Filmtools
Filmmakers go-to destination for pre-production, production & post production equipment!
Shop Now


