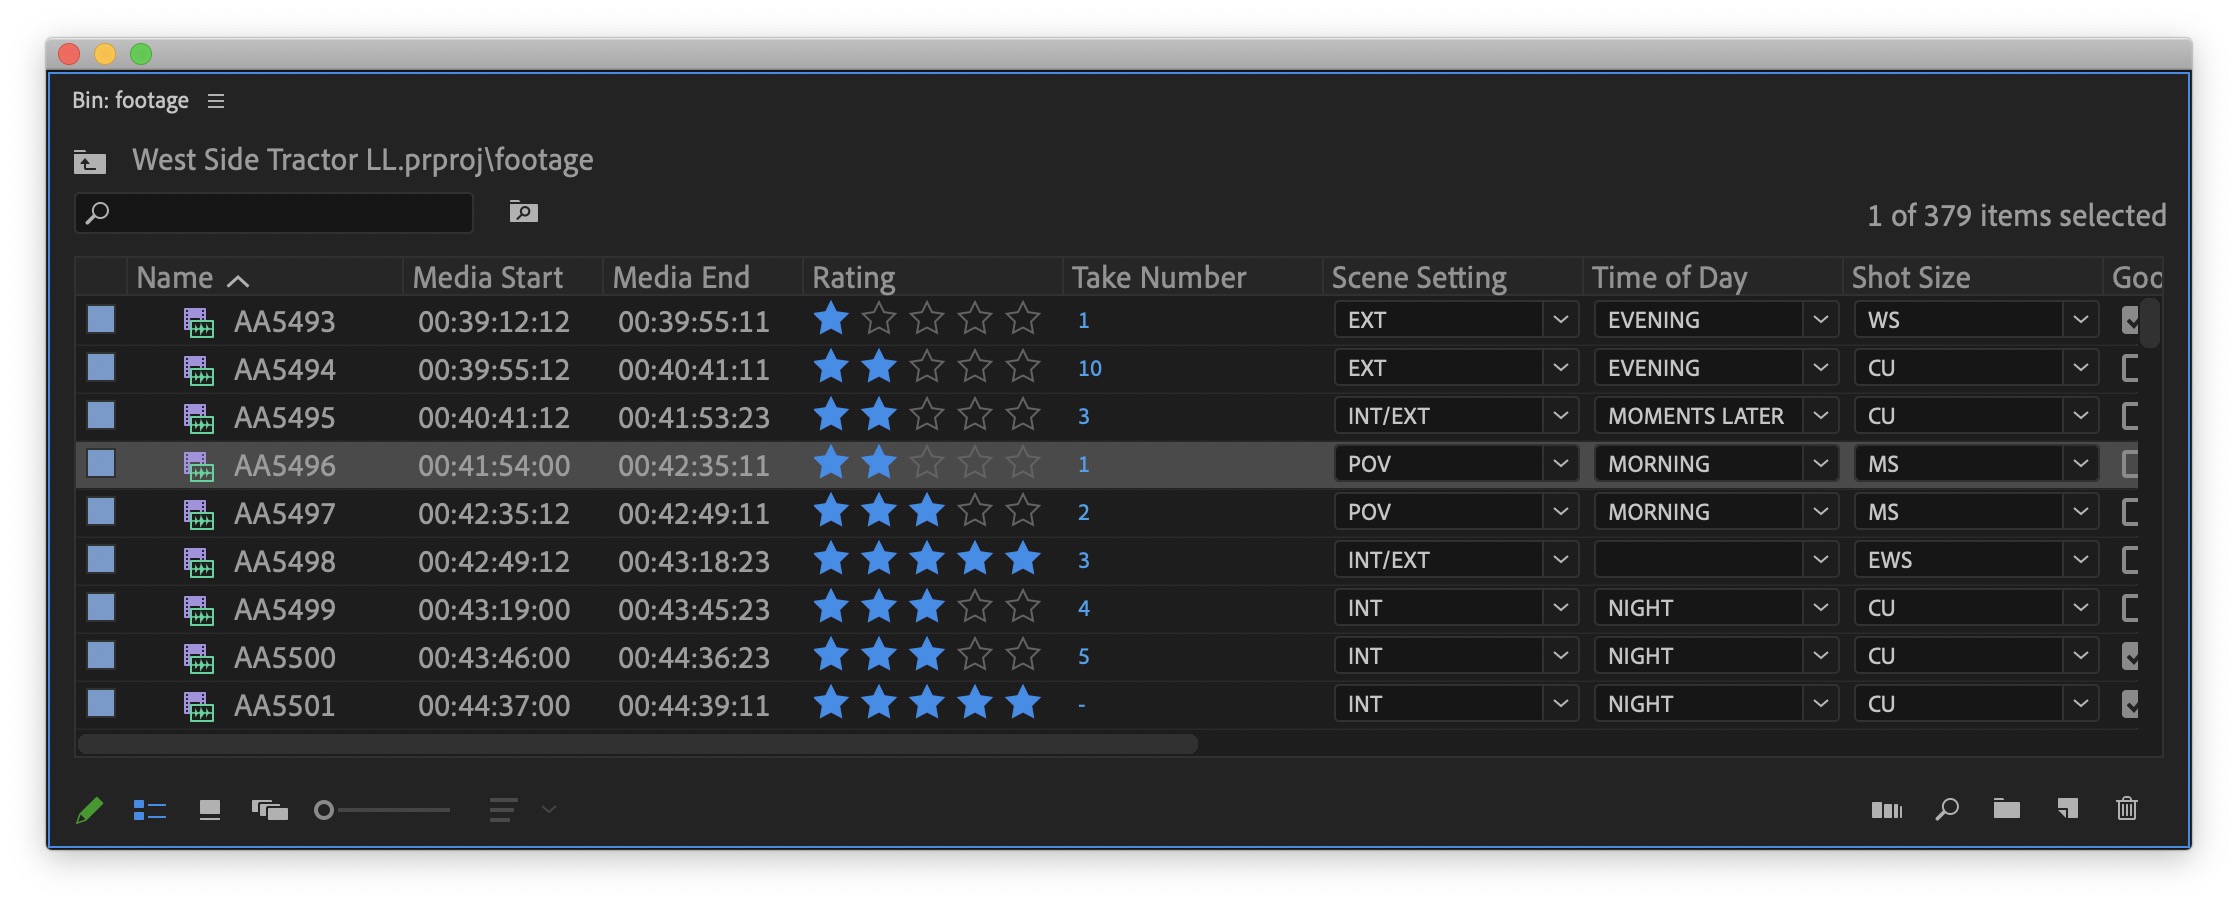
While we’ve undoubtedly seen a move toward viewing and organizing media via thumbnails in recent years one of the most useful ways to view you media is still in list view. Turning your Adobe Premiere Pro bin to list view allows you to view the many different bits of metadata that are attached to source media. And you can sort you media by those different columns.

Simple things like timecode and duration are two useful bits of metadata built into each clip, even if that that timecode is zero hour 00:00:00:00. Other useful metadata can be added like color labels, comments or a scene take take number. You might need to add camera angles and camera labels for mulitcam editing. And the ever useful usage columns can help identify what has and hasn’t been used in your project.
What’s even better about these column setups in list view is that they can be saved and easily recalled for future use, which is the focus of this article.
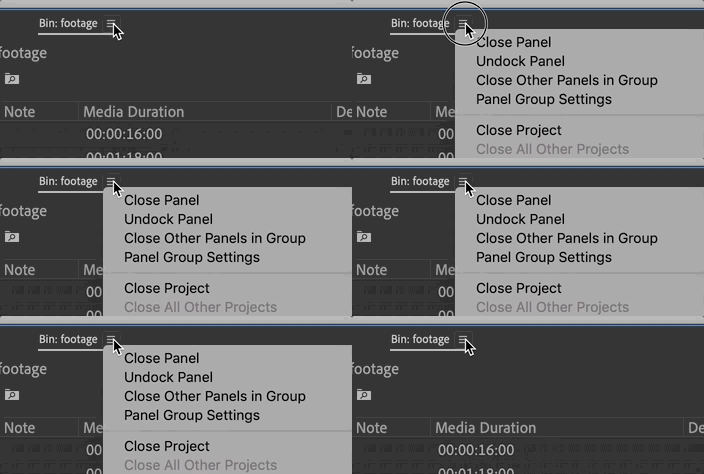
There used to be a time in Premiere Pro when you had to venture deep into the Metadata panel for all your list column view saving and organizing. Thankfully updates have come along that moves this useful feature right to the bin menu. It’s those three little lines next to a bin name. Some of us call this the hamburger menu.

Moving this to the bin menu means you can also quickly save new Project View Presets, update existing ones as they change as well as assign keyboard shortcuts to quickly recall them. I have a standard batch of presets that I use across my Premiere installs that include my most useful column list view presets and I wanted to share them here.

When you open the Metadata Display you’re faced with a daunting list of potential items to turn on and off.
There are so many metadata parameters here it really feels like some real untapped potential as far as shoot-to-post metadata goes in Premiere Pro. Thankfully, most all of the useful metadata options can be adjusted and added to within Premiere.
There is no scientific research to how these were setup. They have just evolved over years of use and I created a lot more of them when Metadata displays were moved to the bin menu where they belong.
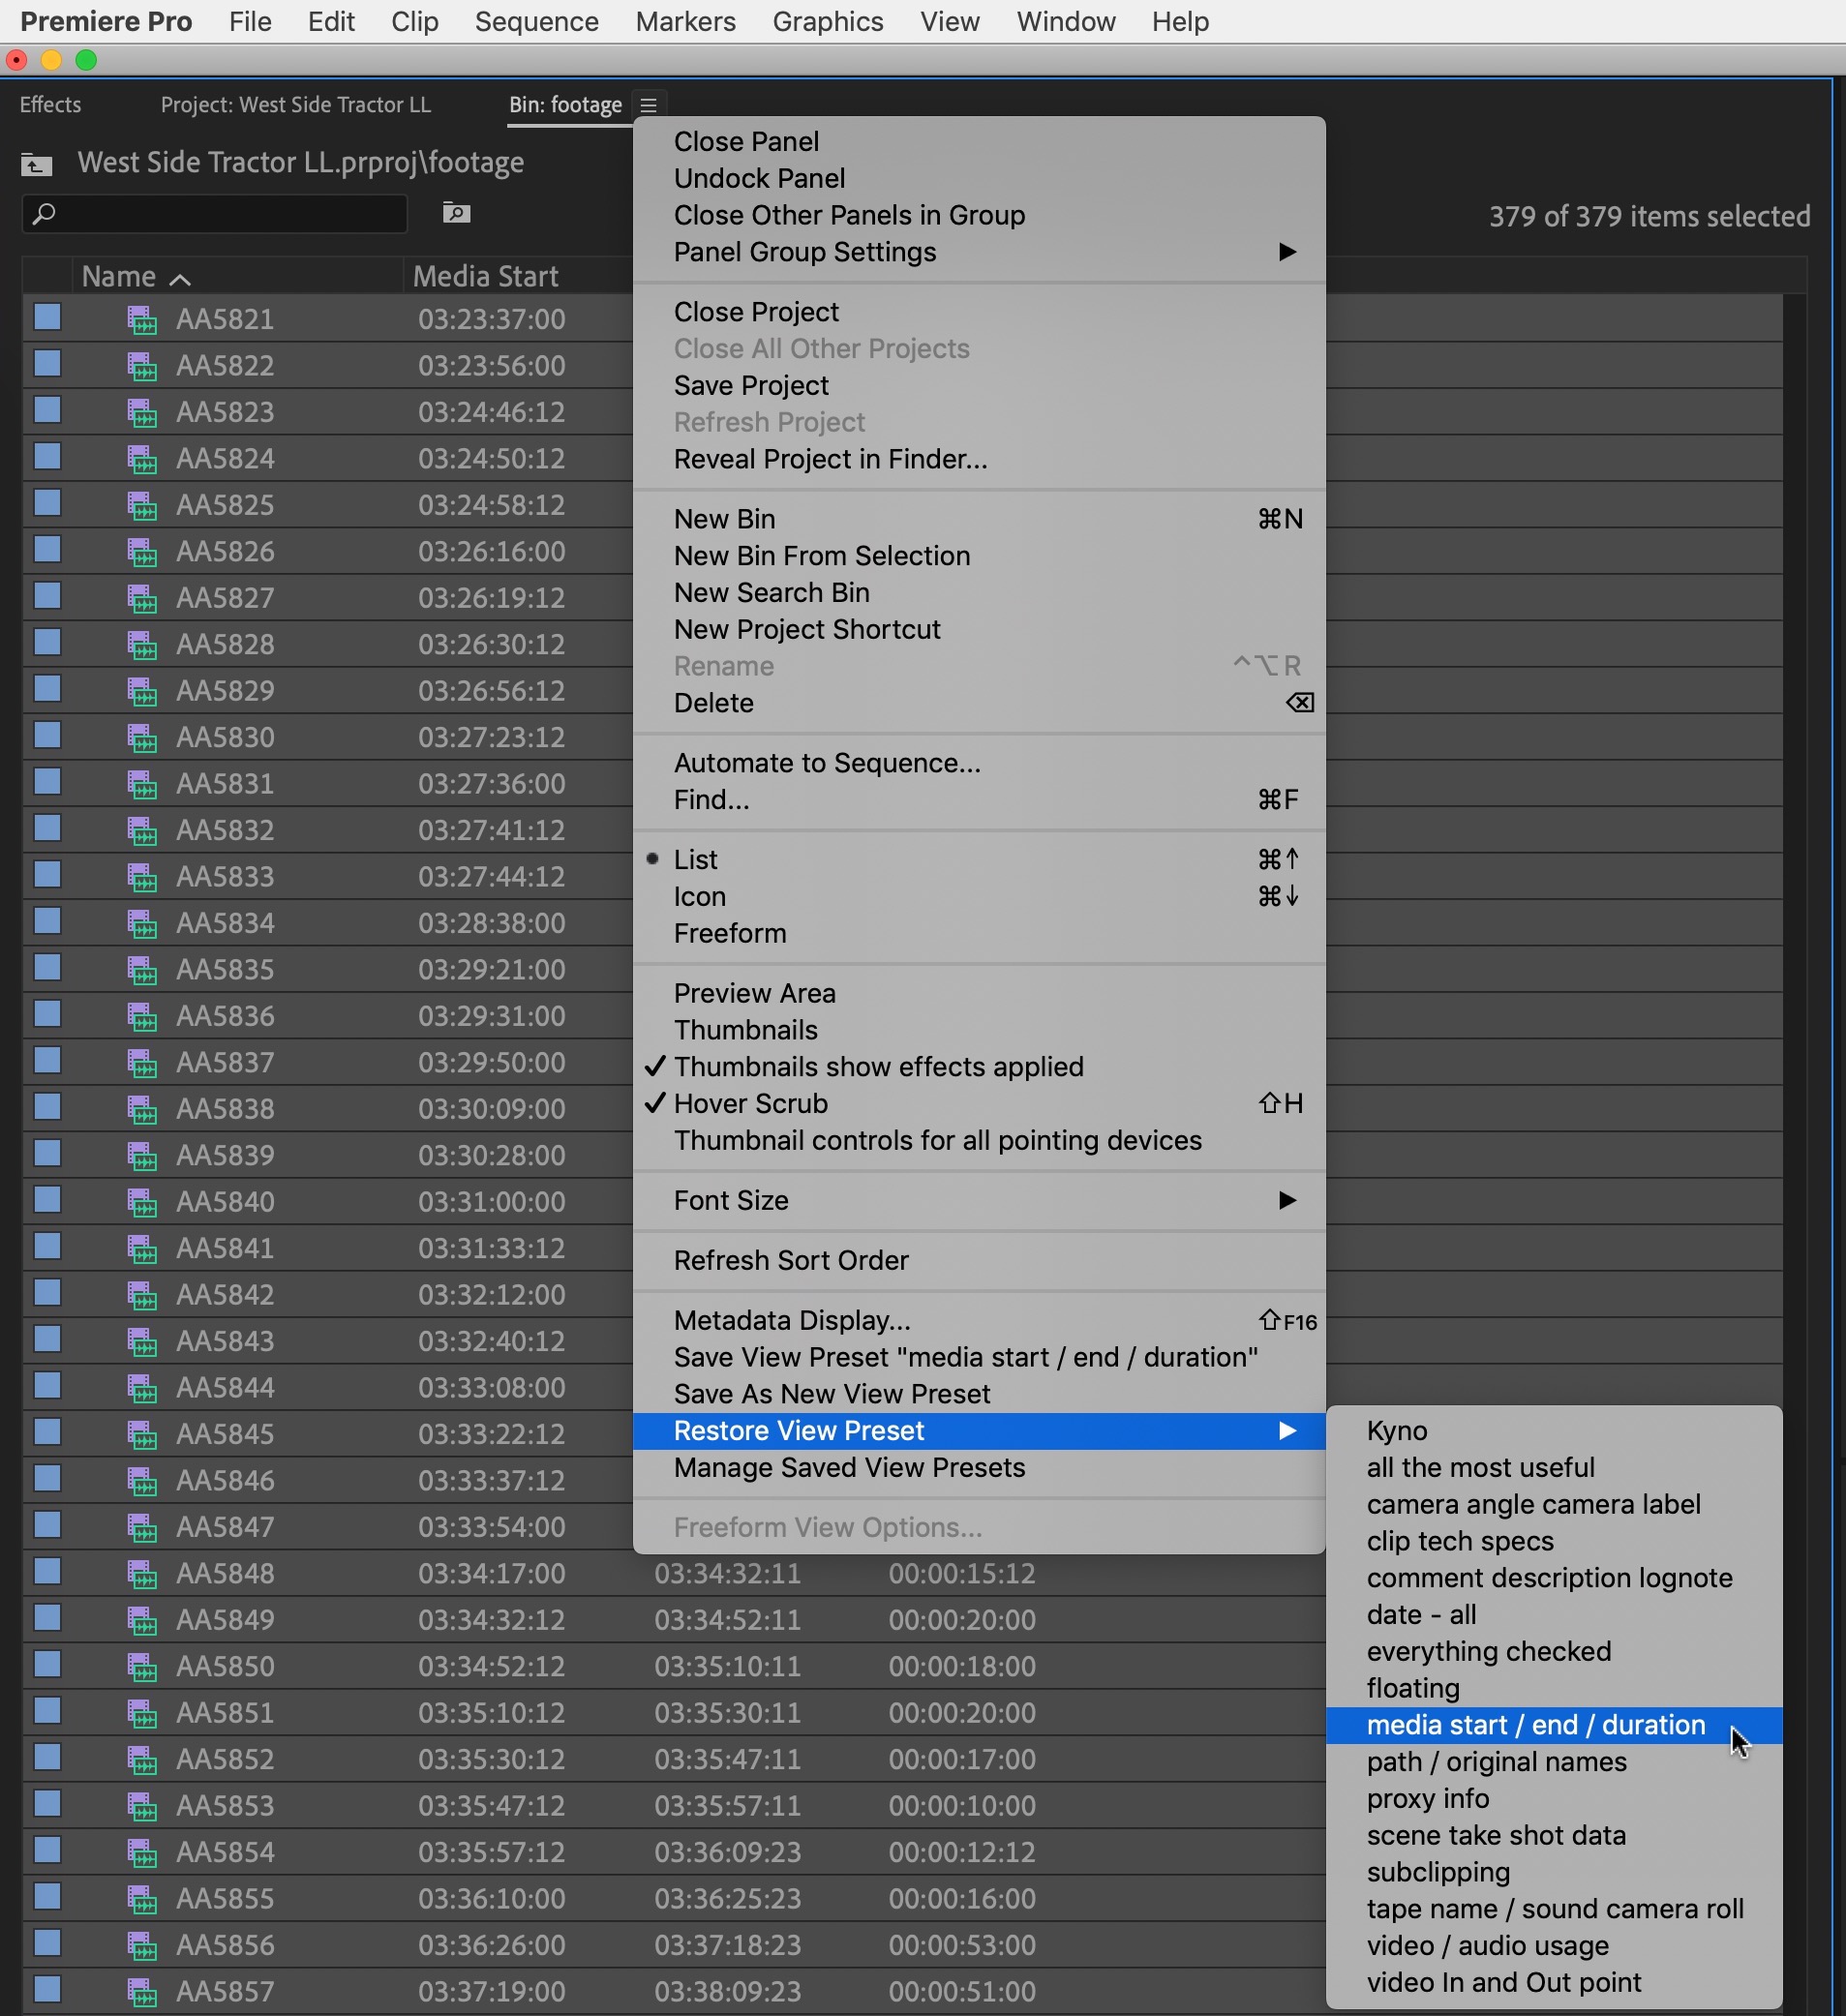
Most of them will go unused as I don’t use many of them myself. A few notes on my presets:
- If you’re a user of Kyno then you’ll get use out of the Kyno preset as that is the data that is sent from Kyno to Premiere Pro.
- Some metadata items don’t seem to do anything and I’ve honestly never used them but they seemed to fit into a particular category when I was setting them up.
- The one marked date – all was pretty much every category that had a date in it turned on. Who knows exactly what “Study Date” is supposed to be all about. 🤷♂️
- Floating is one that I use if I know I’ll be turning different items on and off over an period of time.
- Saving a bin View Preset also saves whether or not you have the Preview area above the bin turned on or off.
To install you have to download and unzip my Premiere Pro column list view presets file:
Scott_Simmons_Premiere_Project_View_Presets
Then you need to place them in the correct folder in your Premiere Documents folder hierarchy.
This is the path on Mac: Macintosh HD> Users >~ >Documents > Adobe > Premiere Pro > 14.0 >Profile-scotts > Settings > Project View Presets
If that folder happens to be missing just head under the bin menu and save at least on Project View Preset and that will create the folder. to recall them just go to the Restore View Preset menu. You can create your own and save them as well. If you change a preset and want to save what you’ve done choose Save Current View Preset.
Depending on your Premiere version the 14.0 might be less. This is on a Mac but I’m guessing it is the same on a PC. I verified that these settings also live in the Documents folder on a PC but I wasn’t able to try my Mac created settings on a PC.
UPDATE 2/5/21. Kenny tried this on a PC and success!
Just downloaded and confirmed this also works on PC
— Kenny McMillan (@kwmcmillan) February 4, 2021
Once installed (and you can even install them while Premiere is running) they should be available in your bin menu.
It’s that easy!
Remember that there is also a keyboard shortcut to toggle between list, icon and Freeform view in a bin so it’s fast and easy to get to the bin list view. You can also save the presets to a keyboard shortcut.
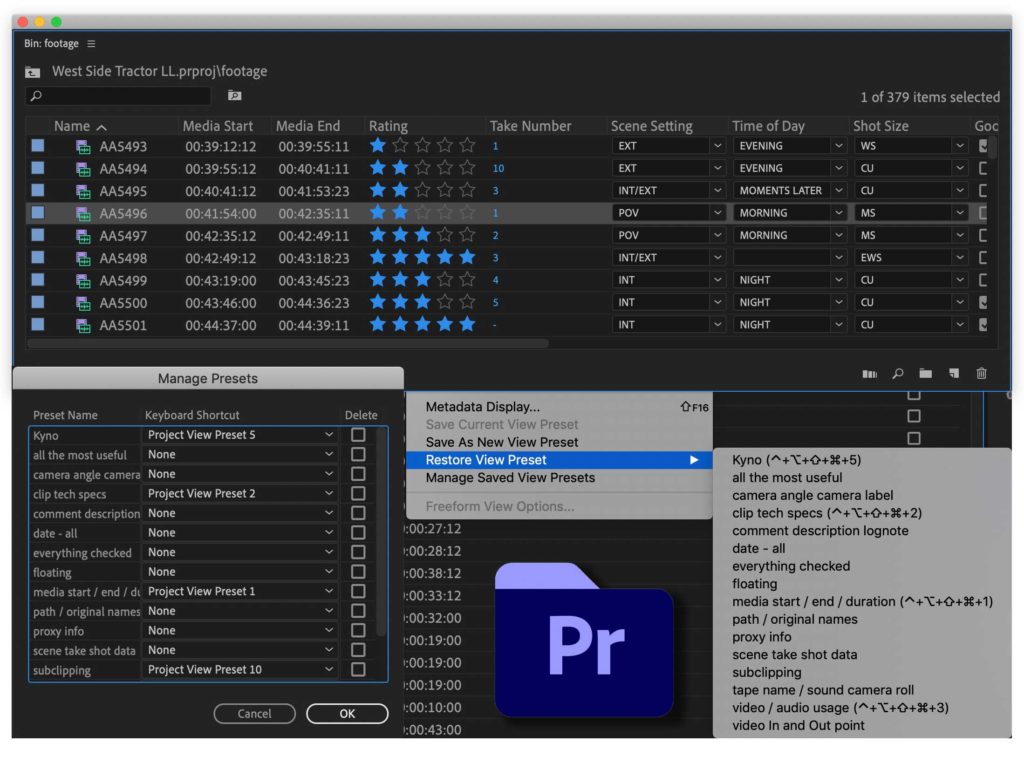
You have to use the Managed Saved View Presets item in the bin menu to assign shortcuts as well as delete ones you might not need anymore.
And once they are assigned you’ll see the shortcuts in the menu.
It’s worth noting that these saved Project View Presets do not translate to the actual Premiere Pro Metadata Panel. Yep, that’s a strange one I’ve never understood so you might have to still venture into the Metadata Panel and find metadata properties there if you want to assign metadata to more than one clip at a time. Which is something you’ll want to do if you use metadata for most anything, including naming camera and Search Bins.
This disconnect between the Metadata Display panel and the bin Project View Presets Metadata Display is puzzling one but that’s just the way it is.
If you use a Loupedeck you can quickly recall Project View Presets via that device.
If you’ve mapped the Project View Presets to keyboard shortcuts you can implement them on a device like a StreamDeck.
May these presets make your editing faster and easier!
Download here:


