One thing that disappoints me, is when companies decide what is right for us. They decide that they know which path our clients should take, and they take the path to get them there. Unfortunately, they don’t understand our clients. Sometimes we don’t understand our clients, and clients stick with what works. If you’ve been sending them 320×240 approval files or your HD work for years now, they don’t want to change, as it’s what works. Well, the same can be said for DVD’s and, for the most part, Blu-Rays as well. I still have clients that request DVD screeners of work, as well as DVD’s of final masters as well. And I’m not talking about a client here or there. Now granted, it’s not as many as before, but there are still clients out there, and since I’ve been pretty much forced by the major companies out there that I should be providing everything to my clients digitally, they have taken away some of my favorite DVD Creation programs (Encore & DVD Studio Pro to name a couple), and left me with…well…nothing, so I have had to look for an alternative. Trust me, there are a ton of consumer level programs out there that will make DVD’s/BR’s, but I need something that was at least up to the level of Encore/DVDSP, and there has always been an alternative out there that Vegas users are familiar with, and that’s DVD Architect. DVD Architect is not only packaged with Vegas, but is available as a standalone application for a pretty reasonable $99, so let’s take a look and see what it’s all about.
First thing that’s important to point out is that DVD Architect (DVDA) is a Windows only application, but if you’re a Mac user, most of us are running either Parallels or Boot camp, so the Windows/Mac argument is a non-issue. Once I downloaded, installed and launched DVDA, as soon as it hit the main interface, I had the strangest feeling of dejavu. I was suddenly whisked back to my Final Cut Studio days, and was back in DVD Studio Pro like application that, for lack of a better description, felt like that old comfortable jacket that you pull out of a closet after not wearing it for a while. For newcomers, the interface might seem a little jam packed and confusing, but it’s easy to get up to speed pretty quickly.
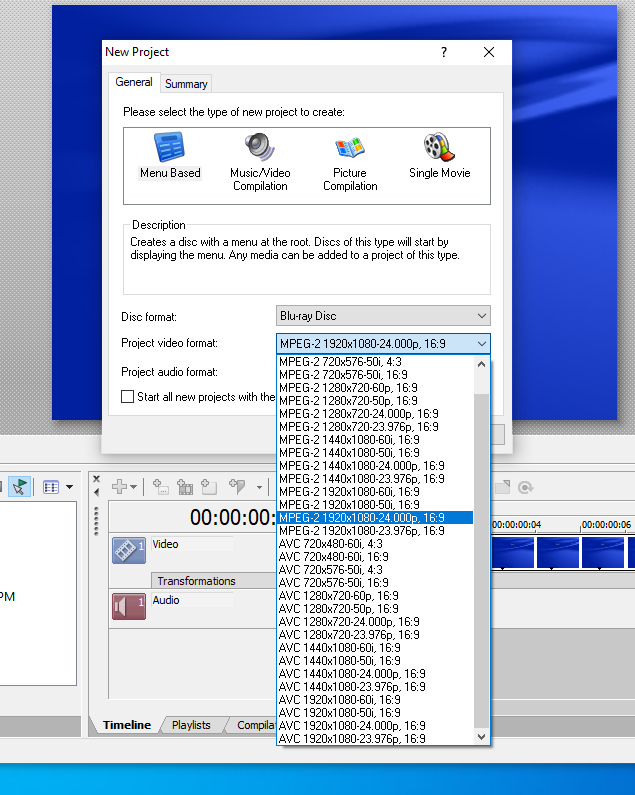
Once you launch DVDA, by default, you’re ready to start creating a standard DVD. I’m going to assume that most people reading this are still creating regular SD DVD’s, as that’s still what most clients are asking for. I’ve had probably five in the last five years ask me for a Blu-Ray, so I keep the default load to be a DVD. If you wanted to change that, you can simply create a new project, and you’ll notice that, assuming you create a new Blu-Ray, you can set that to be the default project creation on launch.

When looking at the main window, you’ll notice that the interface is essentially broken down into five sections that I’ve mapped out below:
Now, keep in mind that there are other tabs in some of the sections, and I’ll discuss them briefly when we get to them.
1 – Project Overview
The Project Overview is where you can do just that. Not only get a complete overview of the current project you are working on, but also add elements like Menus, Media, Pictures, Playlists and more. What’s important to keep in mind about the Project Overview, is that you can add empty elements like Menus here (Menus will always have the default background and button when added), but it’s really down in section 4 where you can start adding canned or custom backgrounds and elements to your work. The great thing with the Project Overview window is that if you were to import an element, let’s use a piece of media for example), and you want to add things like chapter markers to that element, simply double click on it, it will appear in your Timeline window, and you can add whatever marker(s) you need to add. Pretty simple and straightforward.
2 – Canvas/Preview Window
Here is where you will be able to get in and not only customize elements you’ve added (specifically buttons), but you can edit all your text elements and set all your button justifications here as well. It’s basically where you will set the layout for all your disc’s navigation.
3 – Inspector
The Inspector is where you’re going to set what each element does, what it’s linked to, end actions and many other basic, as well as advanced DVD functions that you’ll need to create your interactive disc.
4 -Explorer & Presets
Here’s where things get broken down a little bit, based on what you need to do. Starting out we have a simple Windows Explorer window, that will let you navigate to your own elements such as media clips you want to have as timelines for playback, custom menus and buttons and any other element that you might have created that you want in your project. If you take a look at the other tabs in this window, “Themes”, “Buttons” and “Backgrounds”, these are all included elements for you to use, if you don’t want to create the elements yourself.
5 – The Timeline window
The Timeline Window is where you’re going to deal with the different “timelines” that you’ll run across in the creation of your project. It could be something as simple as what I had mentioned in section one. You have a clip that you want to add chapter markers to. No problem. Double click and do that in the Timeline Window. Maybe you want to have a bunch of special feature clips playback back to back in their own “timeline”. No problem, all that can be set up from the Playlist window (a “sub menu” of the timeline window. Want to create a “timeline” of still images that will play, again, back to back, for a certain duration each? Again, no problem. You can set it up in the Project Overview window, and then adjust the actual Picture Compilation in the Compilation tab. Simple and straightforward.
Once you have your disc set up the way you like it, it’s time to Preview things, and that can be done by simply hitting the “Preview” button at the top of the interface. Now you can double check all your navigation, button clicks, highlight colors, and whatever else needs proofing, before you send your final disc. Once you get rolling with DVDA you’ll notice that, especially if you’re coming from another DVD creation application like Encore or DVD Studio Pro, that everything is in a very logical place, assuming you understand the five main application workspaces.
One thing that is exceptionally important for me to point out before I wrap up this article is that DVD Architect can create DVD projects for duplication as well as replication. However, the Blu-Ray projects and discs (or disc images) that it creates is for duplication only (BR-R). You cannot send Blu-Ray projects for replication from DVD Architect, so keep that in mind.
Every single editor out there should have access to a DVD/BR authoring program, no matter how complicated, and I have to say that DVD Architect has all the bells and whistles, and then some! In the end, what I love about DVD Architect from Magix is that it’s super quick and simple to get in and create basic client DVD’s, to keep those clients who want to stick with physical media, happy. With that said, if you want to take things to the next level, DVD Architect can also create more advanced menus, complex project structures and features that will help take a simple project, and make it look great. One last thing that I do want to mention is that DVD Architect is available as a standalone product OR as part of the Vegas bundle available from Magix. Oliver Peters did a write up on Vegas 17 a few weeks ago that you can check at the included link. For more information, and to download a free trial of DVD Architect from Magix, you can check it out at https://www.vegascreativesoftware.com/ca/dvd-architect/ .


