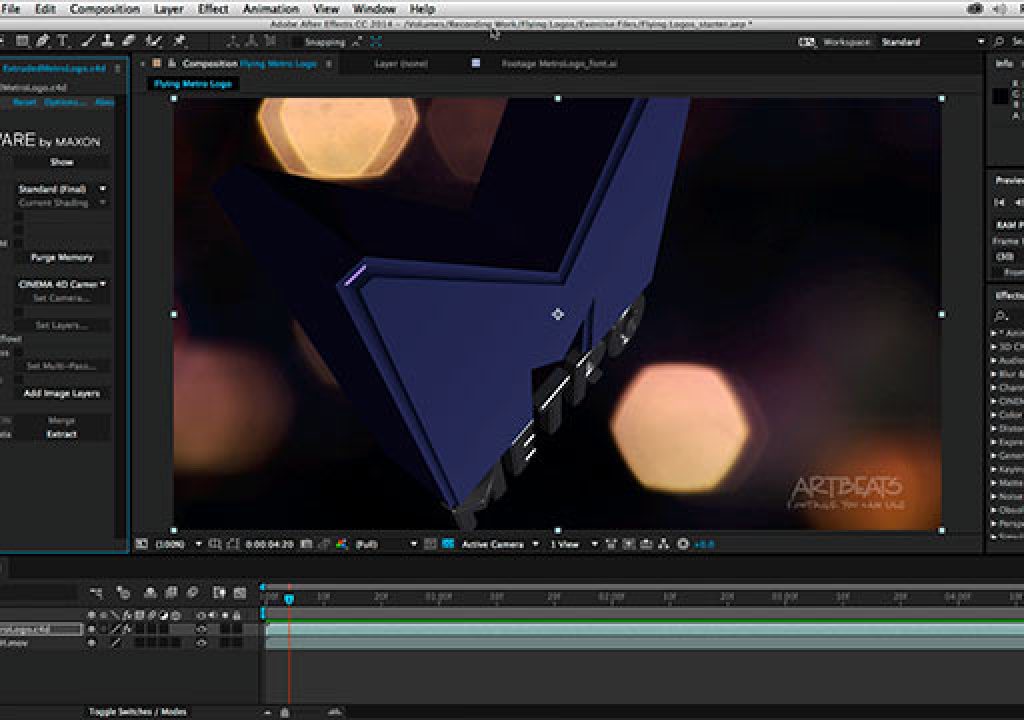
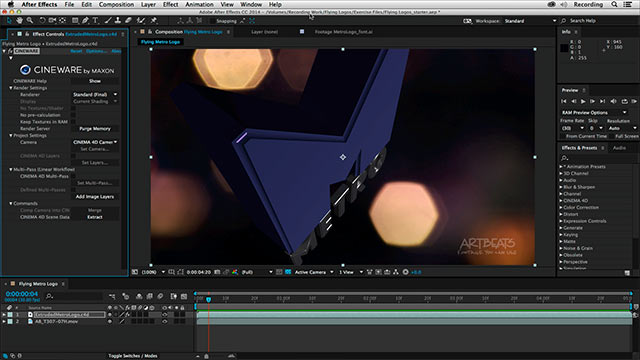
One of the most common, bread-and-butter motion graphics jobs you’re going to get is to take your client’s flat, two-dimensional print logo, turn it into a 3D object, and animate it onto the screen for an endless variety of video destinations (trade shows, press events, training videos, web & social media, etc.). This used to mean having to buy and learn a 3D program in addition to After Effects and/or your NLE of choice, rendering it out of one, and bringing it into the other to potentially integrate over additional footage. Now that CINEMA 4D Lite is bundled with After Effects, and there is a direct render path between the two, this task is now a bit easier.
But there’s still that (not so) little step of “learn a 3D program.” With that in mind, Chris created a session for last year’s Adobe MAX conference to teach those with no prior 3D experience just enough to be dangerous and pull this task off. It was very well received, so we’ve been working on other ways to make this information available.
For starters, you can click here to download the PDF cheat sheet Chris created for his session that outlines the steps in abbreviated form. The highlights include :
- Convert the logo to outlines in Adobe Illustrator, taking note of the client’s colors in RGB (there is no CMYK in 3D or video). Export as Illustrator 8.
- Start an After Effects project using the sRGB color space with linear blending enabled (they’re what CINEMA 4D prefer), and create a composition that matches the client’s delivery specifications (frame rate, frame dimensions, and duration – adding a couple seconds of “handle” in case the editor needs to fade into or out of your logo).
- Add a New > Layer > CINEMA 4D layer. This will launch CINEMA 4D Lite; edit its project settings to match your After Effects composition.
- “Merge” the logo file into the C4D project, and delete any unnecessary paths such as guides. Zero out its initial position to make life easier later on.
- Add an Extruder for each part of the logo you may want to treat differently, and make those paths children of the Extruder objects. For example, for this particular logo we assigned the big M, the Metro name, and registration symbol each to their own Extruder.
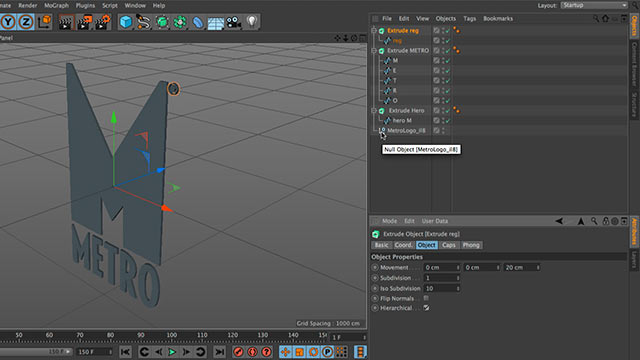
- Extrude each group of paths to taste, keeping an eye on readability and proportions. We usually enable the Constrain option to prevent the paths from growing in size, and prefer the Concave “fillet” (bevel) type to catch the light in more interesting ways.
- Add and position at least two lights – a “key” and a “fill” light – to illuminate the logo. We recommend the Target Light type for beginners, as they default to aiming at the center of the 3D world (where your logo is).
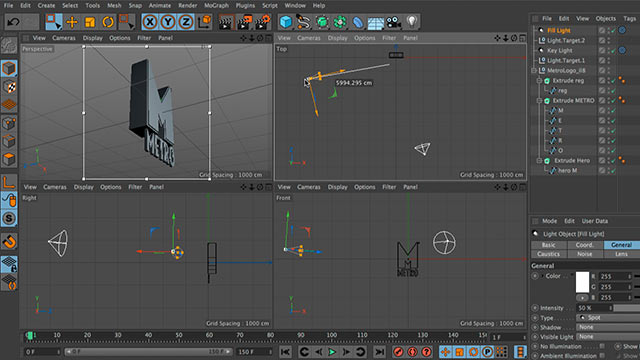
- Create or add preset “materials” to make the logo pieces prettier, keeping in mind the colors that originally appeared in Illustrator. Lite and material color interacts to produce the final color and brightness that renders. (We wrote an article a few months ago on rescuing the old presets from C4D Lite to combine with the new ones included with After Effects 2014.1. The course on lynda.com also includes a free movie on how to retrieve those presets from an older version of CINEMA 4D Lite.)
- Set up a simple two-keyframe animation that ends with a nice pose of the logo. CINEMA 4D defaults to “easing” into and out of the first and last keyframes, creating a smooth animation move. Again, we prefer a Target Camera for beginners, as by default it will automatically rotate to look at the center of the world.
- Return to After Effects, and optionally composite your new 3D logo over a video clip.
If a picture is worth a thousand words, videos are worth even more, so Chris created a course for lynda.com called “Creating Flying Logos with After Effects and CINEMA 4D” that demonstrates these steps in detail, including a bunch of additional tips on subjects ranging from getting better glints to maximizing render quality to managing your client. Here’s the introductory video to the course that covers what you’ll be doing:
If you don’t have a lynda.com subscription, then use our link http://www.lynda.com/go/chrisandtrish to set up a trial subscription. You won’t be billed for the first 10 days (a recent upgrade from 7 days free), which should give you plenty of time to watch this 2-hour course as well as any other content on lynda.com. We have nearly 50 courses up there ourselves, not to mention the thousands of courses from other instructors on other programs. If you don’t want to continue your subscription, then cancel within 10 days and you won’t be billed.
We know you’re busy, so the goal of this course is to teach you just enough to be dangerous – and hopefully impress your boss or clients!

Filmtools
Filmmakers go-to destination for pre-production, production & post production equipment!
Shop Now