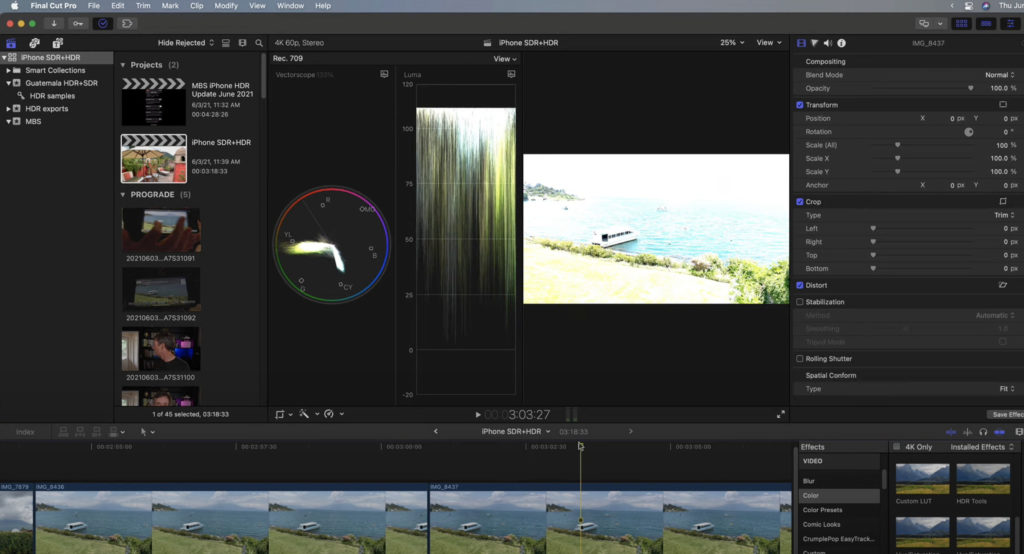
Last Fall shortly after the iPhone 12 was announced, we published a video where I explained how to work with the new High Dynamice Range (HDR) feature in Final Cut Pro. Because of all the confusion and downright wrong information that continues to swirl through the intertubes, I decided it was time for an update.
The main issue folks have is that they shoot video with the iPhone set to HDR (knowingly or not), then they import the clips into Final Cut Pro and discover that, although they look fine in the Browser, once in the timeline, they look drastically overexposed. So they do a quick Google or YouTube search and are advised to use the Color Space Override feature to fix the issue. Unfortunately this is bad advice. In this video, I explain what this feature is actually doing, why it makes video look so good on an iPhone and other iOS devices, why it looks so bad in Final Cut Pro, and how to address it correctly using two different methods (neither of which is using the color space override) in Final Cut Pro.
HDR is a complex subject, and by making it easy to shoot in HDR on iPhones, Apple has put it right into the mainstream. The first thing to know is that once you enable HDR on the iPhone 12, you are shooting in the HLG profile but also storing DolbyVision metadata with the video clips. Many folks assume that because it’s DolbyVision it must be in the PQ profile, but in fact it’s HLG.
When working with any HDR material – HLG or PQ – your first question to answer must be: what am I delivering? If you are delivering in HDR, your workflow will be different than if delivering in SDR – standard dynamic range, or Rec. 709. While more and more distribution platforms support HDR, I suspect for most folks working with iPhone HDR footage in Final Cut Pro, they should still be delivering in SDR. Check out the video and let us know what you think. Check out all our Final Cut Pro training here.


