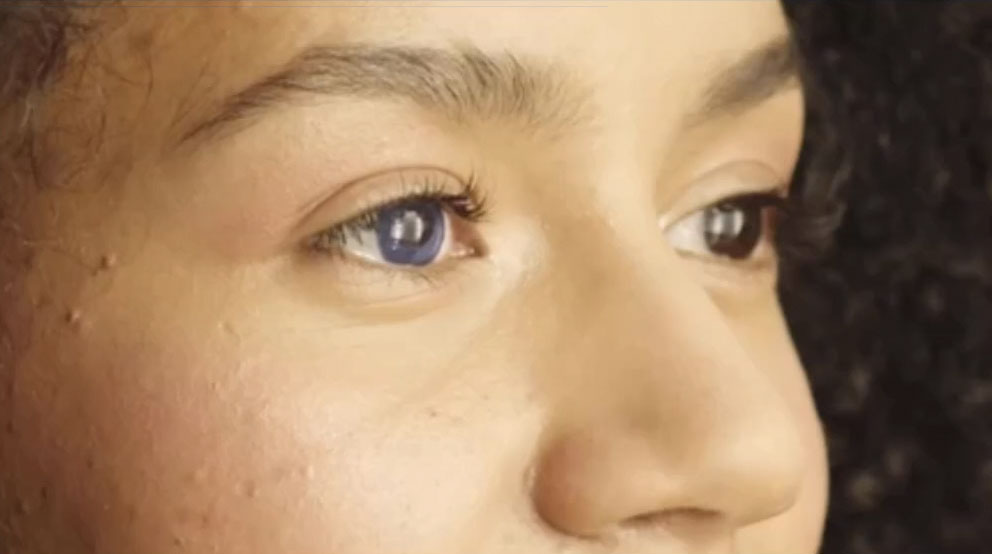
The biggest mistake most people make when color correcting the eye is to treat it as a “one shade” correction. They mask out a region of the eye and simply shift the color. This results in something that looks like cataracts.
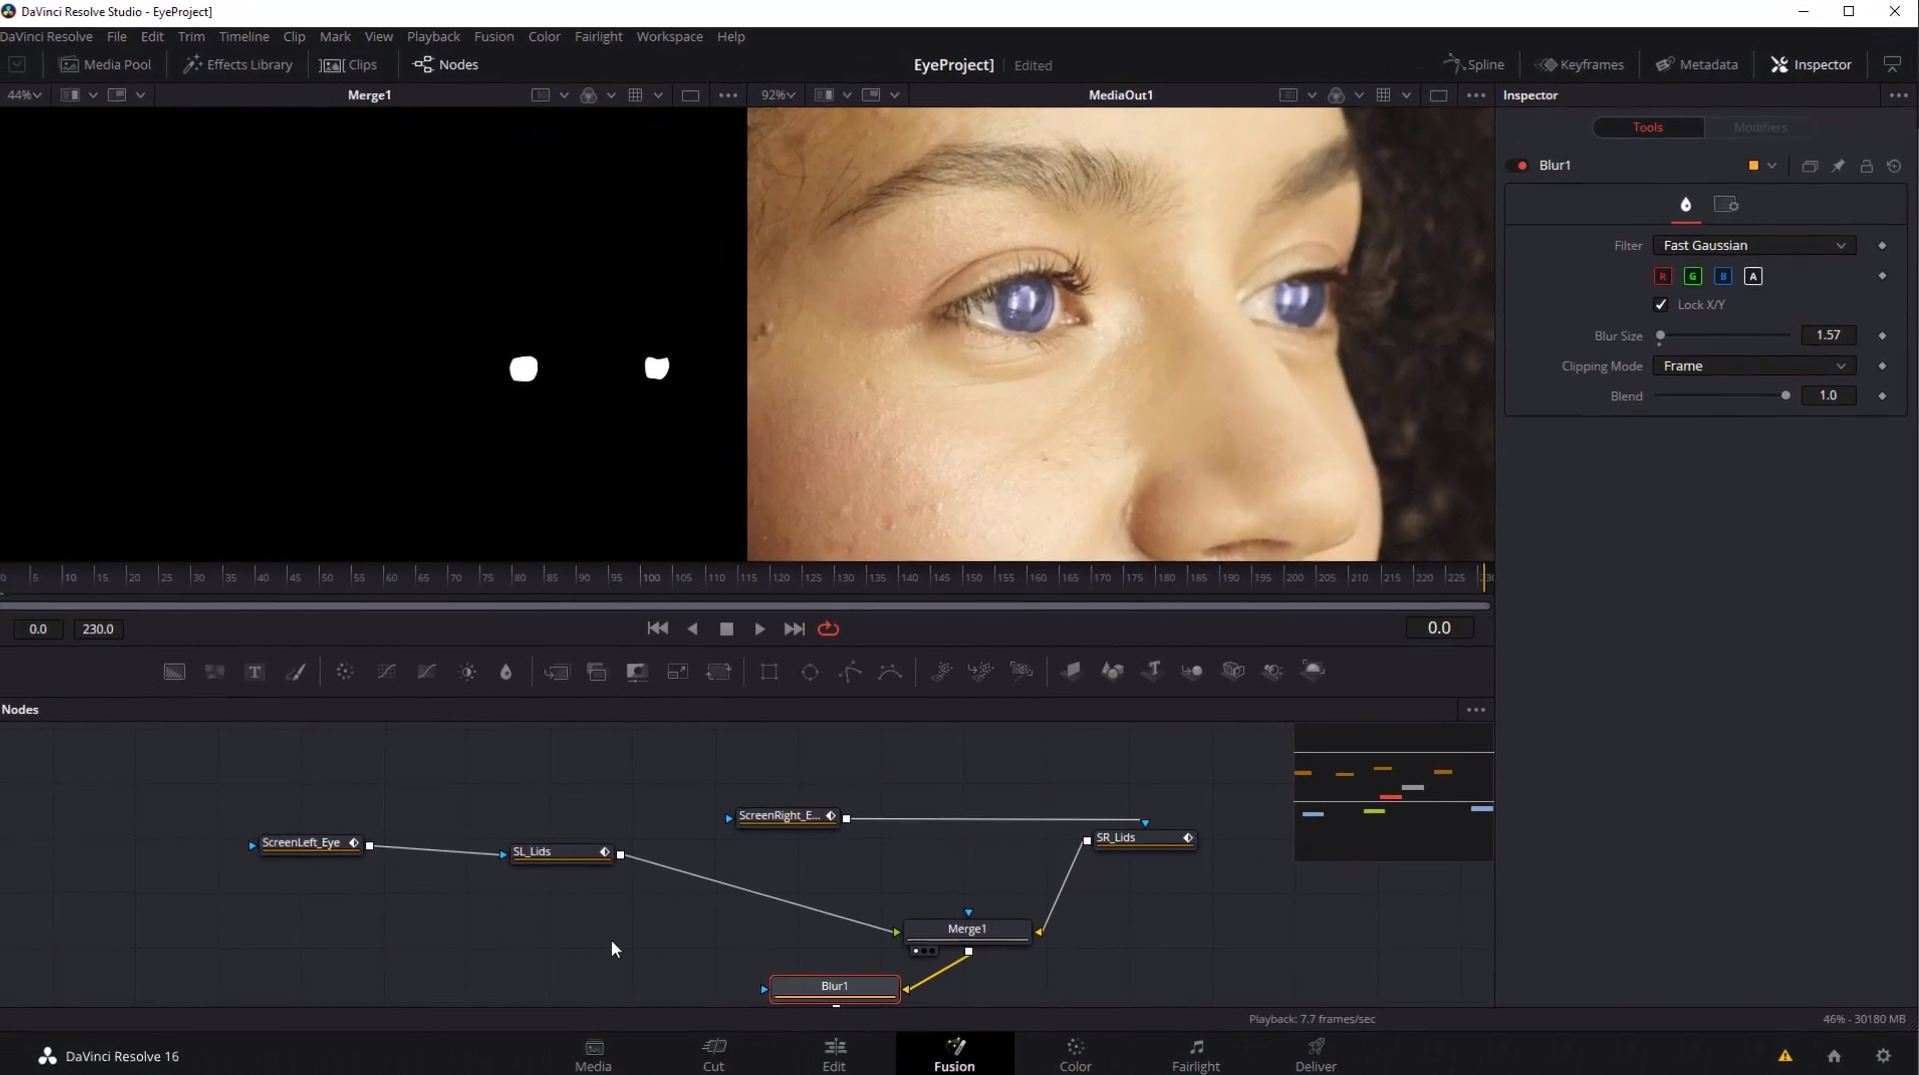
In fact, there are several processes in an accurate eye correction. First, we need to isolate the iris, the actual part of the eye that needs correcting. In the case of shifting from a dark brown to a lighter color (like blue) you’ll need to both tint the iris and increase the overall luminance. For an extremely detailed correction, consider separating different tones in the eye for different discrete secondary color corrections (such as flecks of different hues in the texture of the iris).
It’s important to isolate the pupil so that it is not color corrected. This is the lead cause of the “cataracts” look, since cataracts are the result of the clear lens of the eye clouding over. You can either cut the pupil out of the matte used to correct the iris, or simply “paste back” the original image pupil on top of the iris correction as a secondary process.
Another big mistake is to ignore specular highlights on the eye. By color correcting specular highlights, you’re essentially changing the room reflections to indicate a different color cast. Instead, specular highlights should be isolated via a luminance keyer and excluded from the color correction.
Finally, lid movement needs to be masked to remove any color correction when the subject blinks. Overall, subtlety is key: push the correction too hard and the eyes will seem to have an otherworldly glow. That might be perfect for your sci fi scene, not so much for your period drama…
Now that you’ve read a summary, why not click through to the video on moviola.com for a blow-by-blow of the process using the Fusion page in DaVinci Resolve? It’s free after all, so what do you have to lose?


