Introduction
While the new iPad edition of FCP is very welcome, it’s been over a year since the last feature update to Final Cut Pro for Mac, so it’s great to see some progress. While I don’t think that any amount of feature updates could possibly please everyone, this relatively small update includes several features, and most editors should find something here to make their lives a little easier.
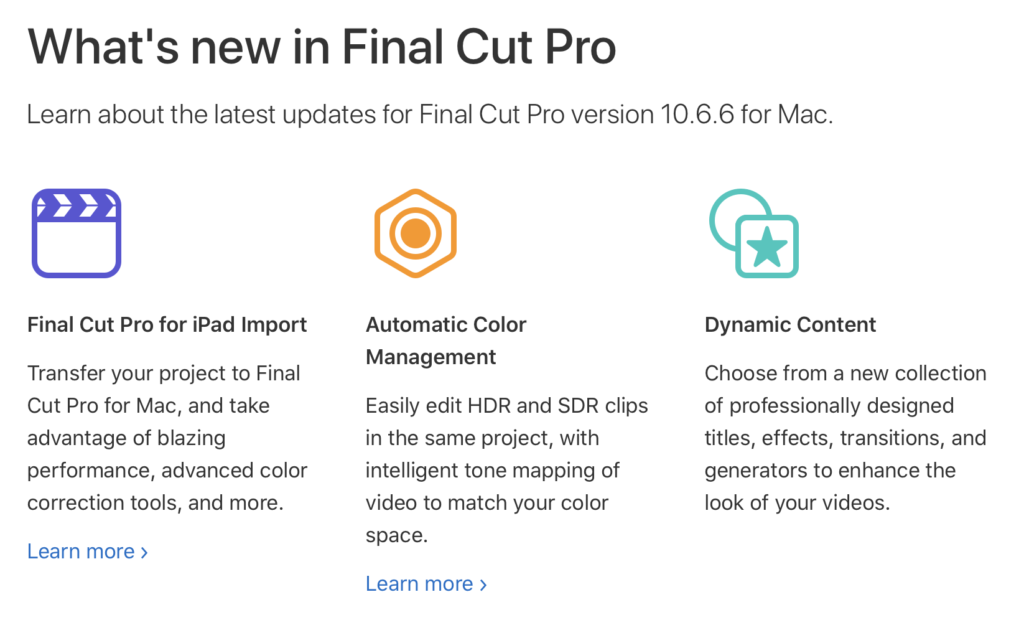
We knew this update was coming, because it was pre-announced in the footnote of the Final Cut Pro for iPad announcement page, but there’s quite a bit more here than just the ability to import iPad projects. Note that if you do import from FCP for iPad, this is currently a one-way journey, because FCP for Mac includes more advanced features. Let’s see what else is included.
Color Conform and Automatic HDR
The biggest new feature here is Color Conform, now at the bottom of the Video Inspector, which will automatically make HDR clips look right in SDR timelines. As the iPhone shoots HDR by default, this is a big improvement, and neatly addresses the #1 pain point (Why is my video blown out?!) experienced by novice Final Cut Pro users. Premiere Pro recently introduced a similar feature, so if your camera can shoot HDR, it’s more likely that you’ll be able to use it more frequently, with less hassle in post.

With this release, Apple is also gently encouraging more users to try out HDR. Previously, a library could be set to “Standard” or “Wide Gamut HDR” and only a Wide Gamut HDR library could contain HDR timelines. Now, “Standard” has been renamed to “Standard Gamut SDR”, which is a helpful pointer for new users.
When you drop an HDR clip into an Standard Gamut SDR library, a new dialog will pop up, offering to switch your library to Wide Gamut HDR. Since you can still create SDR projects in an HDR library, this is probably a good time to switch, but if you want to make sure that you don’t ever export HDR by accident, keeping your library set to Standard Gamut SDR is still a valid choice. And if you don’t want the HDR to SDR conversion to happen at all, you can disable it with a new switch in Settings/Preferences > General.
Is it worth making the jump to HDR for deliverables? That’ll depend on what your clients are asking for, and there’s no simple answer. Due to distribution complexities, HDR remains a non-trivial delivery method for professionals, but if you’re a home user making videos for friends on Apple devices, you can absolutely work in HDR timelines today. The changes here make it easier for everyone to shoot with HDR, and delivery will become a whole lot easier once big platforms make that part easier.
The new Color Adjustments correction
Since FCP 10.4, color correction has been really quite good — not up to the level of DaVinci Resolve, but quite capable. The addition of Object Tracking made it much easier to work with masked, tracked, local corrections, and with color management built in, what you see on the timeline is what you’d see in QuickTime Player and then online in YouTube.
The Color Board, Color Wheels, and many Curves corrections can tackle most tasks, but some people prefer the lots-of-sliders approach used by Adobe Premiere’s Lumetri correction and Lightroom. This release introduces the Color Adjustments correction, offering simple slider-based controls over Exposure, Contrast, Brightness, Saturation, Highlights, Black Point, Shadows, and separate Warmth and Tint controls for Highlights, Midtones and Shadows.
If you’re on the more technical side of the fence, or you’re used to the Basic section of the Lumetri corrections, you’ll feel right at home. There have been third-party effects which offered these controls are more, but the big difference for Color Adjustments is that it lives in the Color Inspector, not the Video Inspector.
In a further step towards making HDR easier to work with, there’s a very handy Control Range menu at the top of this new correction to change the brightness range it affects: SDR, HLG, or PQ at 1000, 2000, 4000 or 10000nits. This should make it much easier to target your deliverables to different HDR standards — change the setting here and you’ll see a quite different result.
ProRes RAW Settings window and plug-ins
If you’re shooting ProRes RAW, it’s your birthday: camera manufacturers can provide plug-ins to optimize the interpretation of their RAW files, and there’s now an dedicated window to allow for more control over the appearance of ProRes RAW clips.
Just like the floating window long used for REDCODE clips, you can now make several changes to the way the media is processed, including ISO changes, Exposure offset, and Color Temperature. You can also choose the flavor of Log to send them to, and your options include Canon Log 2, DJI D-Log, Nikon N-Log, Panasonic V-Log, and Sony S-Log3 with Gamut3 or Gamut3.Cine. Changes made here flow through wherever the clip is used, so you can revise your processing choices late in the edit if you wish.
This is a big improvement if you’re working with ProRes RAW, so if you have a modern camera with a modern Atomos recorder, take another look at your workflow options.
Scene Removal Mask
A brand new effect, the Scene Removal Mask, now performs a “Difference Key” to remove a person (or anything else) from a shot. Interestingly, this effect comes with assistance in the form of a pop-up icon, and I’d like to see this help system spread into other parts of the app too.
To make this work, you’ll need to record a blank frame near the beginning or end of your shot, the first or last frame, or the frame one second from the first or last frame. This can be a little tricky if the big red record button on your camera can only easily be pressed from inside the frame. Note that the effect always pulls that reference frame from the source clip, not the current trimmed version on the timeline, so you can’t just trim your clip and then apply the effect. As a workaround, you can trim your clip so that a blank background reference frame is at the first or last frame you can see, then make a compound clip, and apply the effect on top of that. Hopefully we’ll be able to select a specific frame to act as a background plate in the future.
So how good is it? Actually not bad. The main comparison I have for a screenless keyer is Keyper, which uses AI to recognise people in a shot and remove the background. Keyper is pretty good but not 100% reliable, and in my testing, I’ve found the Scene Removal Mask to be more consistent. Hands moving in and out of shot can sometimes be keyed incorrectly by Keyper, and here, they look as good as they would on a green screen. Hair looked good, with decent detail retention, but there are no further controls, and edges can still dance a little. As a complement, it would be nice to see Motion’s Matte Magic effect make the trip to FCP to allow some further cleanup, but if you have Motion, enabling the effect for FCP is just a few minutes’ work.
Do note that you’ll need to maintain a consistent, relatively simple background for this to work, but if you’re regularly recording in a controllable space, this could be a simple way to play with backgrounds, or to color correct the person in your shot separate from the background without tracking.
Other Keying and Masking changes
There’s been some rearrangement of some commonly used filters, and the previously separate Keying and Masks categories are now one: Masks and Keying. Inside, you’ll find a new Corner Mask effect, essentially a four-point garbage matte you can use to trim the edges from a clip. This doesn’t bring anything truly new, because the Draw Mask effect could do this with a few clicks on the corners, but it’s certainly convenient.
The Keyer has now been renamed to a Green Screen Keyer, though it will still auto-select a key color as it did previously, and its other controls are the same too.
New Titles and Transitions
Final Cut Pro has long enjoyed strong integration with Motion, and it’s been relatively easy to make custom titles, effects, transitions and generators. As a result, the third-party marketplace for these elements remains as strong as it’s ever been, but Apple themselves haven’t really added much in the way of new content.
With this release, they’ve added quite a bit, including new categories of Titles which bring some welcome modern geometric pop in seven categories (Dynamic Titles) and a new set of everyday basics (Essential Titles). You’ll also find new Transitions (Dynamic Transitions) which complement the new Titles, one for each category, and new Generators (Dynamic Backgrounds) which are very colorful and bright, but with no parameters to tweak.
You may also notice that the default graphics used for the icons and previews for Effects, Titles and Transitions have changed slightly, so spare a thought for all the tutorial makers who’ll be re-taking screenshots soon.
Exporting changes
It’s now far easier to use HEVC as a codec. The familiar Apple Devices, Computer and Web Hosting presets can now all export to HEVC in 8-bit and 10-bit, though Web Hosting can’t export to the 10-bit Dolby Vision flavor that the others can. All these HEVC exports are hardware accelerated on Apple Silicon, and with the space and bit depth advantages that HEVC has, it’s probably a good time to shift away from H.264 if you haven’t already. Some clients on older PCs will struggle if you send them the files directly, but online services and Apple devices have been fine with HEVC for a long time.
As before, you’ll want to choose Computer for the highest data rates and the MP4 container, Web Hosting for medium data rates in a MOV, or Apple Devices for the lowest data rates in a M4V. Note that the Export File (Video and Audio) and YouTube & Facebook export options do not offer HEVC as a codec. Here’s a handy graph with all the new target data rates:
Compatibility and ecosystem changes
Importantly, this release causes older FxPlug 3 plug-ins to stop working. While the vast majority of plug-ins have already been updated to FxPlug 4, if you’re still using older plug-ins on an Intel Mac, you could have some issues. As usual, right-click and Compress your copy of Final Cut Pro before you update, so you can roll back to a past version if you ever need to. The same goes for Motion and Compressor, which have also seen updates.
Motion now allows you to adapt your Motion work to HDR or SDR timelines, it includes the Color Adjustments filter, and has seen some performance improvements. Compressor allows a quick center crop when reframing video, lets you paste video clips from the Finder directly to the batch list, and includes improvements to IMF packages.
Conclusion
This may not be a monumental release, but it’s a welcome one. While it doesn’t add transcription, text-based editing or any truly revolutionary new AI-based content recognition, it’s definitely several small steps in the right direction. With the release of Final Cut Pro for the iPad, some may have feared that the Mac edition was abandoned, but that’s clearly not the case, and we got more here than just iPad compatibility. Thanks, team, and fingers crossed that the next update doesn’t take so long!


