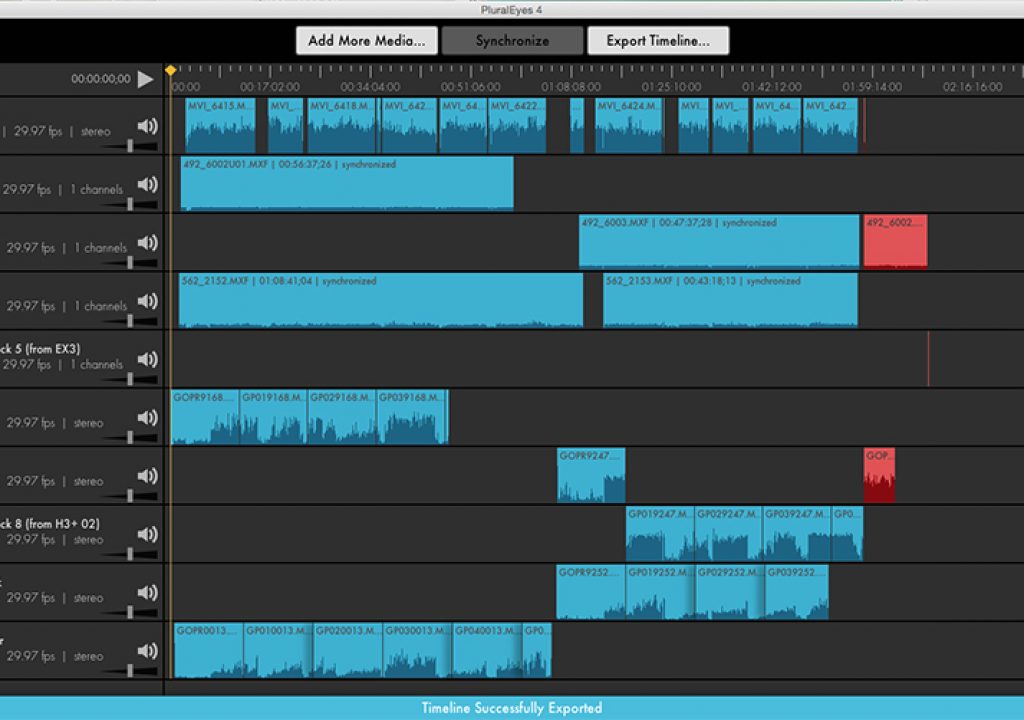
PluralEyes 4 automates audio/video synchronization in seconds instead of days, giving videographers and filmmakers edit-ready footage without clappers or timecode. Red Giant released it with a new interface and faster sync workflow for a faster post-production process with less gear, and greater control and confidence in the sync. For videographers and filmmakers with audio and multi-camera recordings, PluralEyes greatly speeds-up the post-production workflow of films, weddings, events, music videos, commercials and documentary filmmaking. Here’s a look at the NEW simplified interface and powerful sync capabilities of PluralEyes 4.
How PluralEyes 4 Works
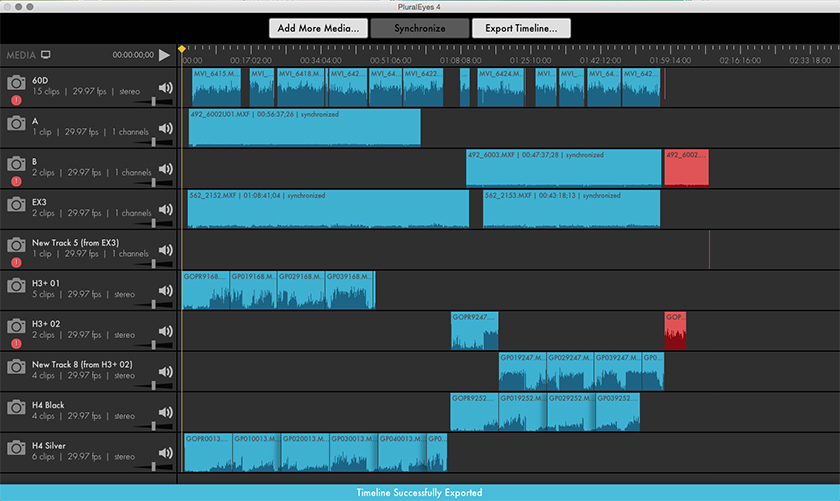
Basically, PluralEyes 4 will automatically ingest, organize and sync your media files and export them to your NLE project synced and ready to edit. Using the specular audio data, PluralEyes will match up the raw video and audio clips from your production and sync them. Then you can chose to export directly to FCP X or Adobe Premiere Pro or save the video and audio files out to work with any NLE, such as Sony Vegas Pro.
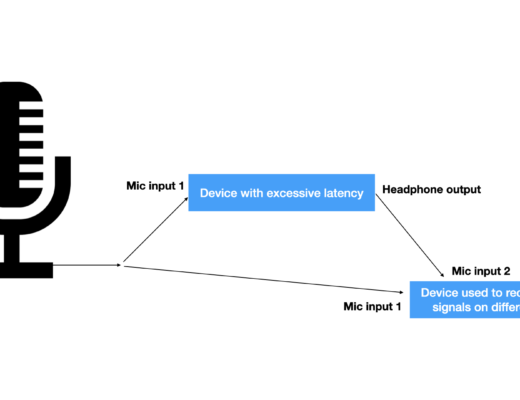
Of course, all your video must have some kind of audio track to perform the sync, but in my tests, even GoPro footage was easily synced with both DSLR and EXCAM clips along with a mixed audio track in a 5-cam multicam production with ease.
The PluralEyes 4 Three-Step Sync Workflow
Red Giant really streamlined PluralEyes 4’s UI and workflow and ease of use, while providing greater performance of sync capabilities of multicam productions. Simpler single cam and audio recorder shoots such as multi-clip DSLR interviews with an audio recorder can all be synced quickly – often in just seconds.
The workflow is simple: Add Media, Synchronize, Export.
When you start PluralEyes 4, its main window appears. This simplified design takes you through the step-by-step process of importing media files, synchronizing them and exporting the synched clips. While there are three tabs across the top of the top of the window, only the Add Media tab is highlighted until your project has media imported to it and ready to start synchronizing. You simply drag-drop your media folders or files onto the window and PluralEyes 4 will begin ingesting and organizing the files into separate tracks, ready to sync.
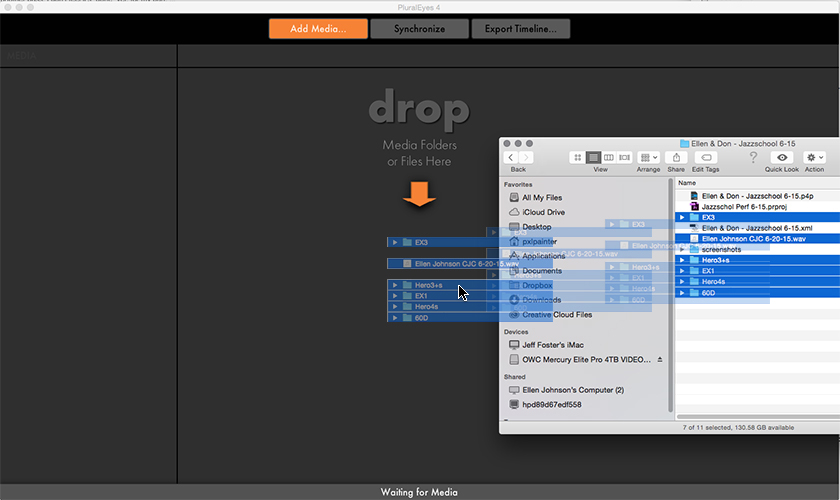
You can continue adding more media folders and files to create additional tracks. PluralEyes 4 is ready to sync once all your media has been added. Simply click ont he Synchronize tab to start the sync process – no further file preparation or other settings are required. Red Giant has really made this simple and taken the guesswork out of this process.
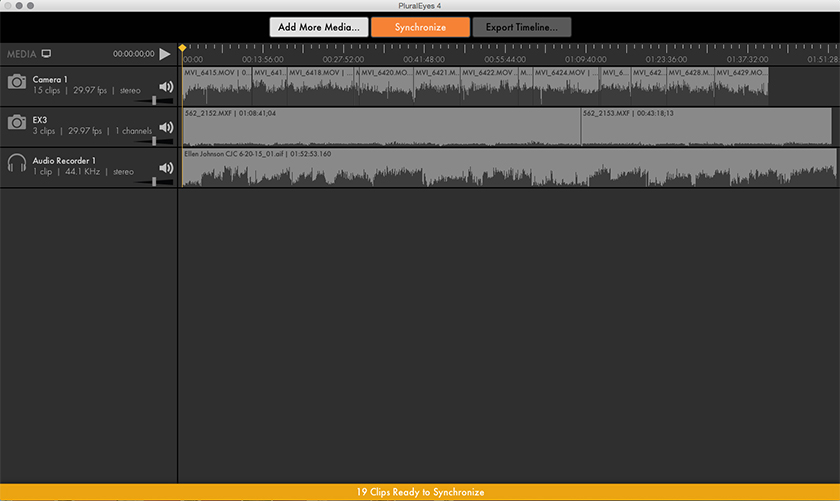
Depending on the size of your production and the number of tracks you’ve added, the sync process may be as short as a few second and as long as 30-40 minutes if you have hours of recorded media.
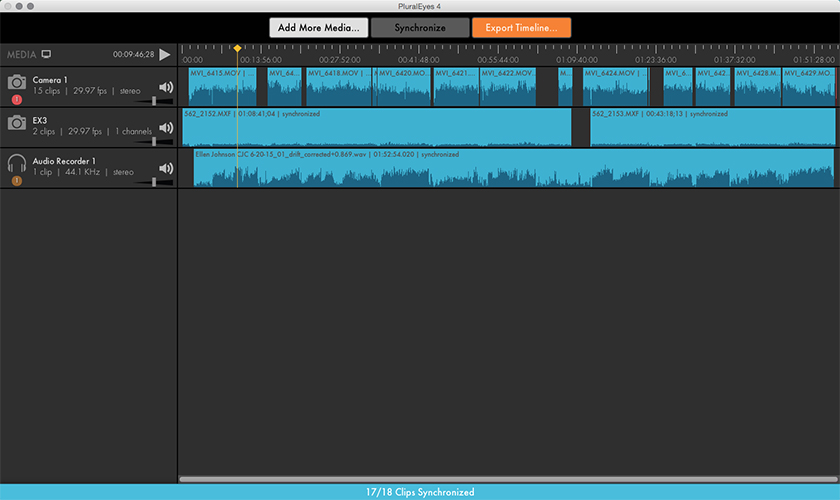
Once the sync is complete the clips on the Timeline will re-arrange and any stray unsynced clips or overlaps will be marked in red.

If your project has orphaned clips from a camera’s card, such as a false start record or a focus test/WB clip, etc, it will either simply be marked red or PluralEyes may create a separate track for it. The clips and tracks are easily removed before you export a clean sync project.
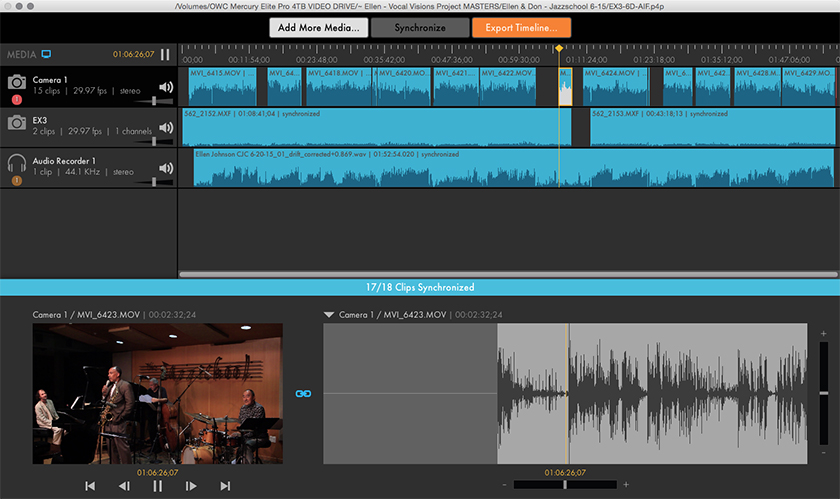
The preview Player panel can be easily accessed now to view just a clip or a track – especally helpful if you need to preview an orphaned clip to determine if it’s even part of the same project or a remnant from a previous shoot.
Exporting The Synced Media Timeline
Once the media is synced without any errors, you’re ready to export the project. Click on the Export Timeline and select the export options from the drop-down panel for the type of export you require. In PluralEyes 4, you have export options directly for Premiere Pro or FCP X and there’s a different workflow for Sony Vegas Pro that they recommend. But they’ve removed the compatibility with Avid Media Composer thorugh exporting, though you can still choose to export the video files or audio only from the Timeline that can be used with any NLE.
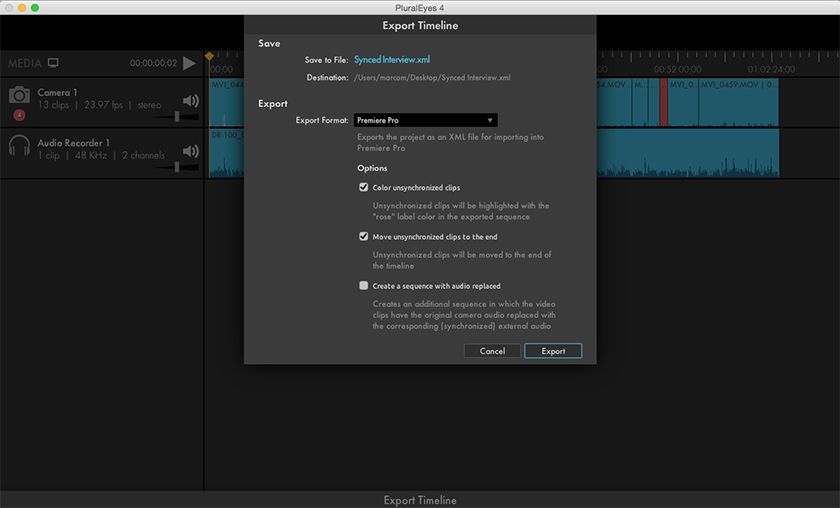
Whether your project is simple or complex, you’ll get a good running start with your synced media that will automatically open inside your Premiere Pro project as a synced media sequence.
In this production, I had 5 cameras of various models, all shooting 1080p/30 plus a mixed audio file from the soundboard of a live concert. Only a few clips had to be manually re-positioned to line up in my Premiere Pro project, but PluralEyes 4 literally saved me days of work in this multi-cam edit.

Synchronize in Premiere Pro CC
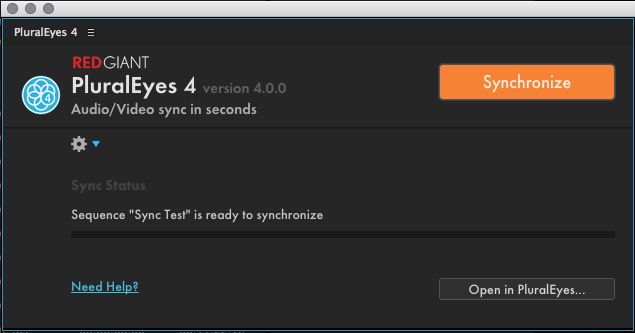
For simple one or two camera, one audio track synchronizations, you can opt to use the PluralEyes 4 panel extension directly in Premiere Pro CC without having to export to the PluralEyes app. For more complex projects, you can export the XML from Premiere Pro and do your sync inside PluralEyes 4. Then it will automatically round-trip when you export to go back to Premiere Pro.
Red Giant Shooters Suite
Red Giant PluralEyes 4 comes as part of their Shooters Suite ($399 full purchase/$199 academic and $99 upgrade) or as a stand-alone product ($299 full purchase/$149 academic and $99 upgrade). Obviously for my money, I’d go for the Shooters Suite and get the benefits of Offload 1.0, Instant 4K and Frames 1.1 as well.
_______________________________________________________________
Jeff Foster is a published author of several how-to books and training videos in the motion graphics, animation and video production industries and is an award-winning video producer and artist. Visit his web site to learn more about his training methods, tips & tricks at PixelPainter.com

Filmtools
Filmmakers go-to destination for pre-production, production & post production equipment!
Shop Now