https://www.youtube.com/watch?v=BNf-nhM0m-A&feature=youtu.be&a
This week on MacBreak Studio, I show Steve Martin from Ripple Training how turn a photograph into an animated scene using a “forced perspective” technique in Motion.
One thing that I like about After Effects is that it allows you to treat any image or video as a slide: by placing a light behind it, you can project the image onto a surface or multiple surfaces (planes). This “camera projection” process allows you to then create a camera move on a still image, creating the illusion of a 3D environment.
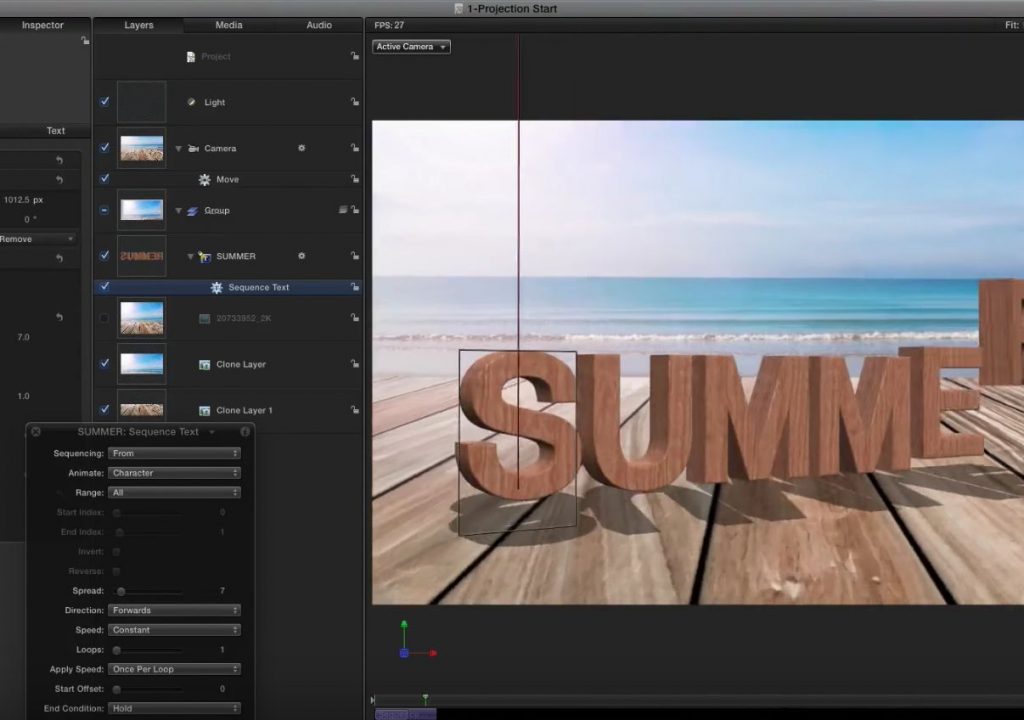
While you can’t employ this technique in Motion, you can achieve a similar result by “forcing” the image into planes in 3D space. In today’s episode, I use an image of a beach scene with a boardwalk in the foreground. The technique involves first creating copies of sections of the image for the ground and the background. Then, we take the ground and rotate it 90 degrees on the X axis to lay it flat so that it becomes a “floor” in 3D space. Next, we use the distort tool to join it back up to the background section so that the image looks like the original from the current camera position. Then, we move the background back in Z-space and scale it up to maintain its original appearance.
With this “stage” completed, we can now move the camera around and what was originally a flat image has become a 3D environment. There are limitations to this approach: images with strong horizontal horizons low in the frame work best, and the resolution can’t be too high or else Motion will have a hard time with all the distortion. But it can be quite compelling with the right image.
From there, I added some 3D text, made the text create shadows on the “floor” with a light, and animated the text as well as the camera for a complete 3D “experience”.
If you want to learn more about how to work in 3D in Motion, we have you covered.

Filmtools
Filmmakers go-to destination for pre-production, production & post production equipment!
Shop Now


