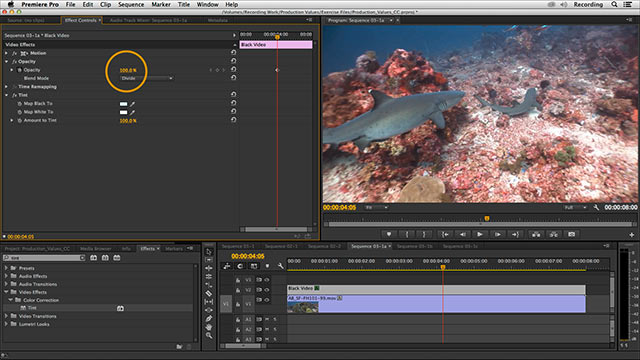
A couple of months ago, we released a video training course titled Adobe Premiere Pro and After Effects: Enhancing Production Value on spinning the straw clients often give us into visual gold. One of the movies in that course demonstrated a dead-easy white balancing trick that removed color tints from footage using Blend Modes:
The movie above demonstrates this technique using Adobe Premiere Pro CC, but it is equally easy to perform in After Effects. The first part of the trick is to create a full-frame solid graphic that is the color of what should be white in your video, but isn’t. For example, in After Effects you can select the Shape tool, click on the Fill Color swatch, use the eyedropper to click on a region that is the brightest off-white, and then double-click the Rectangle Tool to create a full-frame solid shape of that color. The second part is to then set the Blending Mode of that solid graphic to Divide mode (note that not all video apps that have blending modes support Divide).
Why does this work? If you remember your elementary school math, dividing any number by itself always equals 1. On a scale of 0 to 1, setting the R, G, and B color channels all to 1 will give pure white. So if you take a slightly off-white color, and divide that color by itself, the result is pure white. This same function will also divide out any white shift from all of the other colors present in your image. You can alter the Opacity of the solid graphic to fine-tune the depth of this effect.
Of course, the better solution is to get your color temperature right when you shoot the footage – but quite often, we’re given footage someone else has shot, or a color tint has crept in anyway as a reflection of the sky or other parts of the environment. This is a quick way to fix it.
The rest of the course is on lynda.com. If you don’t already have a lynda.com subscription, click here to register and get a free all-access 7-day trial before they start charging your credit card.


