https://www.youtube.com/watch?v=LX9ysMN2Iq8&feature=push-u-sub&attr_tag=7pbps8TjAWjHNJHT-6
This week on MacBreak Studio, I show Steve Martin from Ripple Training how you can use Motion’s tracking and publishing features to create a tracked template for Final Cut Pro X.
So what exactly is a “tracked template”? Read on!
Starting in Motion, I import a clip to be tracked. By using the Import as Project option, the Motion project automatically matches the resolution, frame rate, and duration of the imported clip.
It’s a handheld shot of an iPad held by one actor, showing the contents to another actor. I want to replace the screen contents.
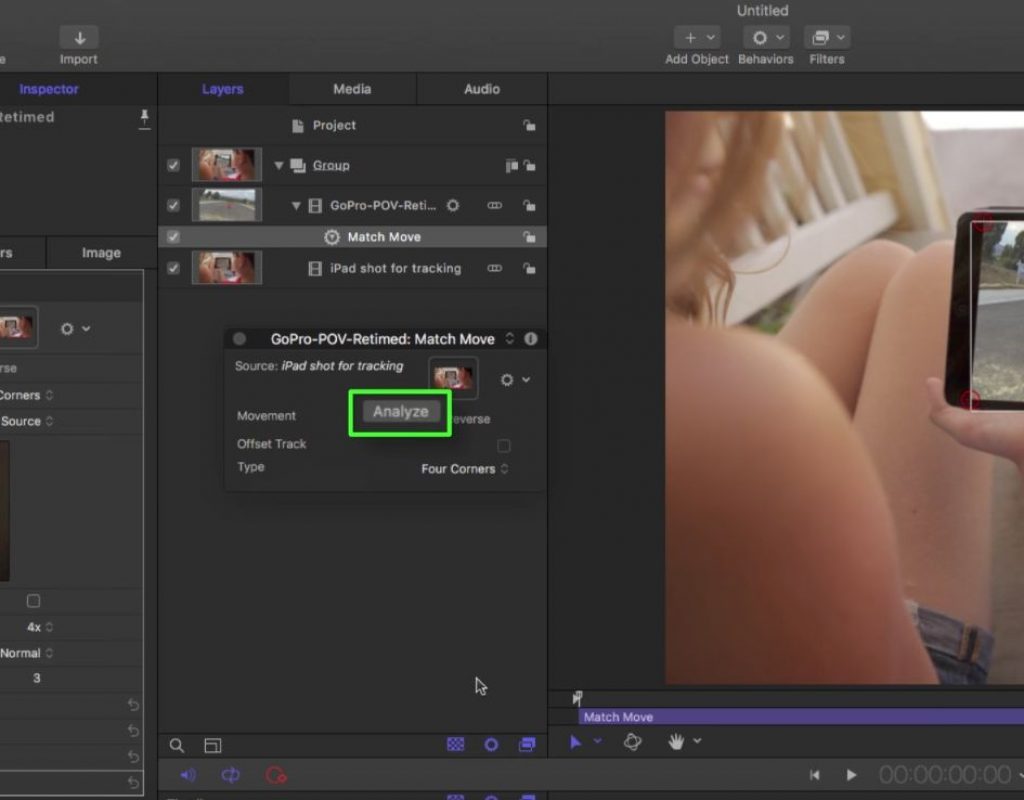
I then import the shot to be placed in the screen. To track it, I use the Match Move behavior, set to a 4-corner track. After positioning the track points carefully using the zoomed view in both the Canvas and then the Inspector, I analyze the shot and Motion tracks the screen, setting keyframes for each of the four track points on every frame that can be tweaked if needed.
Once tracked, it is easy to replace that content with any other: simply drag a clip from the Finder to the layer containing the tracked clip to exchange the media, and the new clip replaces the old, retaining all the track data. So once the track has been established, you can substitute any shot in seconds.
But what gets even more interesting is the fact that we can publish this Motion project to Final Cut Pro X as a template. Before doing so, I turn the tracked screen content into a Drop Zone, and clear the drop zone of the clip so that it’s blank. Then, I publish this project as a Final Cut Generator.
Moving to Final Cut Pro X, to the Titles and Generators sidebar, our new template appears in the Generators category, where it can be added to any project. By clicking the drop zone well in the Generator Inspector, you can select any clip, from either the current timeline or from the Event Browser, to fill the iPad screen. It’s already tracked and ready to go. If the aspect ratio doesn’t match the screen, we can easily scale and pan the clip.
All the good details above. If you want to learn more about how to use Motion to enhance your Final Cut Pro X projects, check out our Warp Speed Motion for Final Cut Editors tutorial.


