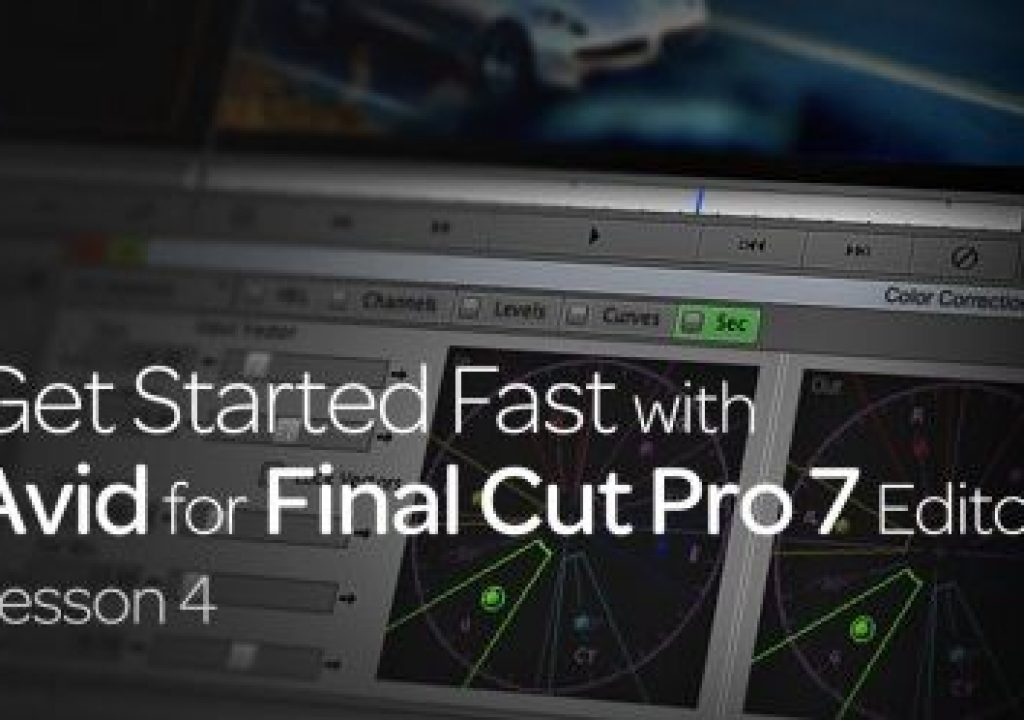
If you've just made the switch from FCP7 to Media Composer 7, than the fourth lesson in this five part tutorial series will help you make the transition as smooth as possible!
The purpose of Avid’s Get Started Fast tutorials series is, of course, to get you up and running with Media Composer 7 as quickly as possible. Making the switch from one non-linear system to another is always difficult. Many FCP7 editors have chosen Media Composer, not only because it is the favorite for Hollywood Film and Television Editors, but it's workflow is very similar to that of FCP7, so making the transition can be a smooth one. Especially if you're following along with my five part tutorial series over at Avid Blogs. In lesson four, we're going to take a look at effects, and probably the one thing that confuses new editors, and that is keyframing. One of my favorite tools/effects inside of Media Composer 7 is the 3D Warp tool. Most FCP7 editors will see this like the “clip based” parameters attached to every clip in FCP7. The 3D Warp tool takes things to the next level with the ability to adjust about 4 times as many parameters in MC7, as opposed to FCP7. Our keyframing examination will show you how not only to add new keyframes, but also how to adjust spline curves to give your animations a more realistic look Finally, to wrap things up, we're going to take a more in-depth look at how easy it is to audio keyframe inside of MC7, so your mixes sound silky smooth every time! Stay tuned for our last lesson where we’re going to look at audio mixing, and I’ll show you a fantastic trick to edit music montages faster than you ever have before.
Get Started Fast with Avid for Final Cut Pro 7 Editors first appeared on Avid Blogs!
Kevin P McAuliffe is a Senior Editor at DG MIJO, in Toronto. You can send him an e-mail at [email protected] or follow him on Twitter @kpmcauliffe.

Filmtools
Filmmakers go-to destination for pre-production, production & post production equipment!
Shop Now


