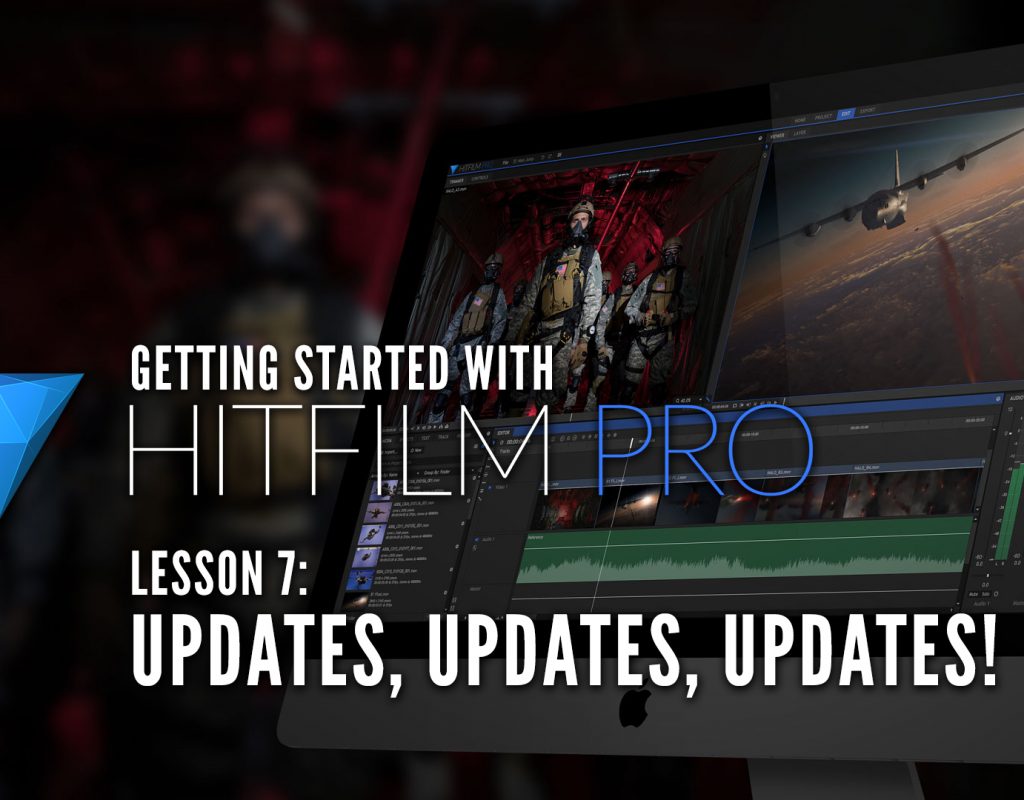
In our last lesson, in our look at learning HitFilm Pro, started discussing Composite Shots, and how you’re going to start working with them in HitFilm. In this lesson, I want to side step slightly, and talk about HitFilm Pro Updates, as it’s something very important to do, not so much from the standpoint of bug fixes, but there are always a ton of new features being added to HitFilm Pro that by not updating you’re missing out on a ton of great new features that can potentially speed up or make your overall workflow easier!

Now, right off the bat, I want to mention that this article is being posted on July 30, 2018, so keep that in mind when reading this, as we’re talking about the most recent version of HitFilm Pro as of that date (released July 19). When a new updated is available, a pop up telling you that a new version of HitFilm is available will appear. That is super helpful, as it gives me the option to update right away, be reminded again later, or not to be reminded at all. On thing that I always find slightly annoying, especially on the Mac is that there is no “Uninstall” option for many applications, as there is on Windows, as I’m not someone who is big installing over top of the previous version of an application. If you’re a Mac user, definitely check out AppZapper, which is $13 US, and well worth it. Drag the app into the interface, it will all up all the relevant associated files, hit zap, and your system is cleansed of them, and you’re now ready to install the next HitFilm Pro Updates. The reason that I mention the updates is that in many cases, depending on the software or plug-ins you’re using, you might only get an update once a year, especially on applications or plug-ins that aren’t part of a subscription, but that’s not the case with HitFilm Pro. This update not only has bug fixes, but a few substantial feature updates you’ll want to be aware of, but keep in mind that you’ll want to make sure that you’re done a current project, and not updating on the Friday of a long weekend with your back up against a deadline. With all of that being said, here’s the biggest new features in the July 2018 update to HitFilm Pro. My biggest “disagreement” in the update is the changing of the word “Proxy” to “PreRender”. Everyone outside of HitFilm Pro refers to Proxies as “Proxies”, and changing it here will just confuse people looking to add other tools to their repertoire!
- HitFilm can now export in the background, while users continue working on their project.
- The Export tab now shows the number of export tasks currently in the queue.
- The Export queue may now optionally remove known media extensions from the names of composite shots that are added to the queue.
- The Elapsed Time and Remaining Time columns may now optionally use standard timecode to display their values.
- Timelines can now be added to the Export queue from the Export screen, an export preview has been added, and the difference between built-in export presets and user presets has been clarified.
- Proxy has been renamed to Pre-Render within the program, to clarify its purpose.
- Interface tabs are now easier to read.
- HitFilm .hfp project files saved by HitFilm 8.0 and 8.1 can be saved again in HitFilm 9.0 so they open correctly in Vegas Pro 15.
Don’t forget that you can always download the most recent version of HitFilm Pro at the included link. In our next lesson, I want to talk about clip-based parameters, and how you can work with them easily in your timelines.
FTC Disclosure
I have received no compensation from HitFilm or from AppZapper for the production of these tutorials. Opinions in this article, whether you agree with them or not, are my own!


