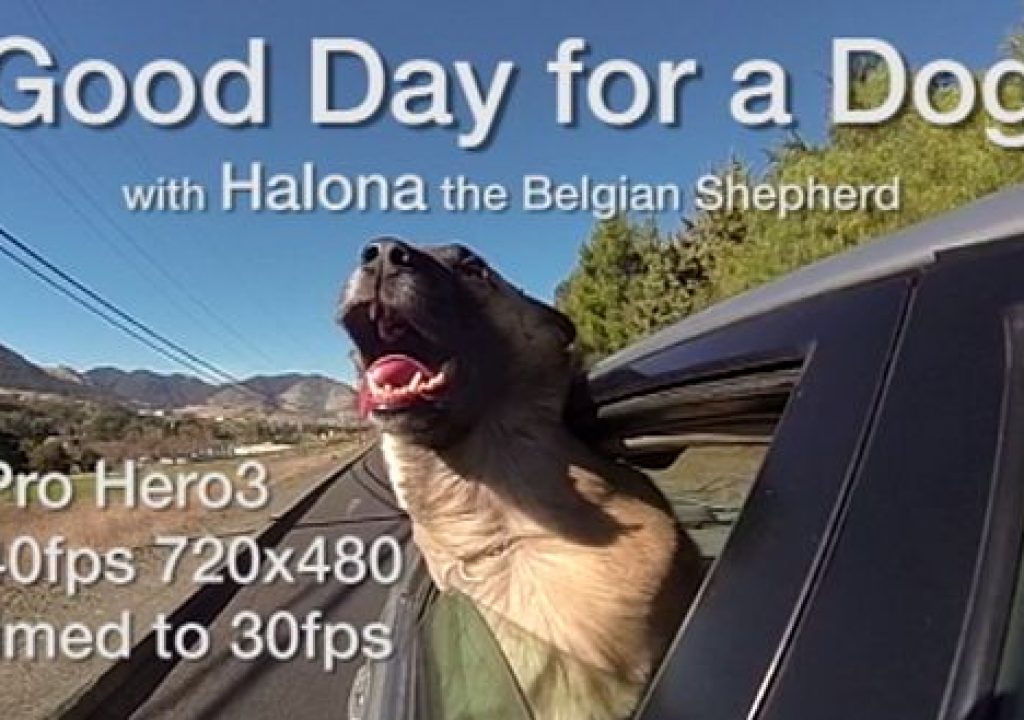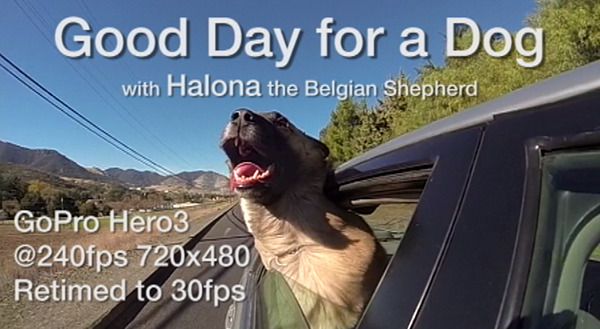
This is a brief shoot/edit workflow project demonstrating the GoPro Hero3 (Black Edition) running 240fps and editing at 30fps in Adobe Premiere Pro CS6 for the entire video.
While there are certainly limitations in image quality and resolution shooting standard dev in the WVGA 240fps mode on the GoPro, you can still achieve some pretty amazing and smooth slo-mo action shots.
I decided to shoot the whole time in this mode and edit together the results for the complete video project yesterday, while taking my dog to the local dog park. We were blessed with some other friendly and active “supporting cast” as well. While not all the shots were as impactful or high action (note that I eliminated the 30 second butt-sniffing sequences in my example) if you look for the details in the finished video, such as flowing hair, motion and water splashes, you'll soon realize what kind of shots you might be able to get away with shooting in an HD production when edited-in.
The Setup
Setting up the Hero3 (Black Edition only) you must first select the resolution of WVGA, which automatically gives you the 240fps and Wide POV shooting setup. There are no other selectable options in this mode, other than camera orientation. Also note that the camera cannot be in Protune mode to select this setting option.
![]()
Selecting the WVGA mode automatically sets 240fps
For this production, I started withe the automotive suction cup mount to the front passenger window directly in front of real window opening. I aligned the shot with the LCD BacPak and then turned off the LCD to conserve battery power. I could then trigger the Hero3 with the WiFi remote whenever I got to a good location and the dog stuck her head out the window. The WiFi remote worked great in the 240fps mode so I could conserve space on my SD card and also not have 10 minutes of running video to edit having to just leave it running continuously.
Once we got to the dog park entrance, I was able to attach the Hero3 to a rigged up “collar mount” that I created using the GoPro Wrist Strap mount attached to a regular collar with gaffer's tape (we're talking really high-tech here!)
![]()
The sophisticated GoPro “Dog Mount” system
Te rest of the shoot was pretty much self-explanatory, using the WiFi remote in my pocket to trigger active times with the dog running around with her friends before removing the collar and just setting it up in a couple locations to capture group activity near the obstacles and watering station. Returning home with the Hero3 again mounted on the suction cup mount to get a few more “happy dog” shots out the window, and then on to editing the footage.
Editing the footage in Premiere Pro CS6
Instead of using CineForm Studio to ingest and convert/process the footage, I simply copied the clips off the SD card and imported them directly into Adobe Premiere Pro CS6 to begin editing.
Importing the clips into Premiere you can see the clip properties are 848×480 (wich is WVGA standard for wide screen SD) with the frame rate of 240fps.
![]()
Clip properties of the MP4 footage clips straight out of the GoPro
In Premiere Pro CS6, you can set your In/Out points on the clips before adding them to the Sequence so you can do rough cuts of your clips before re-timing them to save a lot of editing time on the Timeline.
![]()
Setting In/Out points on media clips in Premiere Pro CS6
Once I've aded a clip to the Sequence on the Timeline, I can re-time the clip with the Change Speed/Duration option by right-clicking on the clip and selecting Speed/Duration…
This opens a pop-up dialog where you can either change the duration of the shot or type in a percentage to increase or decrease playback speed. In this case, since I'm editing the project in SD NTSC, I calculate that the conversion from 240fps to 30fps for slo-mo playback would be 12.5%. This also increases the length of the clip from 1;25 seconds to 14;24 seconds. You can easily see that converting a much longer clip would greatly add to your video length and editing time very quickly.
![]()
![]()
Changing the clip's speed/duration from the Timeline
Other than editing/re-timing the clips I shot with the Hero3, I applied some simple color correction as needed right in Premiere Pro CS6, added a music soundtrack from Smart Sound Sonicfire Pro (http://smartsound.com) and the finished video is presented below:
To learn more about the GoPro Hero3 capabilities and read my hands-on reviews, check out the links below:
CLICK HERE to read Hands-on with the GoPro Hero3 (part 1) review
CLICK HERE to read Hands-on with the GoPro Hero3 (part 2) review
_________________________________________________________________
Jeff Foster is a published author of several how-to books and training videos in the motion graphics, animation and video production industries and is an award-winning video producer and artist. Visit his web site to learn more about his training methods, tips & tricks at PixelPainter.com

Filmtools
Filmmakers go-to destination for pre-production, production & post production equipment!
Shop Now