In our last lesson, in our look at learning HitFilm Pro, we talked about setting up our projects, and we had discussed that you can both edit and do compositing work in HitFilm Pro (HFP). In the next couple of lessons, I want to cover the editing basics so you can see the basic functionality, as I’m going to assume that if you’re reading this that you are already an editor, and might just use the editing abilities of HFP to throw together a few clips to start working with. I also want to cover HFP’s Options in this lesson, so you know where things like the Autosave feature is.
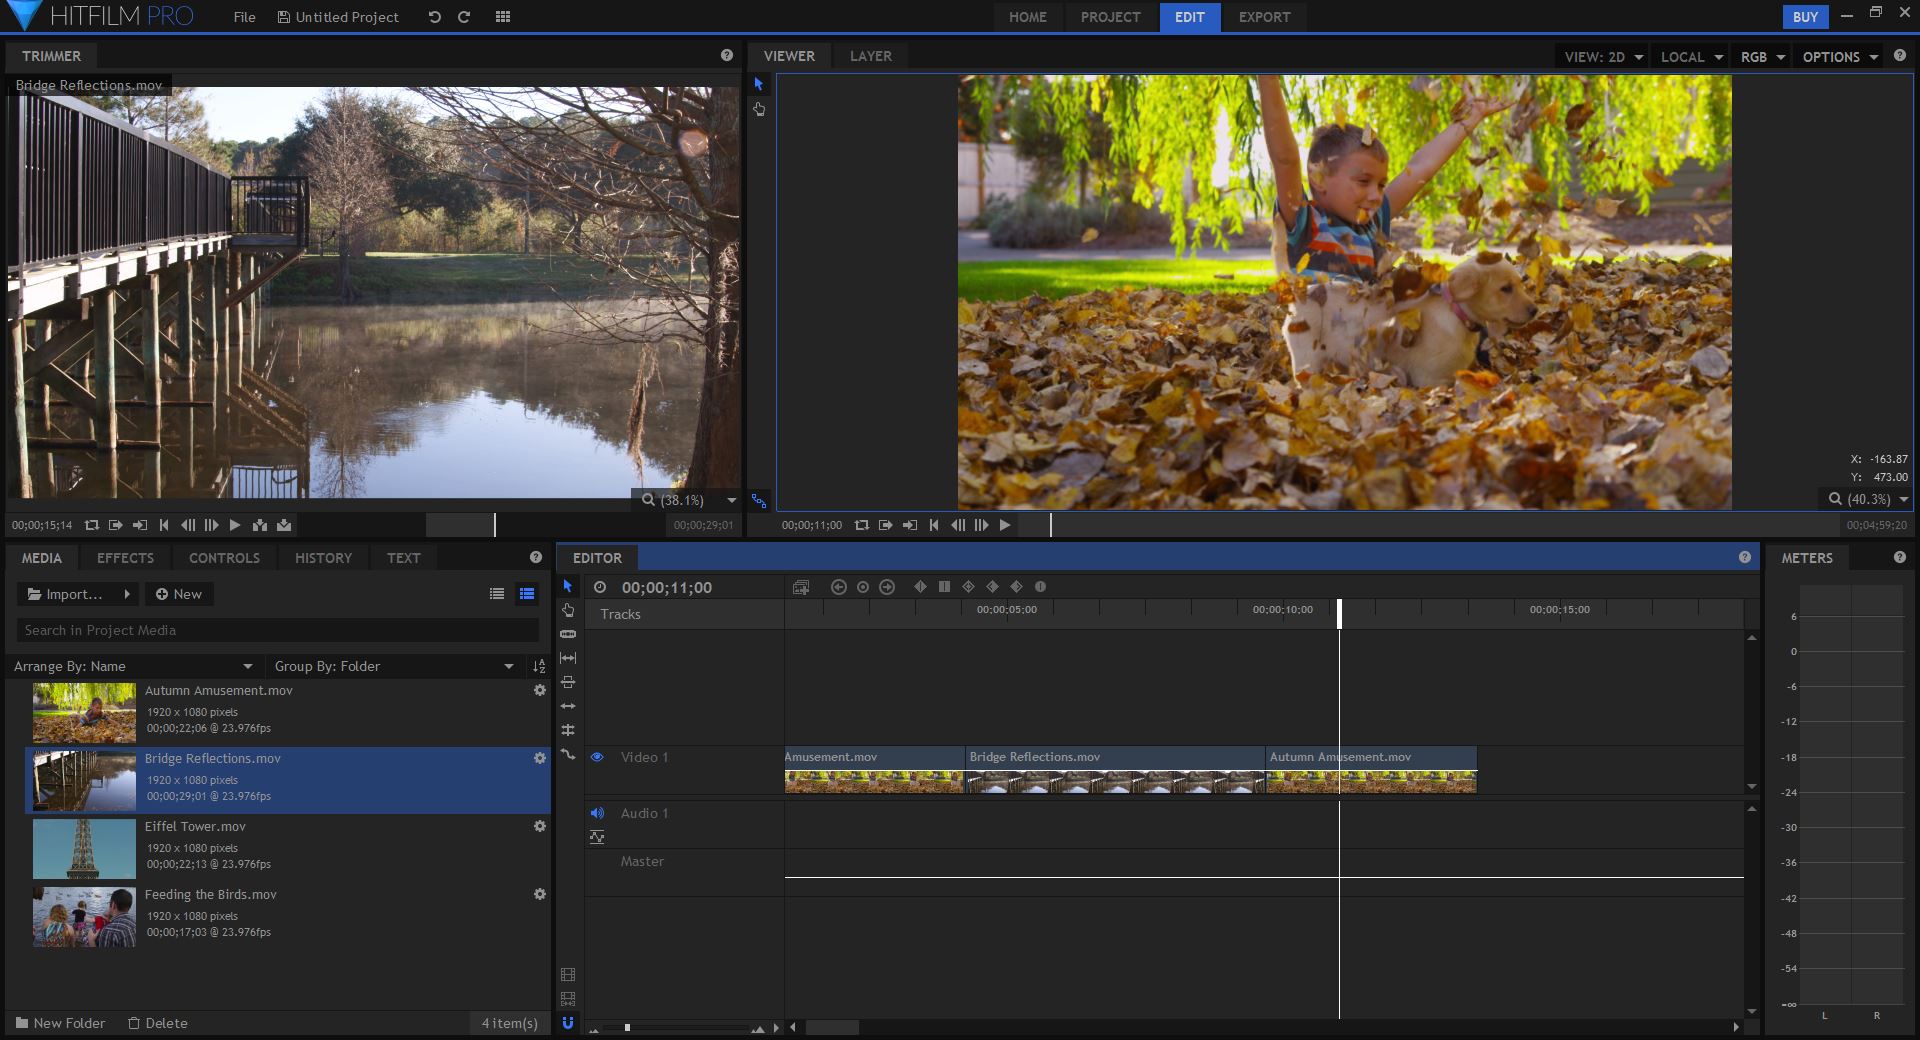
Once you’ve selected “Start Editing”, the HFP editor will open, and you’ll be ready to import your footage, and start putting it together for compositing. I’ll be honest right out of the gate. I’m not using HitFilm Pro for editing. There are much better (and free) editing applications out there, so what I’m normally doing in the editor in HFP is taking a clip that might have 10 edits in it, breaking it down into its individual parts, and then doing whatever compositing work I need to do to it. You’ll notice immediately that the HFP editor looks just like most standard editing applications, just in a more stripped down and streamlined version.

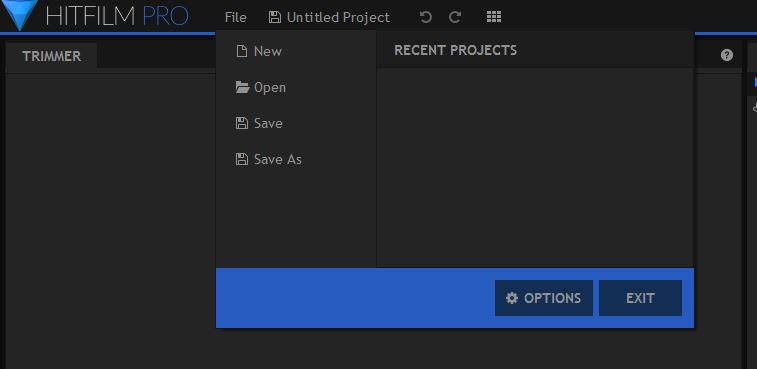
You can import clips using CMD/CTL+I and once they’re in the project, you can double click on them to call them up into the trimmer, and use I/O to mark in and out points, and use the keyboard shortcuts of “B” and “N”, respectively, to edit clips into your timelines. If you’re going with my method of taking one clip, dropping it into your timeline, and then breaking it down, you can drop the main clip into a timeline using the method I described above, and then simply use the keyboard shortcut of CMD/CTL+SHFT+D to add edits to the master clip, and create sub-clips from it. Now, with all that being said, you’re probably wondering, “How did he know what all the keyboard shortcuts were?”. Well, the in and out points were pretty obvious, but the others take a bit of digging to find, so in the next lesson, we’re going to take a look at HFP’s options, and how you can access them inside of either the editing or compositing interface. Unlike most editing or non-linear editing applications, the keyboard shortcuts are in a category all their own, but in HFP, they are included with the other options as, to be honest, there aren’t too many of them. Alright, let’s move on now and talk about HFP’s Options, and where you can find them, as they are tucked away a little bit, at the top of the interface. Head up to the “File” drop down, and once you click on it, you’ll notice the “Options” button, at the bottom of the window.

HFP’s options are divided up into 10 categories, of which you’ll really only need to focus on a few of them to get you up and running.
The Undo’s, in the General Window, are something you’ll want to make sure you set before you get rolling, as well as the Composite Shot default duration and Timeline default duration. You’ll also want to head over to the Auto Save tab, and set the frequency and the location of all your auto saves. Other options of note that you’ll want to keep in mind.
(Keyboard) Shortcuts
I’ll be honest. There’s not a ton in here. HFP is not Premiere or Media Composer by any stretch of the imagination, but it’s always a good idea to familiarize yourself with the commands before you get started, so at least you don’t find yourself fumbling around, trying to find the commands you need.
Prompts & Warnings
I thought this was a clever set of options. We’re all familiar with prompts like “Prompt when media doesn’t match timeline”, and we’re used to seeing it over and over again, with new sequences that are created. You can actually disable this (plus others), right here in the Options window.
Display
Last, but not least, I want to draw your attention to the Display Options, where you can get in and set things like the video and audio track size in your editor, as well as whether to show checkerboard backgrounds in 2D and 3D views, and even whether or not to show the floor plane in 3D view. Motion paths are also something you can toggle on and off from this window. There aren’t a ton of options, but there are some good ones in here you’ll want to set before you get rolling. In our next lesson, we’re going to talk about doing basic transformations in your editing timelines, and then we’ll move on and talk about composite shots, and how they will work into your work flow.
FTC Disclosure
I have received no compensation from HitFilm for the production of these tutorials. Opinions in this article, whether you agree with them or not, are my own!


