In our last lesson, in our look at learning HitFilm Pro, we talked a little bit about basic editing, and setting your options. In this lesson, we’re going to move ahead, and talk about HitFilm Pro’s Toolbar, and the tools you have quick access to, when editing in your timelines.
HitFilm Pro’s Toolbar is located to the left of your actual timeline, and it has tools in it that will not only help you with editing, but there are a couple of commands tucked away at the bottom that will get your timelines to the Export Queue, to export them when you’re done your edits.
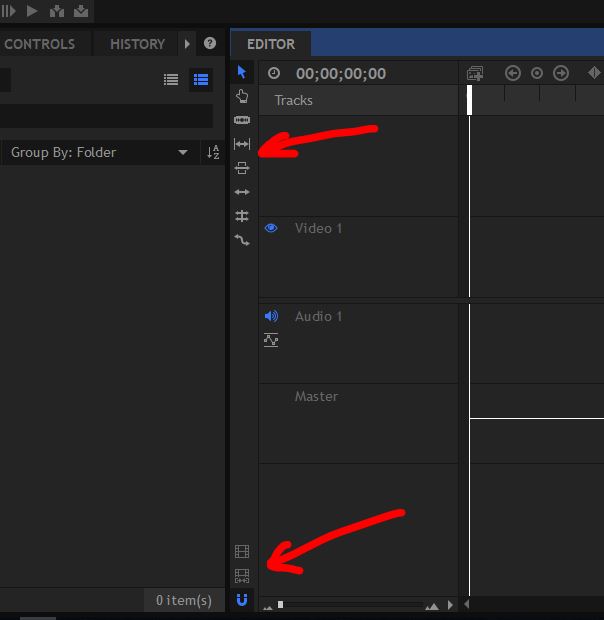
So, as you can see from the above image,HitFilm Pro’s Toolbar is technically split up into the top and bottom Tools. The top tools consist of the Selection Tool (Arrow), Drag Tool (Hand), Razor Tool (Blade), the Slip and Slide Tools, the Ripple and Rolling edit tools, and the Rate Stretch Tool. At the bottom of theHitFilm Pro’s Toolbar, you have access to the Export Contents command, the Export In/Out Area command, as well as the Link command. These tools will be commonplace if you are an editor, but if it’s your first foray into editing, below you’ll find a brief breakdown of what each tool does.
SELECTION TOOL
With the shortcut of “V”, this tool will be your “goto” tool to do about 90% of your tasks in Hitfilm. Whether it’s adjusting a clips position on screen, selecting clips in your Media window, or using it to add masks to your footage, keep a finger on the “V” key, as you’ll be going back and forth to this tool constantly in your workflow.
HAND TOOL
To be honest, I never use this tool. From my experience, it’s only useable for adjusting your timeline view, once you’ve zoomed into it. You can quickly pan left and right, or up and down, to get access to clips quickly, in your timelines.
SLIP & SLIDE TOOLS
These two tool go hand in hand with each other. Let’s look at the Slip tool first. It’s job is quite simple. You’ve created an edit you like, but you realize that one of the clips starts a little later in the shot than you’d like it to. Instead of take five or six steps to fix it, the slip tool will let you adjust the in and out points of a shot in the edit, without adjusting it’s in and out position on the timeline.
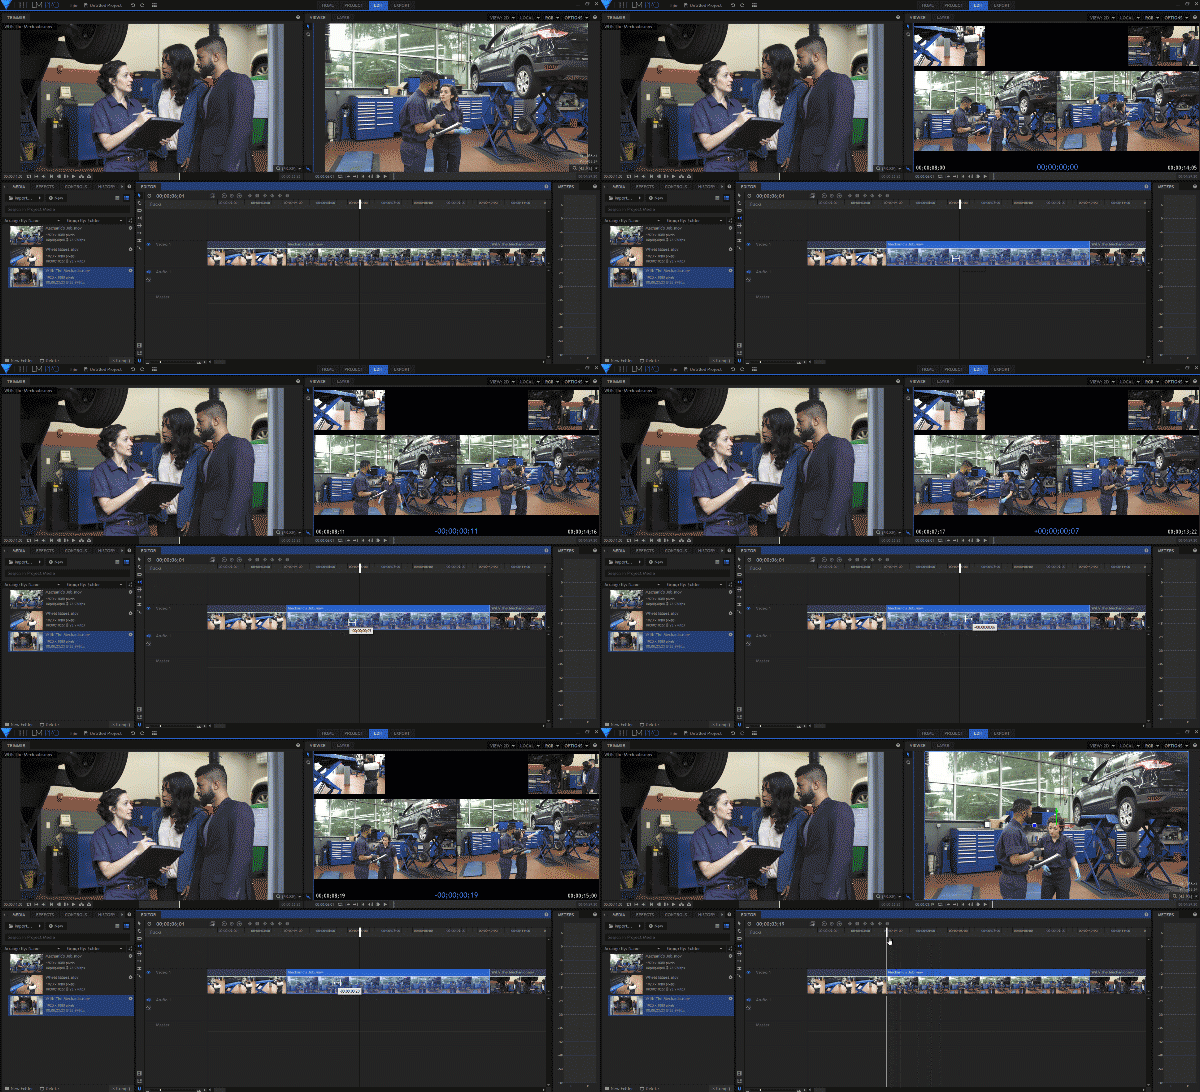
The Slide Tool, on the other hand, does something slightly different from the Slip Tool. You’ve got clips in your timeline, and you realize that you want to move one of your clips either up or down the timeline, but you don’t want to have to worry about adjusting all the clips around it, once you’ve dropped in in where you want it to go. That’s where the Slide Tool comes into play. Simply select the slide tool, drag your clip where you want it to go, and watch HitFilm adjust the incoming and outgoing heads of the shot(s) around it, to keep all your edits looking the way they should.
RIPPLE & ROLLING EDIT TOOLS
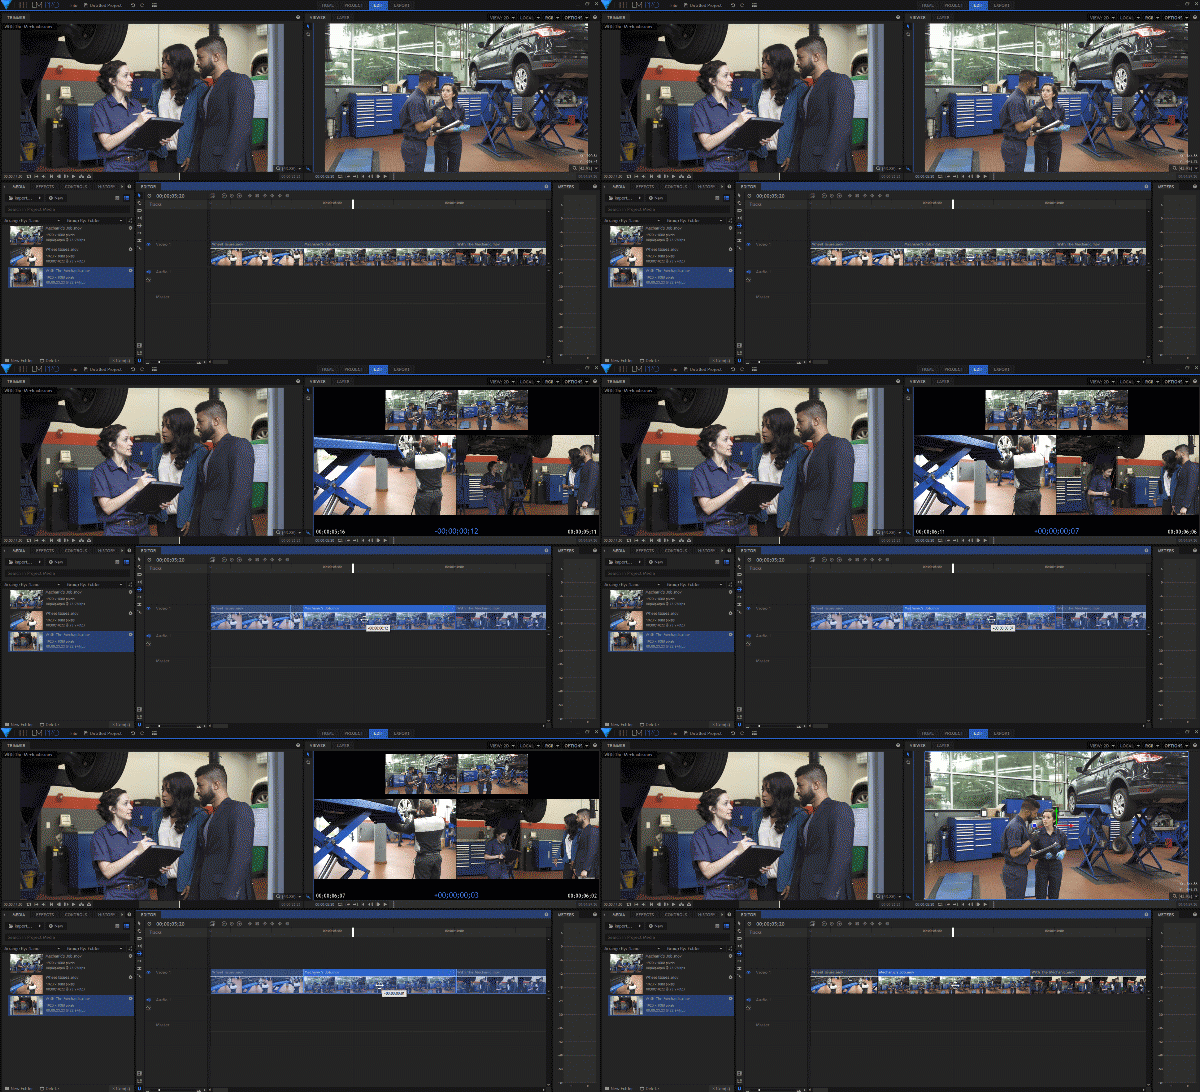
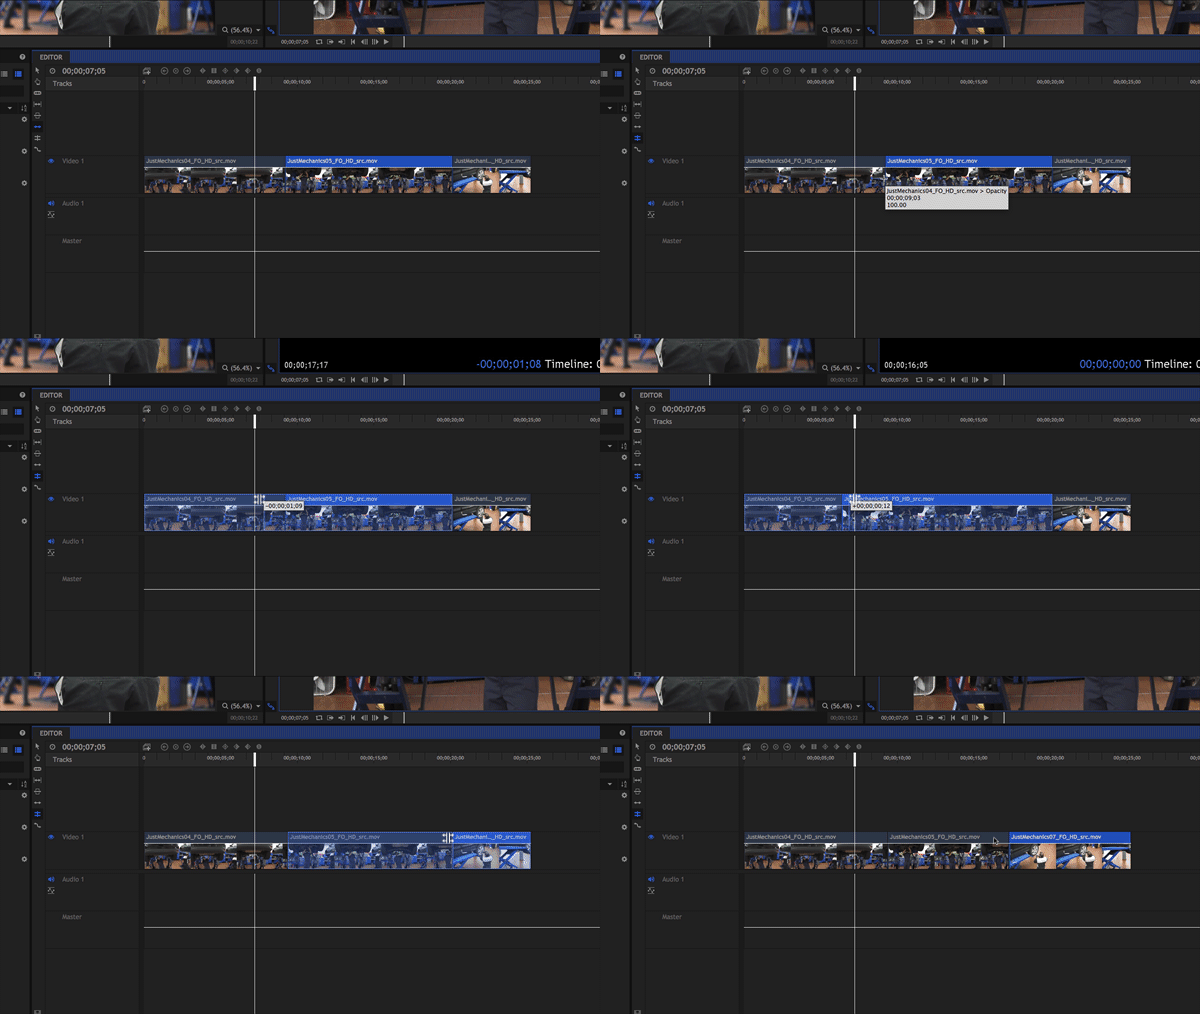
These two tools are used for trimming and adjusting the incoming and outgoing heads of your shots. One is a destructive way to work, and the other in non-destructive. What do I mean by these two terms, destructive and non-destructive? One, the Ripple Edit tool, can throw your entire timeline out of sync if you’re not paying attention to what you’re doing. The Ripple Edit Tool, on the other hand, is completely non-destructive, and no matter what you do to the edit points of the clips you’re working with, nothing will be thrown out of sync down your timeline. The Ripple Edit tool is designed adjust edits, and when you’re working with it, dragging one way or the other will alter the incoming or outgoing edit points, and push the rest of your clips back or forth down your timeline.
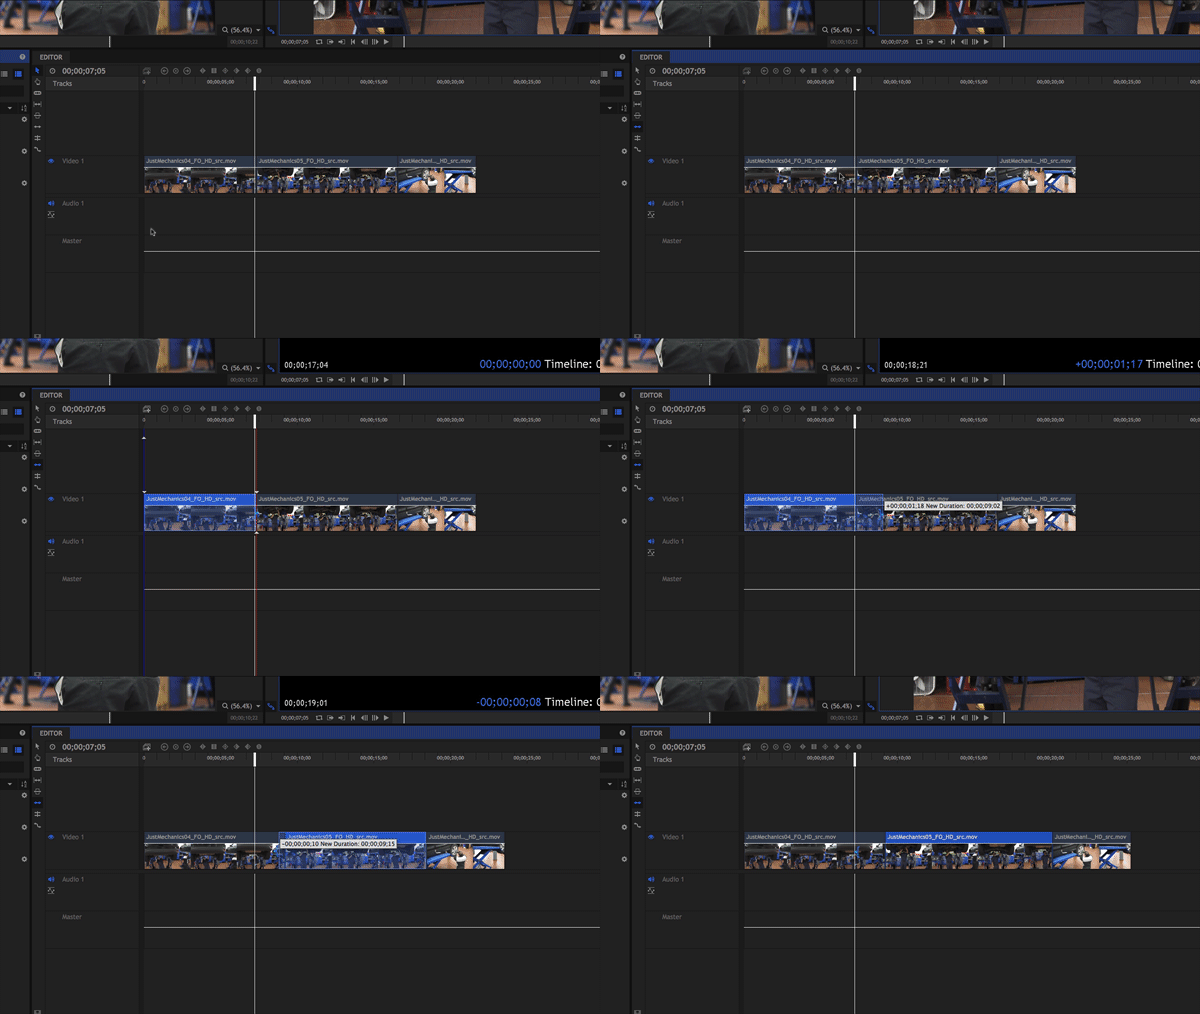
The Rolling Edit Tool is really designed to get in and make minor adjustments to edit points, once your fairly happy with your edits. It’s also a great tool to use if you’re cutting something to music, and you didn’t quite get things right on the beat, you can quickly jump into this tool, and make the adjustment super quick and super simple.
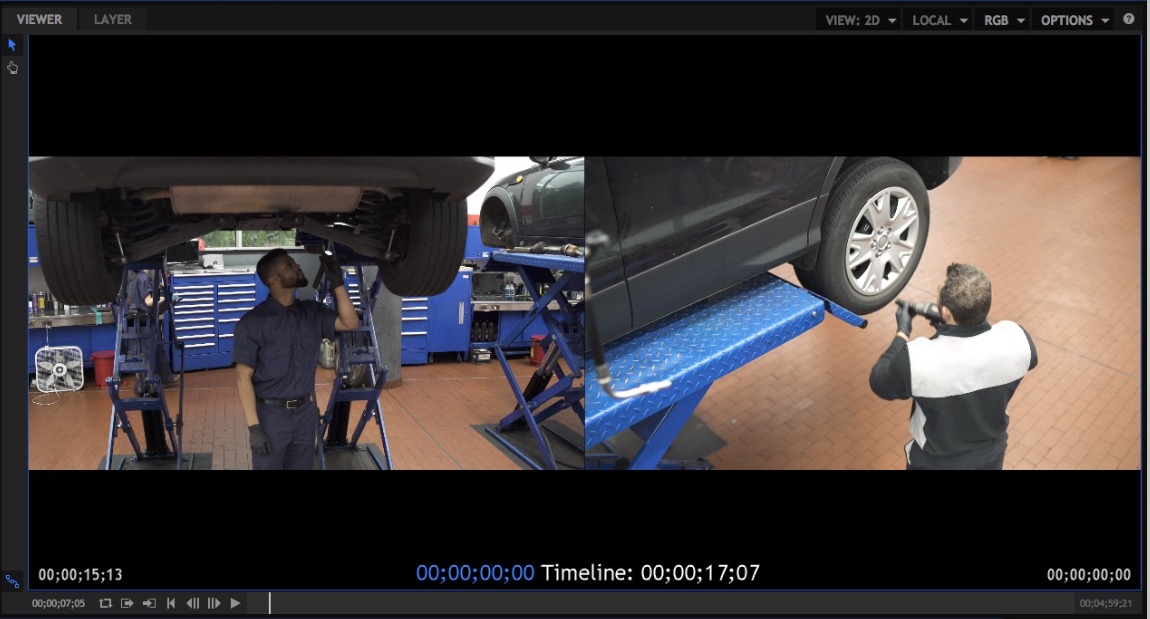
One last thing that’s important to keep in mind is that you’ll always get a visual representation of exactly what’s going on in your timeline, up in the sequence viewer, the instant you start dragging your edits out.
Alright, that wraps up this lesson. In part two, I want to talk about the Rate Stretch tool, and get in and talk about exporting your timelines, as whether you’re working on a single shot, or entire timeline, exporting is a critical part of the workflow, and we’ll cover it in depth, coming up next.
FTC Disclosure
I have received no compensation from HitFilm for the production of these tutorials. Opinions in this article, whether you agree with them or not, are my own!

Filmtools
Filmmakers go-to destination for pre-production, production & post production equipment!
Shop Now