I recently shot a series of location interviews that will be used as the narrative backbone for a client’s short documentary project. They scheduled a few days of shooting on-location, and we had to capture roughly 10 interviews in about 6 different setups.
There were a number of challenges posed by our filming locations, and I wanted to talk through how I built a grip and lighting package that could handle those challenges as well as our budget and time constraints. I also want to discuss how we used a slightly larger HMI than normal (for interviews) to help solve some of these issues, as well as the EyeDirect setup we used to deliver interviews straight into lens. Read on…
I recently shot a series of location interviews that will be used as the narrative backbone for a client’s short documentary project. They scheduled a few days of shooting on-location, and we had to capture roughly 10 interviews in about 6 different setups.
There were a number of challenges posed by our filming locations, and I wanted to talk through how I built a grip and lighting package that could handle those challenges as well as our budget and time constraints. I also want to discuss how we used a slightly larger HMI than normal (for interviews) to help solve some of these issues, as well as the EyeDirect setup we used to deliver interviews straight into lens.
First things first…the director and I talked in advance, and came up with a basic visual language playbook that would we would use for this piece:
- Interview talent needed to look directly into the lens.
- Interview locations needed to be shot wide-ish and reflect context for each of the talent we would be filming.
- Several interview locations had windows that would appear in frame, and we needed to hold exterior exposure.
- Lighting needed to be contrasty, stylized half-light on talent faces, all keyed from the left side of frame.
- Edge lights, hair lights, and rim lights should be subtle and restrained.
A few technical details: We filmed this project on a Sony FS7 (with LC709 Type A), and Zeiss CP.2 prime lenses. Camera was locked down on sticks, talent was framed center-punched. I rated the FS7 at 1000 ASA and we lit talent skintones to around 65-70 IRE (monitoring and baking the MLUT into the footage for post-simplicity). We ended up using the 35mm lens almost exclusively on this project. Every time I shoot on the Sony FS7, the first thing I do is hook up my Gratical EVF and relegate the stock EVF screen to the back of the camera for settings and AC use. We also had an Odyssey 7Q monitor on set as a director’s monitor, and the director used that to double-check waveforms and exposure to help keep my setups consistent.
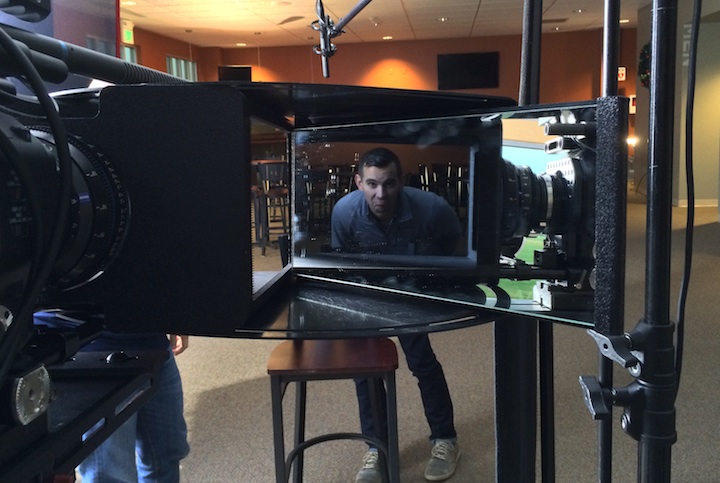
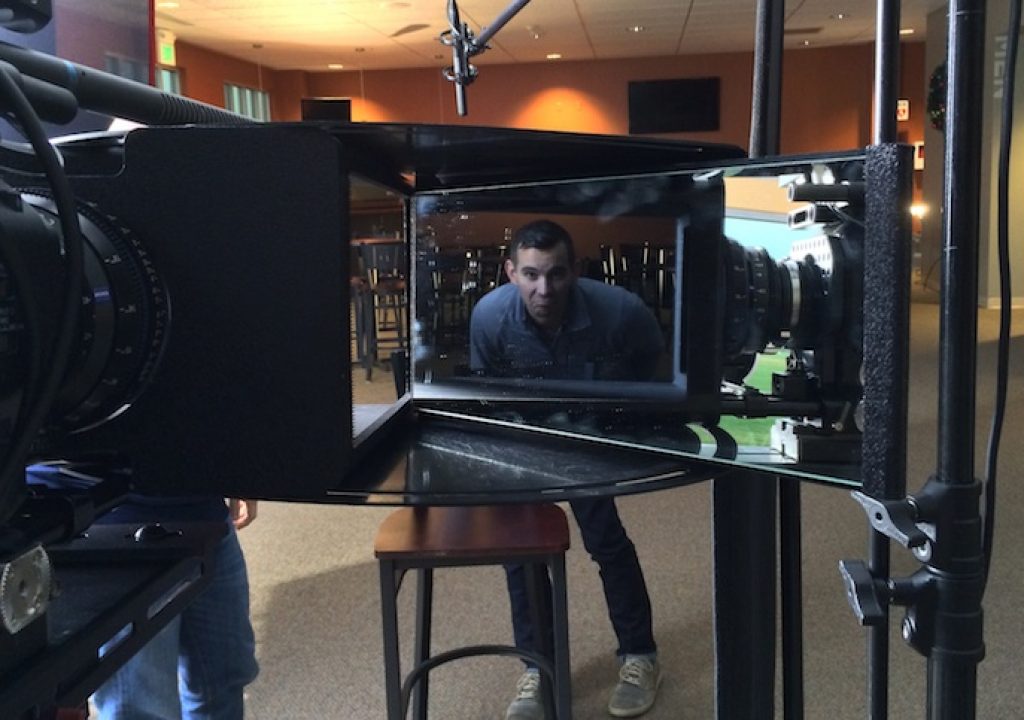
The rig we used for direct-to-lens interviews was an EyeDirect mirror system that looks like a sideways teleprompter mated to a periscope mirror. It allows the inteviewer to sit next to camera and via a system of mirrors the interview talent can see the interviewer superimposed over the lens. We found this to be an incredibly natural way to film our inexperienced talent, they very quickly forgot about the camera and lens and were able to simply have a candid conversation with our interviewer. The EyeDirect was surprisingly affordable to rent, and it is available at a lot of rental houses across the US. Here’s what it looks like for the interviewer:

Our schedule was a slightly odd one, and it was going to involve long days with hours of breaks in between rushed setups. So scheduling a typical G&E crew became a cumbersome and potentially very expensive proposition (hello overtime and annoyed crew!). So we scheduled our interviews in a way that allowed us just enough time for our core crew of four to handle all the lighting tasks; and then one of us would take over audio, one over camera, one act as interviewer, and one as director.
This unique crew configuration meant that I had to act as DP and Gaffer (and camera op), and called for a fairly lightweight grip and electric package. However, I also had to take into consideration that some of our locations would have exterior windows visible in the frame, and we wanted to hold most of those exterior highlights. Nothing worse than a window going nuclear in the background!
So I got the biggest key light possible for our budget and constraints…an ARRI 1.8k HMI. In addition to the M18, we had a full tungsten ARRI kit with 750, 650, 300, and 150 heads. I also spec’d a 4×4 Kino Gaffer kit with daylight and tungsten bulbs, knowing that I could replicate the look of the HMI side-key with the Kinos if we got into a situation where space was an issue. I also knew that for some of the interviews where we wanted to be kinder to a talent’s face, I could use the Kino as a toppy front fill to wrap the side key around a little and amp up the eyelight. For the grip package, we rented a nicely-equipped 1-ton van package with plenty of stands, bags, and extra 4×4 floppies and flags.
I’ve shot with the M18 for a few years now, and it’s a really special HMI light. Firstly and most importantly, it can be powered from a single 20-amp standard household electrical circuit. In fact, you can even strike the light and run it at reduced output on a 15-amp circuit…certainly not recommended, but it can get you out of a pinch sometimes! Because I can run it from a standard plug, this means we have no need for a generator rental, no need for an electric to manage the genny, and no need to worry about generator noise. The M18 also has a dimmer on the ballast that allows you to reduce power significantly on the fly.
ARRI uses a unique reflector system in the M18 to maximize output, and they claim that it approaches the power of a 4K head. I don’t think that is entirely accurate in every setup, but it does put out a ridiculous amount of light. The other thing about the reflector is that you can spot it down to a fairly tight beam, and also flood it out to a very even, broad spread of light. My favorite technique is to rough in the lighting with the flood setting somewhere in the middle, and then if I need more output I just spot it in a little, or flood it back out slightly to reduce output. This is a powerful tip, particularly if you are pushing the light through a frame with diffusion. It’s faster than dropping in or removing a scrim, and you can feather it in.
Generally I like to configure the M18 with a layer of opal frost over the barn doors for a first layer of diffusion spread, and then push that through a 6×6 or 8×8 frame of grid cloth. I will often put a straw gel on the light, to warm it up a bit. For this shoot, I spec’d a 6×6 frame for my key light diffusion, with Full and 1/2 Grid options. Having both Light Grid options allowed me to choose to trade diffusion for output if I got into a situation where I needed more light.
In most of the setups, we simply did a goalpost on a c-stand and hung the rags from that instead of building all 4 sides of the 8×8 frame…much faster for our tiny crew. We used Full Grid on all of our setups except for one, where I needed more output to compete with exterior windows (I also pulled the opal gel on that setup). In every location we configured the frame to the left of talent, and used a floppy or two to provide negative fill the right side of frame. In some cases we tabled the floppy over talent as well, where we had low ceilings and a lot of ambient bounce destroying my contrast contrast. Here’s a rough diagram of a typical setup and a finished frame below.
On this setup, we wrapped the key around a little more than normal, to be kinder to the talent’s face. We were at full power on the M18 key, to compete with the exterior exposure through that window. Not pictured in the diagram above are a couple 2×3 flags on the left side to vignette the light falling on the talent’s torso. My stop on the lens was around f/2.8 and I had 6 stops of ND engaged. Another way of approaching this setup would have been to net or ND gel the window way down, and key with less output. However, I sometimes find that when you stack up nets you can see moire patterns in camera, and we had the light…so this particular configuration worked just fine.
Tungsten heads were used mainly as background accents and to augment practicals in the frame, as well as subtle edge and hair lights (with full CTB gel to match the daylight key). We occasionally used the Kino 4×4’s to wrap the key around by positioning them above subject just out of frame and frontal on the face. In a few setups I also used a 4×4 white bounce to help soften the half-light contrast. Floppies were used extensively in every setup to kill ambient on the right side of frame and from overhead. In most of our setups we were able to use the diffusion frame and lights in the same room, but there were a couple setups where we had to push the key through an outside window due to space constraints.
So that’s how we approached this project. We had to move quickly on new setups with our little crew, but it was manageable and we had enough tools in our kit to deliver consistent results across varied locations.
Using a large light through a medium-sized frame made it less fiddly to achieve consistent contrast at all our different setups, and gave us the ability to power over exterior exposure issues and adjust levels quickly and easily. It’s ironic how working with a larger key light can sometimes help you work faster! Ultimately, the client was really happy with our consistent results, and the director loved his high-contrast frames. Mission accomplished.
Matt Jeppsen is a working DP with over a decade of experience in commercials, music videos, and documentary films. You can view Matt’s cinematography reel and contact info at www.mattjeppsen.com and a editorial ethics statement at provideocoalition.com/ethics-statement


