 Equalization is one of the most crucial steps in taming a soundtrack. It’s also the step at which most editors hand their sound files to a dedicated audio engineer. It doesn’t need to be: with just a few simple steps even the most tone deaf video editor can dramatically improve the sound of their mix.
Step one: upgrade your speakers…and your room
There’s no point performing EQ on a mix if the speakers or headphones you’re listening with are coloring the sound. That’s like color-correcting on a monitor with oversaturated reds. Fortunately, these days there’s a glut of high-quality used audio gear. As an example, you can pick up a pair of Wharfdale Diamond 8.2 monitor speakers for around $USD100. The nice thing about monitor speakers like these is that the amplifier is built into the speaker and already balanced for a flat response.
One thing often overlooked though: make sure your edit bay (or bedroom, if that’s where you edit) doesn’t create standing waves. A sparse, rectangular room will mess with the quality of monitored audio as badly or worse than poor speakers. Try breaking up the room’s surface with curtains, furniture, or if you’re a slob, the last week’s worth of laundry.
Small Q, raise the roof, then sweep
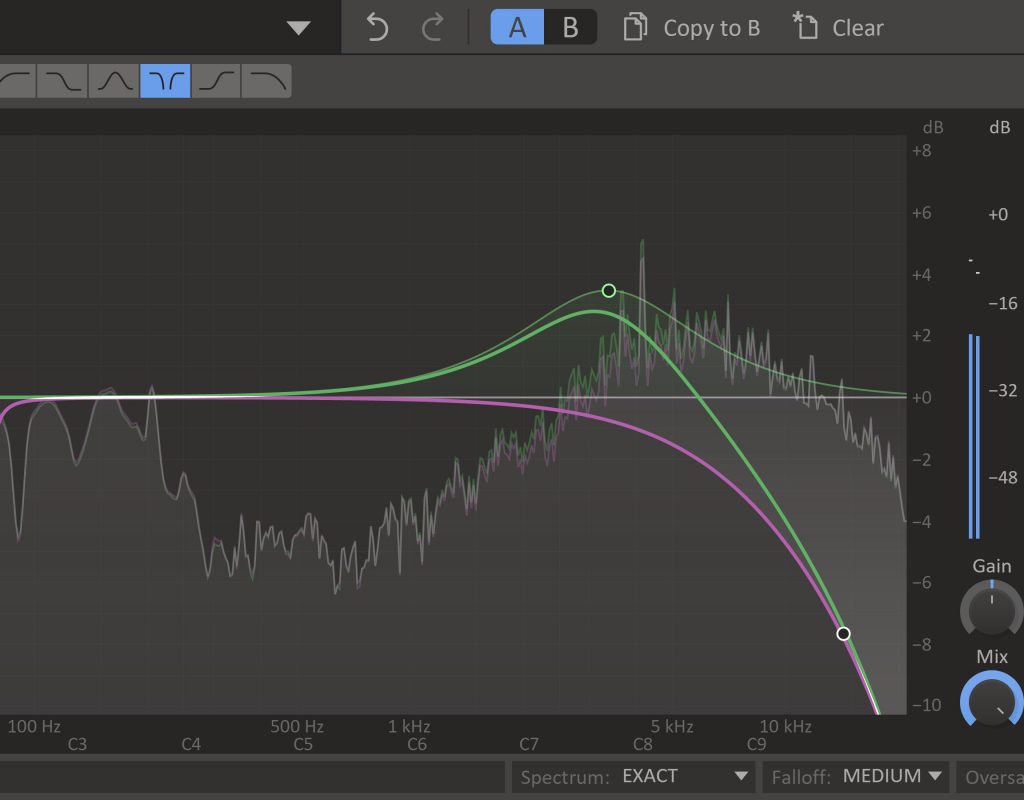
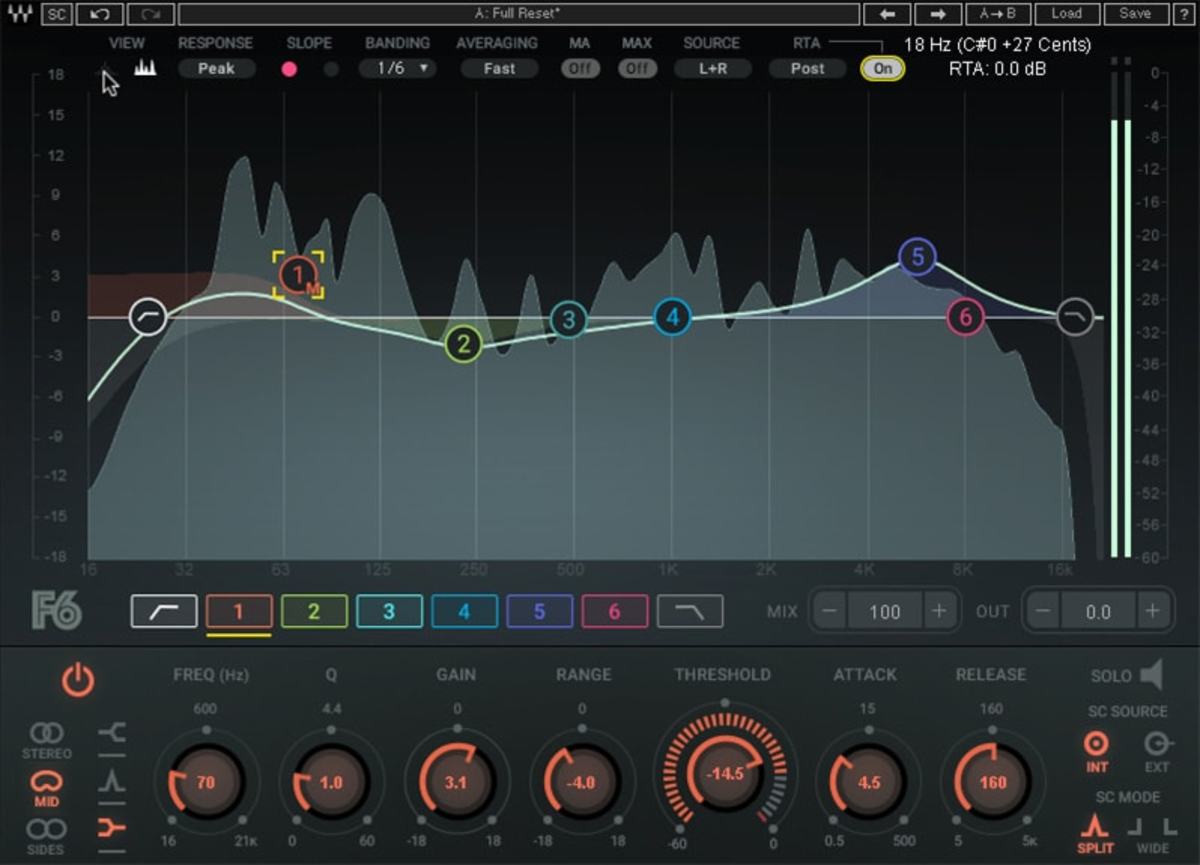
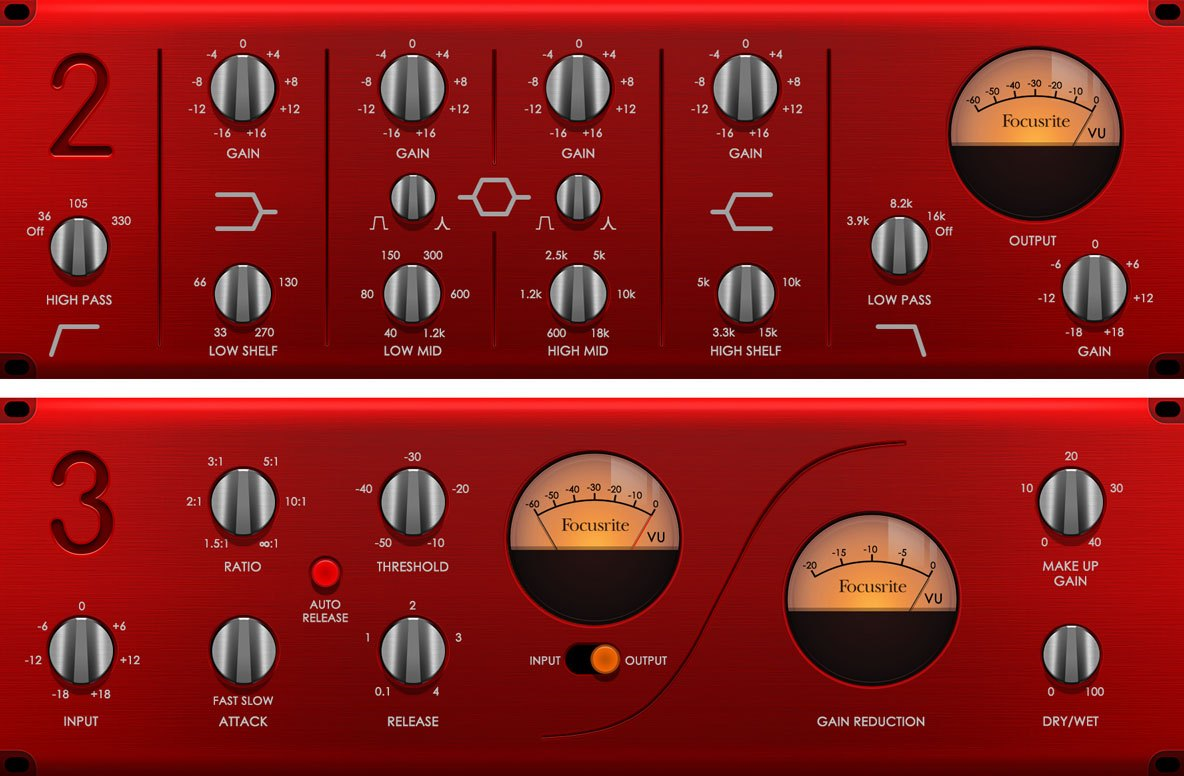 The secret to fixing EQ problems is to make things worse. Start by reaching for a parametric equalizer. Unlike the graphic equalizer made popular in the 80’s, a parametric equalizer has controls that can sweep the frequency range from low, bass sounds to high, crisp tones and everything in between. Typically, a parametric EQ will have four or five different sets of identical controls which can be interactively set to deal with specific frequency ranges. They usually also include shelf, or “low pass” and “high pass” tools on either side of the range (some allow you to choose between “notch” or “shelf” for these edge controls).
There are three controls for each band: the center frequency around which the band will perform its magic, the gain—the amount that frequency will be boosted or reduced (cut), and the “Q”—which determine how far to either side of the center frequency surrounding frequencies will be impacted.
So back to the bit about making things worse. Pick one of your adjustable notch EQ bands (not one of the shelf EQs on either end of the equalizer) and crank the gain control obnoxiously high. Reduce the Q control until it’s extremely narrow—many EQ plugins will give you a visual graph representation.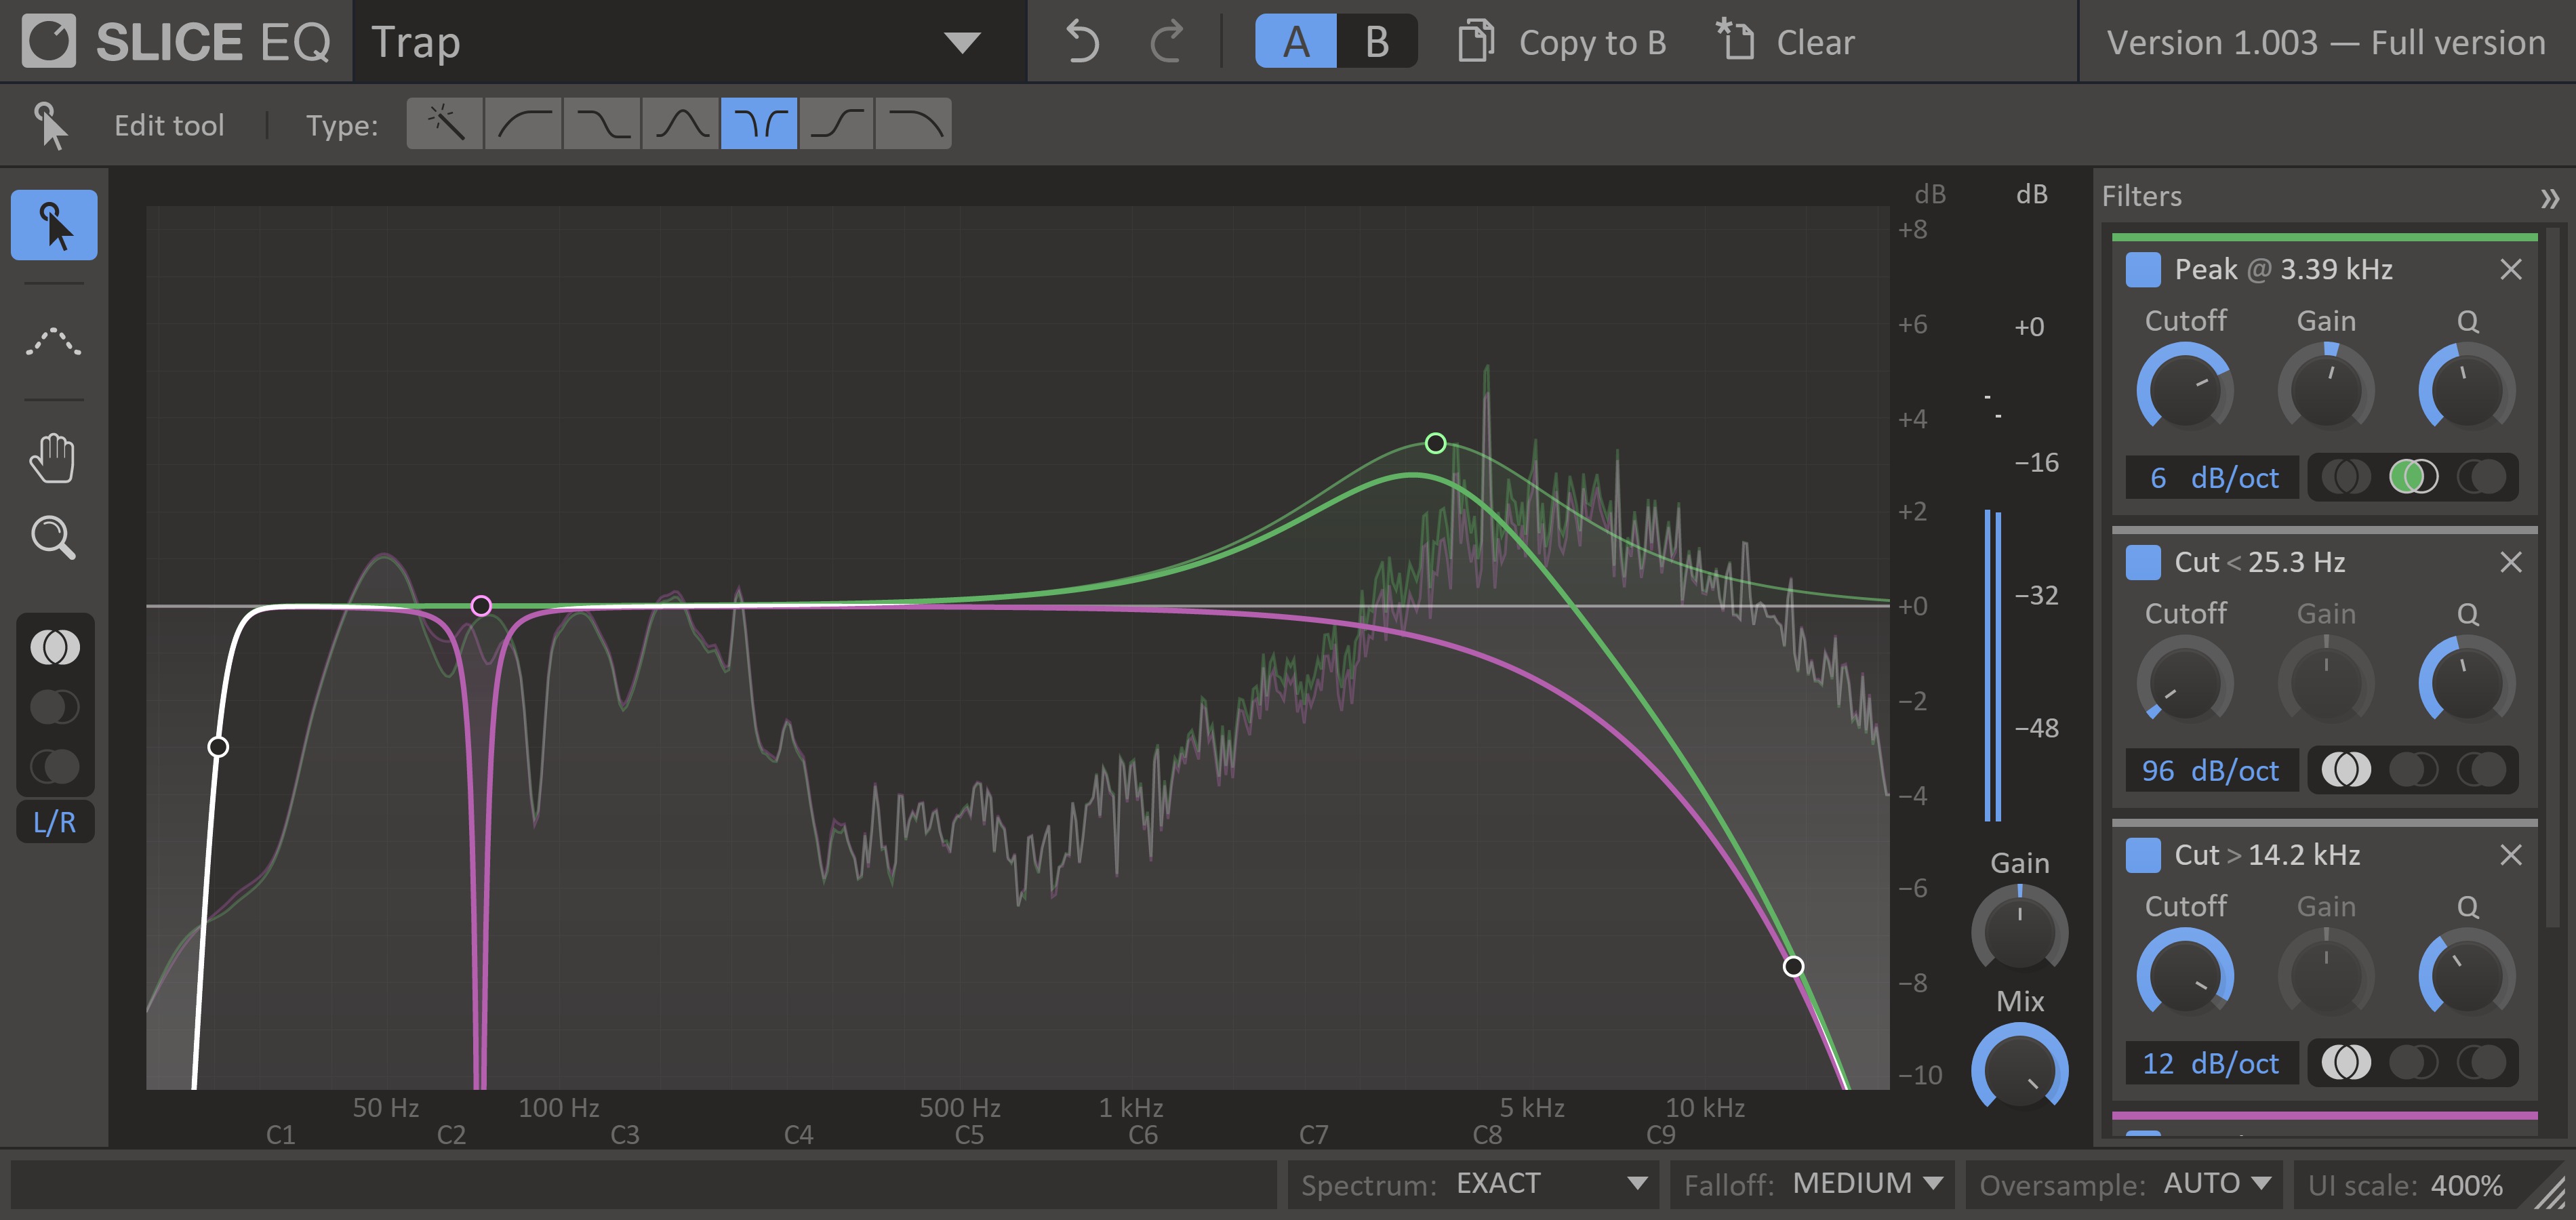
Now, sweep the frequency control up and down the frequencies while playing back your dialogue. When you get to a frequency that sounds obnoxiously unpleasant, chances are you’ve found a problem region. Now that you found what’s wrong, reduce the gain until it sounds right. Then widen the Q until the surround frequencies are sufficiently tamed as well. The size of the Q really depends on the problem: big, boomy bass frequencies probably need wider Q values; an unpleasant hiss in a voice track may need a very tight Q to eliminate the problem without making the overall sound too muddy.
For everything else…there’s moviola.com
If these all sounds a little hard to visualize, don’t worry. We’ve explained the whole thing in video form as well. This week we’re highlighting moviola.com’s Introduction to EQ—a great resource for learning some of the fundamental tricks for taming audio.
Sweeping the EQ will get you a long way, but there’s so much more your can do with EQ. Equalization is essential surgery for post audio and you’ll find there are all kinds of ways to clean up windy boom mics, match audio sources, the list goes on.
As with all moviola.com content, the training is free: Our gift to you, the struggling filmmaker (or the not struggling filmmaker who’d rather spend their cash on a new prime lens than a training subscription). Check out the introduction here, then click this link to view the entire set of two Equalization courses.

Filmtools
Filmmakers go-to destination for pre-production, production & post production equipment!
Shop Now