Today on The Slanted Lens, I am going to show you how to do a simple light setup for a person (or two Yetis) in order to be able to outline the subject from the background. We chose a dark gray background so it would be easier to outline the white fur. We are then going to take the image into Photoshop and remove the background so that the image can stand alone as an individual piece.
There are just three simple steps to follow when outlining a subject:
-
Step 1: Camera Settings
It is very hard to separate hair when it is out of focus. It can be done, but it is not simple. -
Step 2: Choosing the Right Background
If the person you are photographing has blonde hair, you will want to choose a gray background. Alternatively, if your subject has dark hair, you would want to shoot with a white background. You will be able to see through the hair so it will need to contrast from the background. -
Step 3: Light for Separation
It is important to light the background to separate it from the subject. In doing this, you will still want the subject to look interesting. It becomes a balancing act. Let’s take a look at how I am going to light these Yetis.
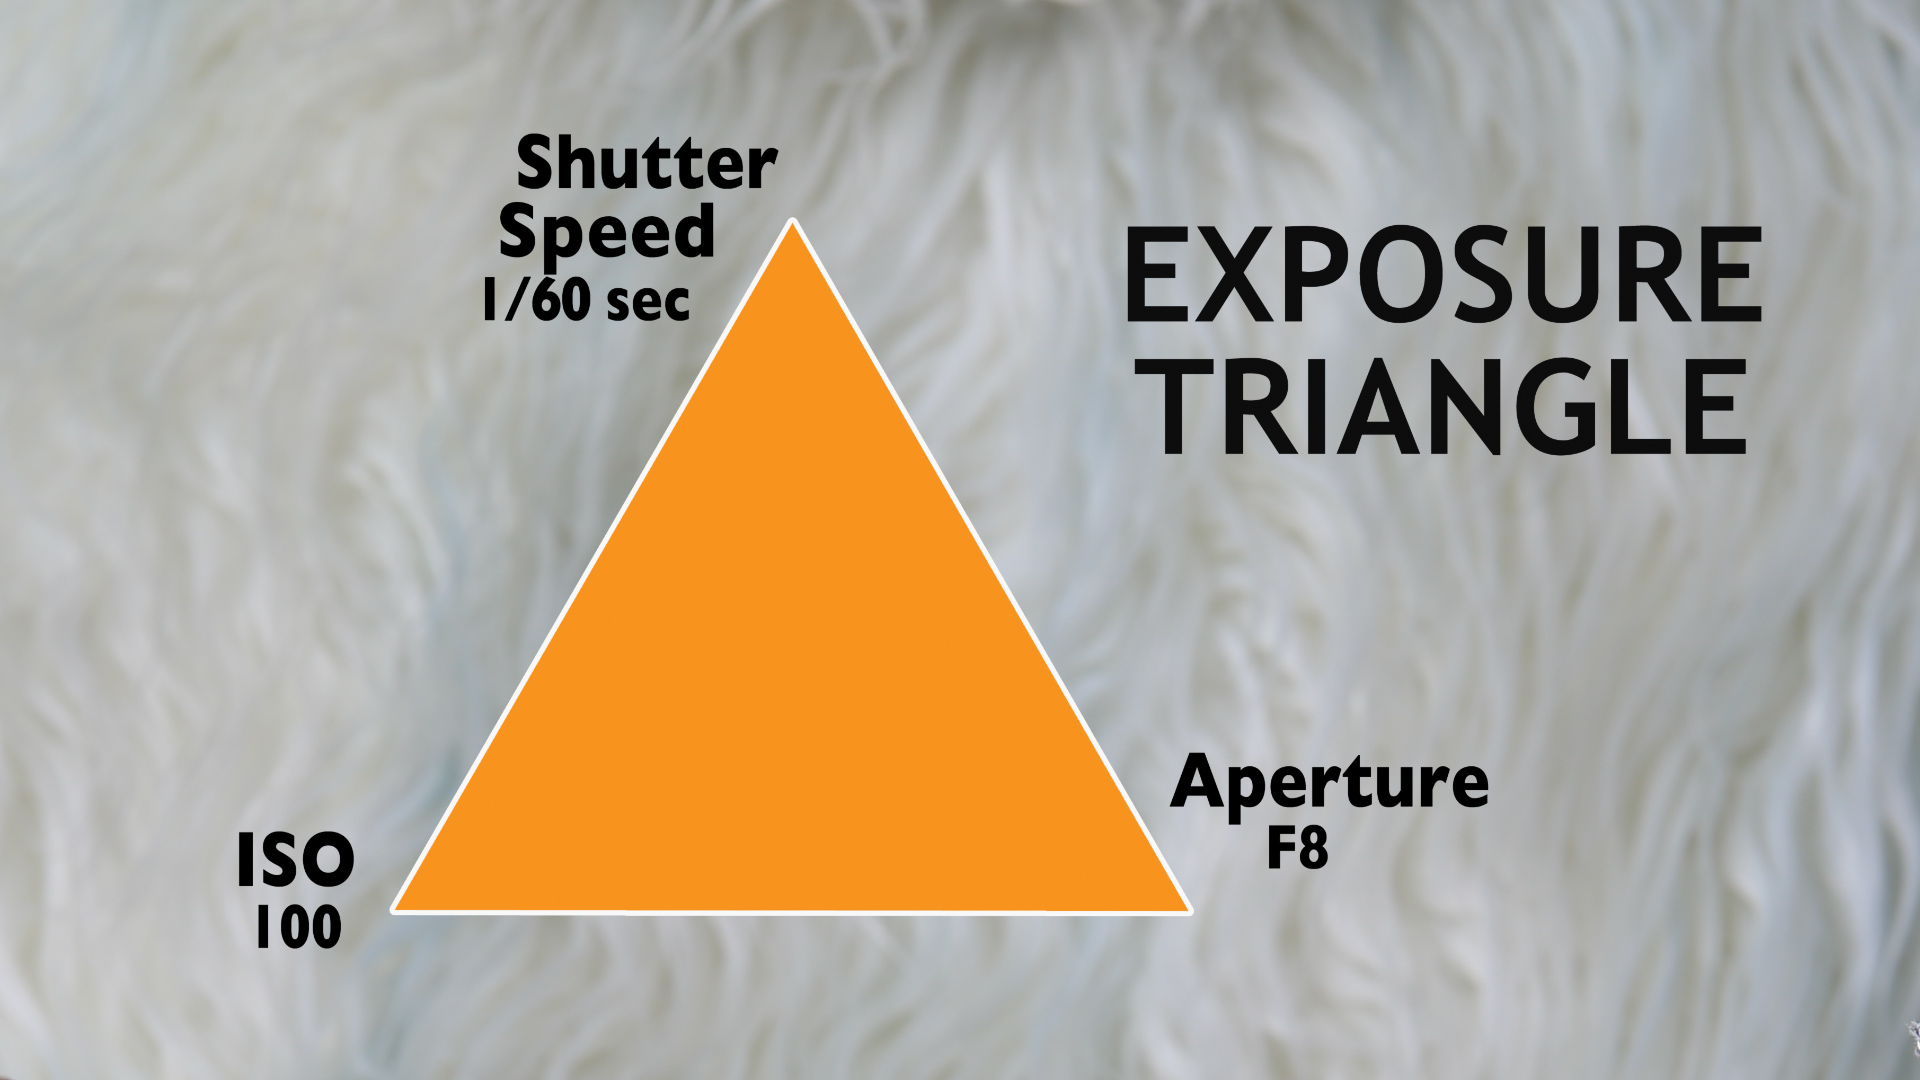
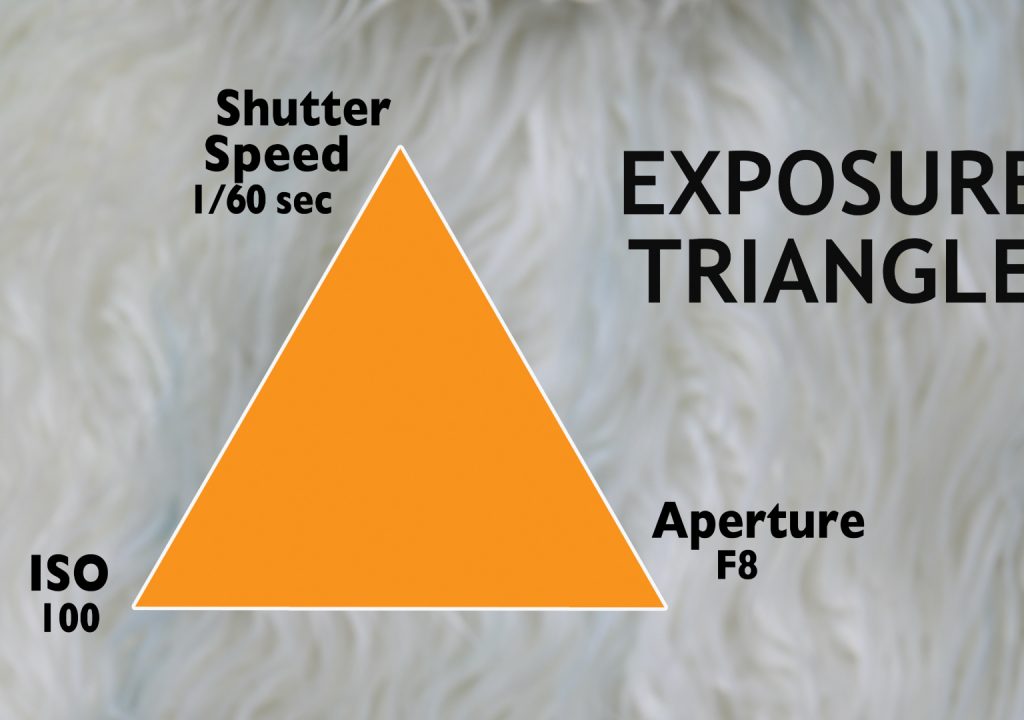
#1 I am choosing camera settings that will keep the Yeti and all of his hair in focus. I am shooting at 1/60 of a second at F8 with an ISO of 100.
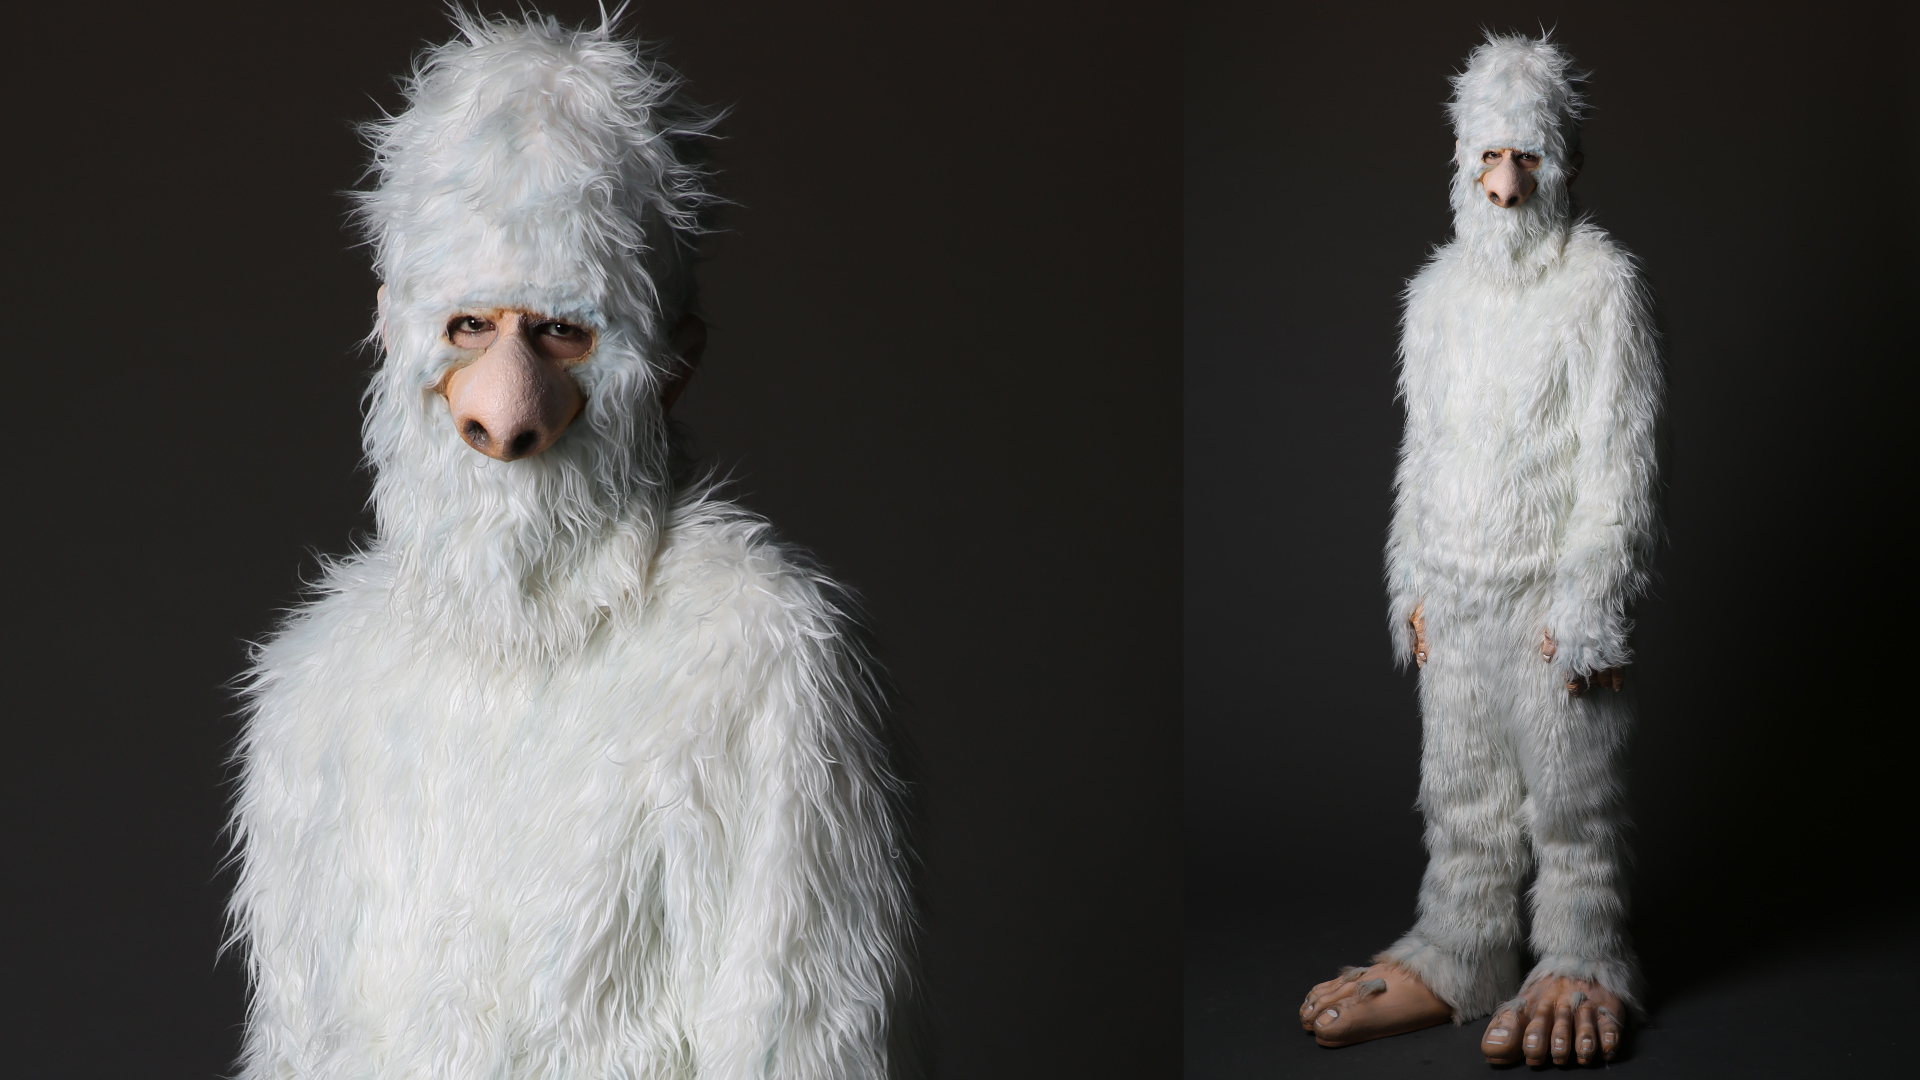
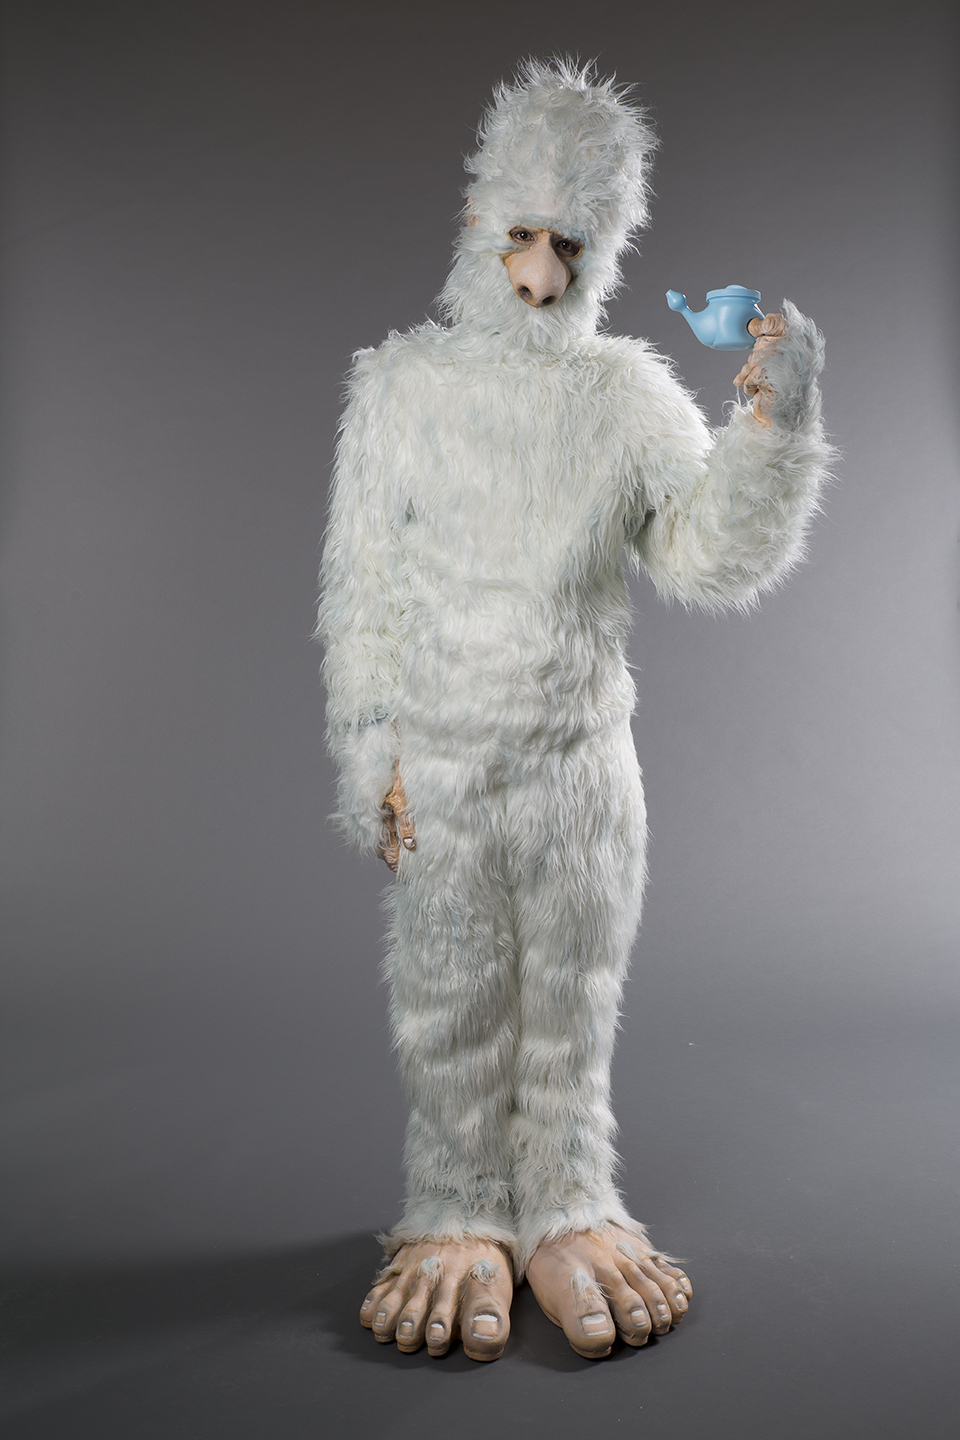
#2 I will use a FlexFlash with a medium soft box as my key light. I chose a medium box so it would still have some shadow in the fur but not become too soft. This key causes a shadow side and a highlight side, but there is no separation from the background, as you can see in the first image.
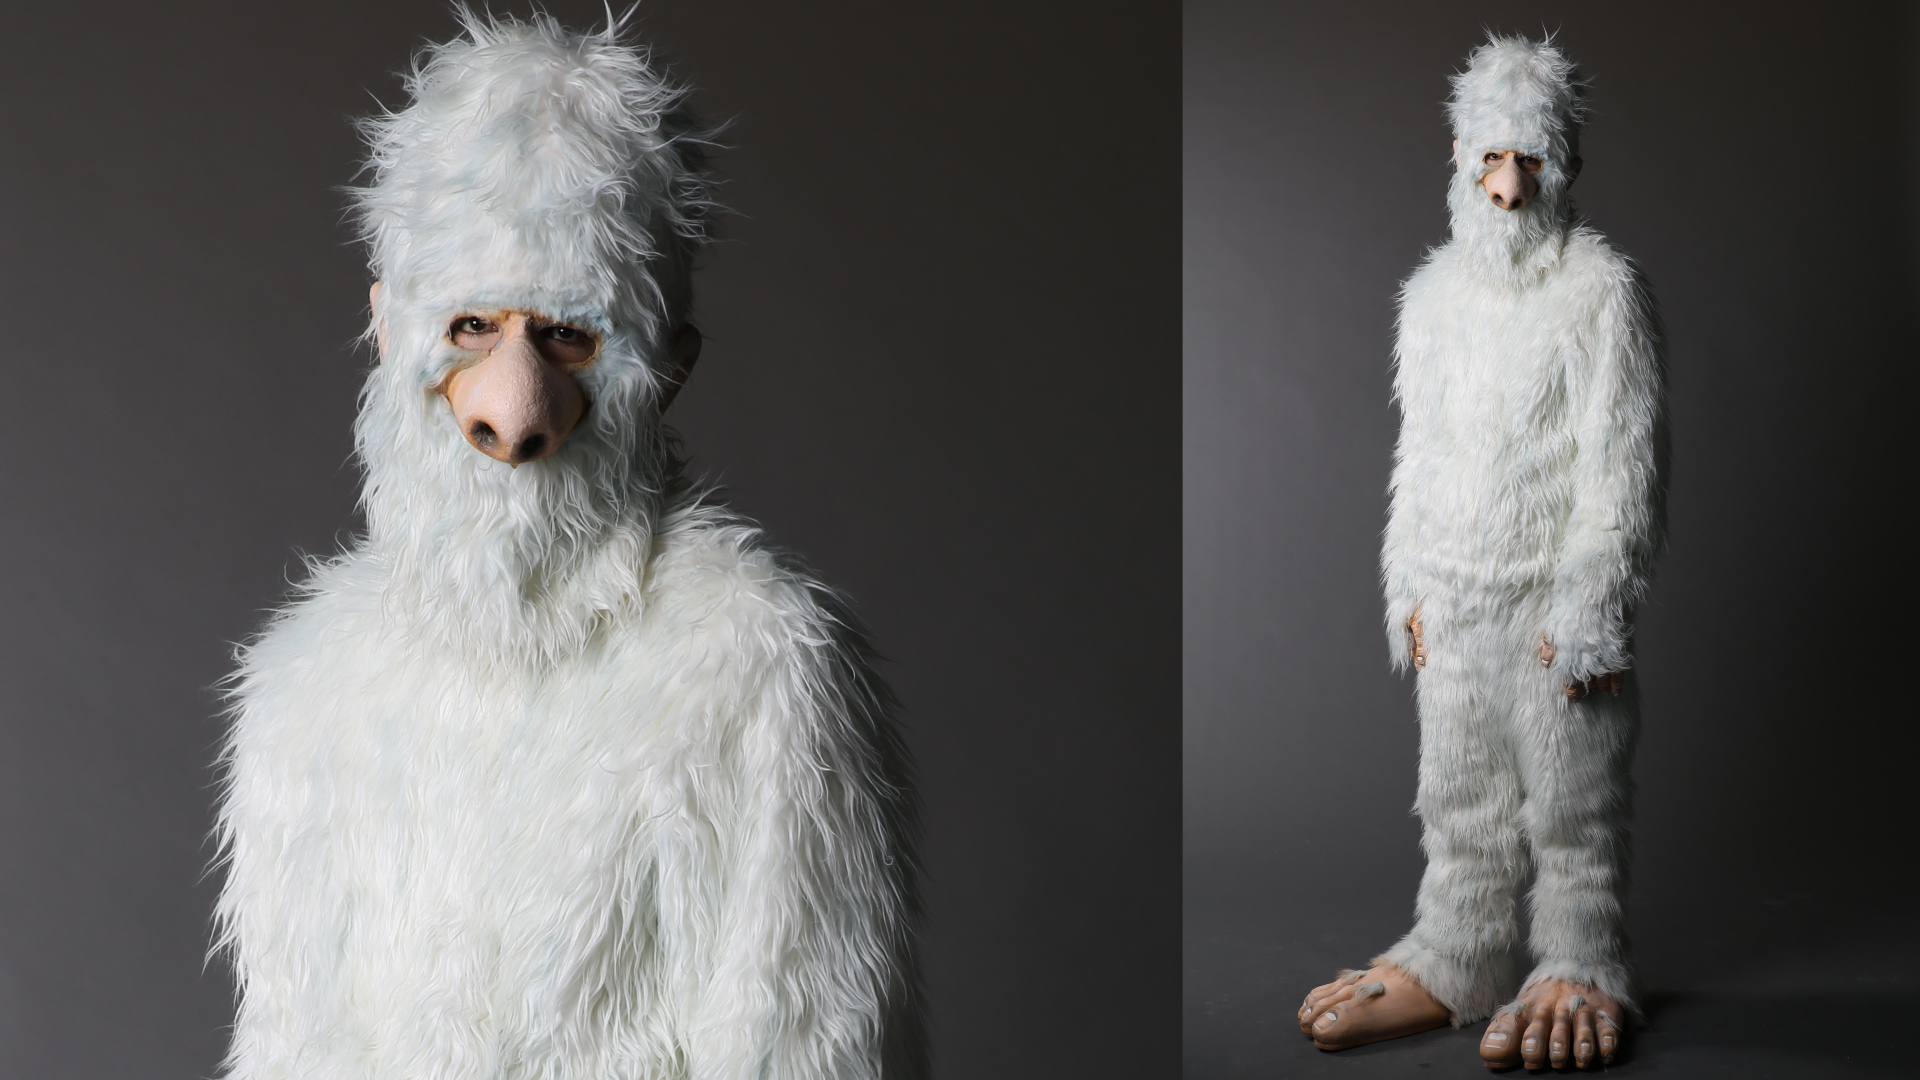
#3 Next, I will add an umbrella on camera left to open up the background a little and give the Yeti some rim. This light will separate the legs and feet from the background. I am using black-backed umbrellas so I have more control over the light and can prevent it from spilling all over the set and the Yeti. Here is the image with the first umbrella.
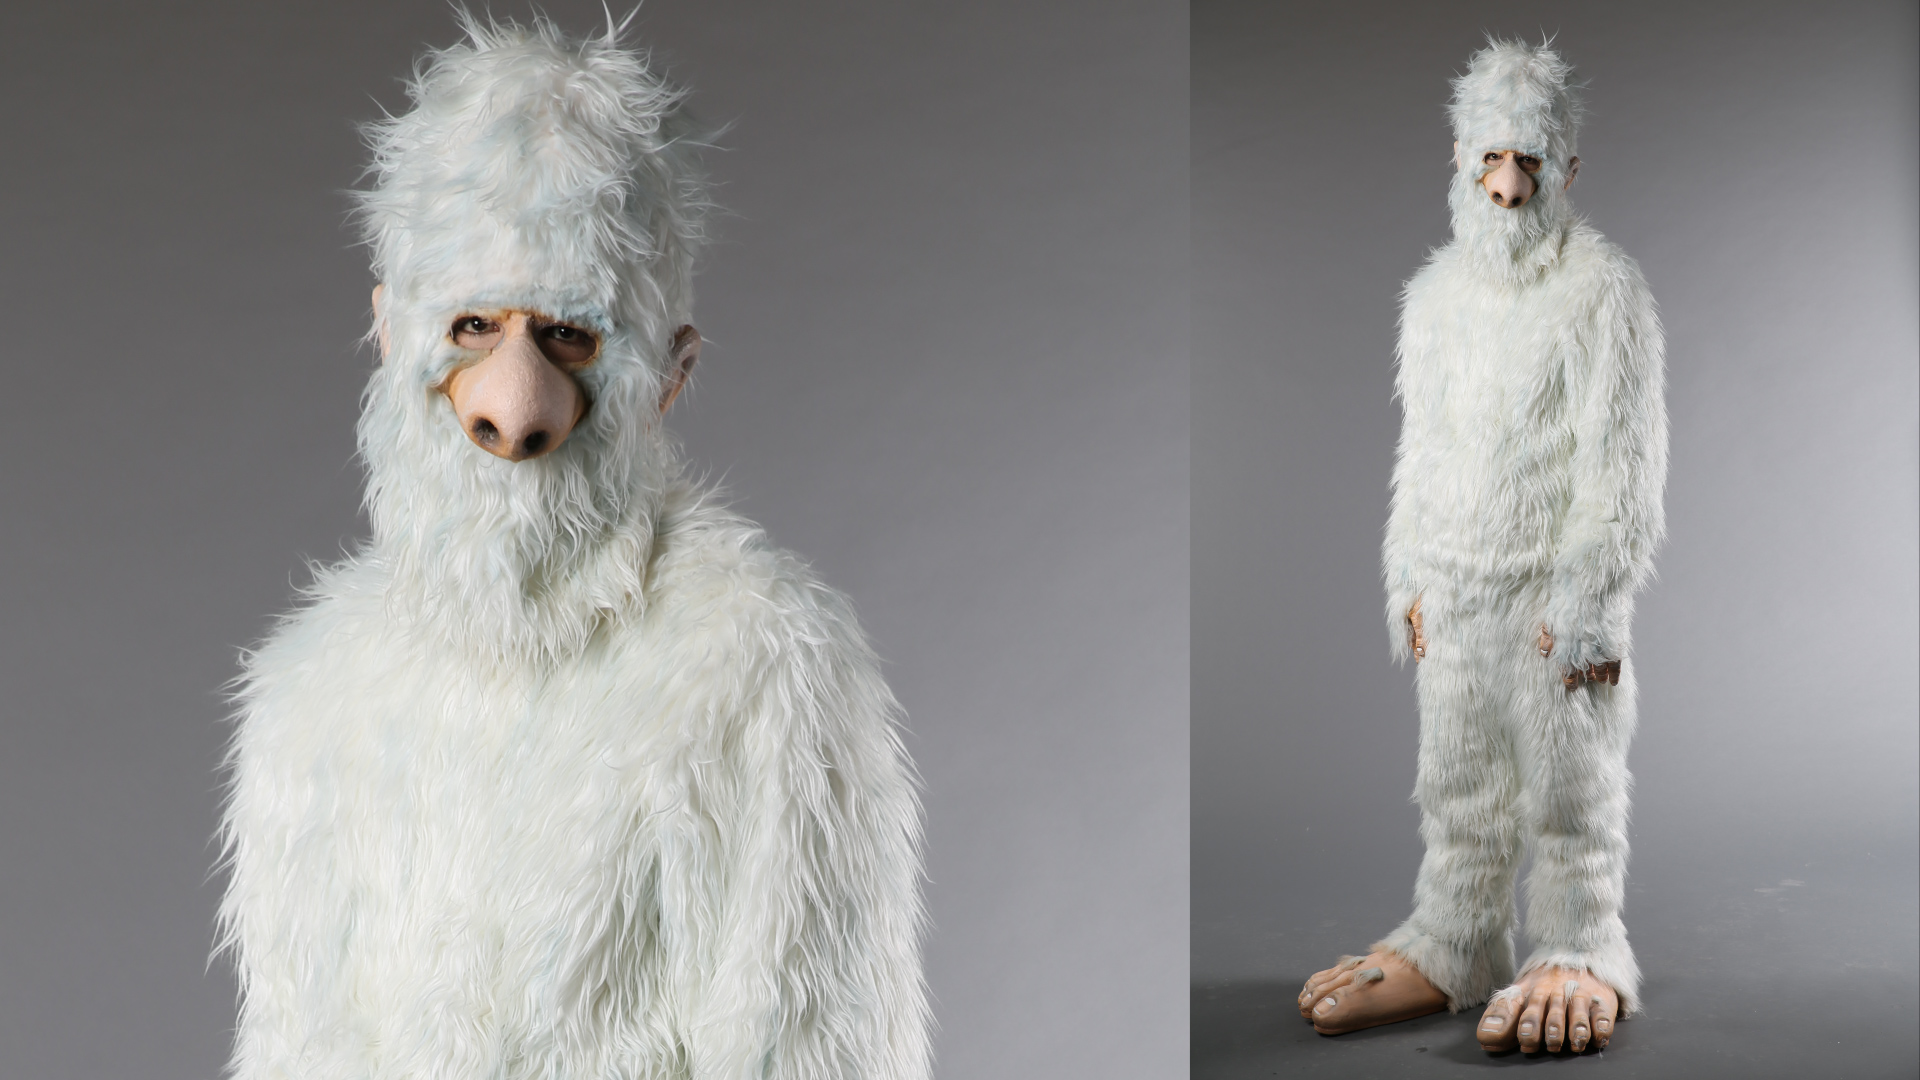
#4 The second umbrella is very important. I want to open up the background to create that separation I mentioned earlier.
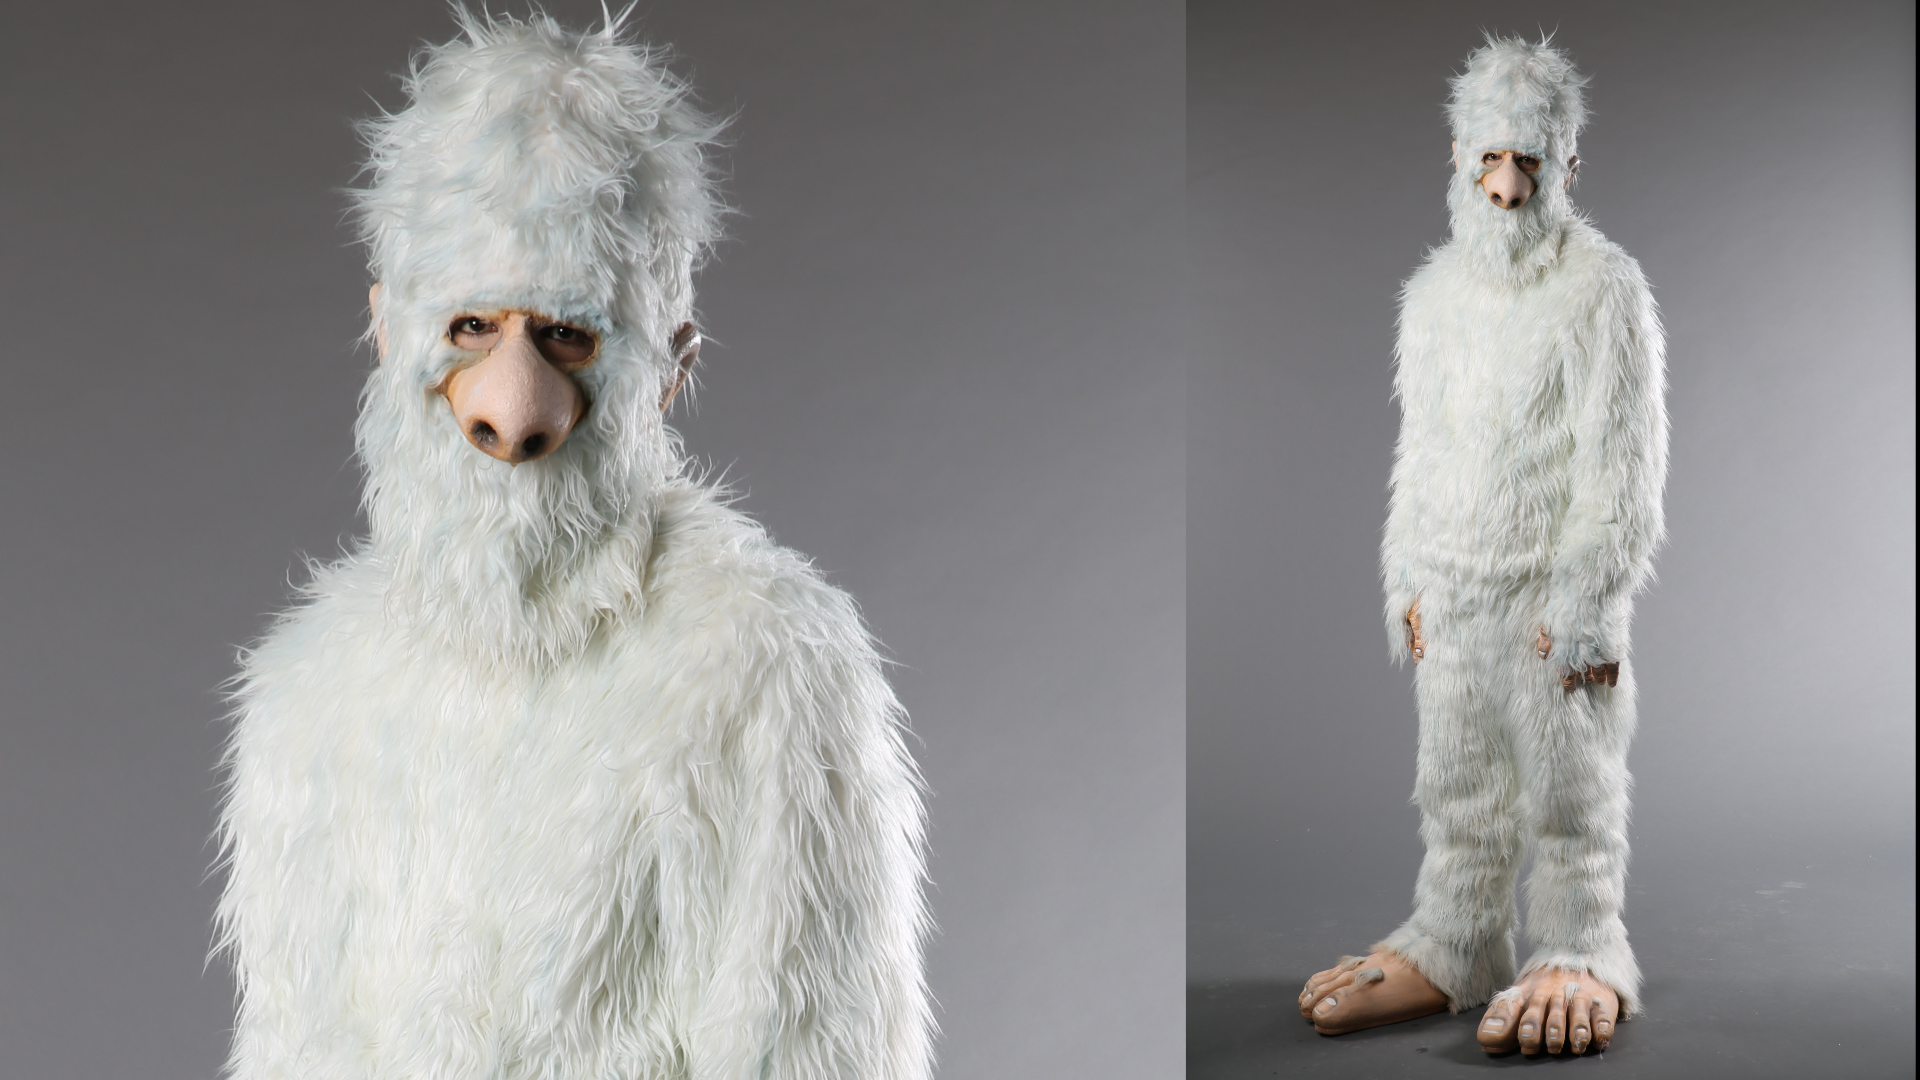
#5 The image is coming together. My final light was more of a creative choice. I want a bit of rim on his head and shoulders. I do not want this to be too bright, otherwise the fur will start to blend in to the background again.
#6 Here is a look at the lighting diagram for this setup.
#7 Here are some of the images we got from this shoot.
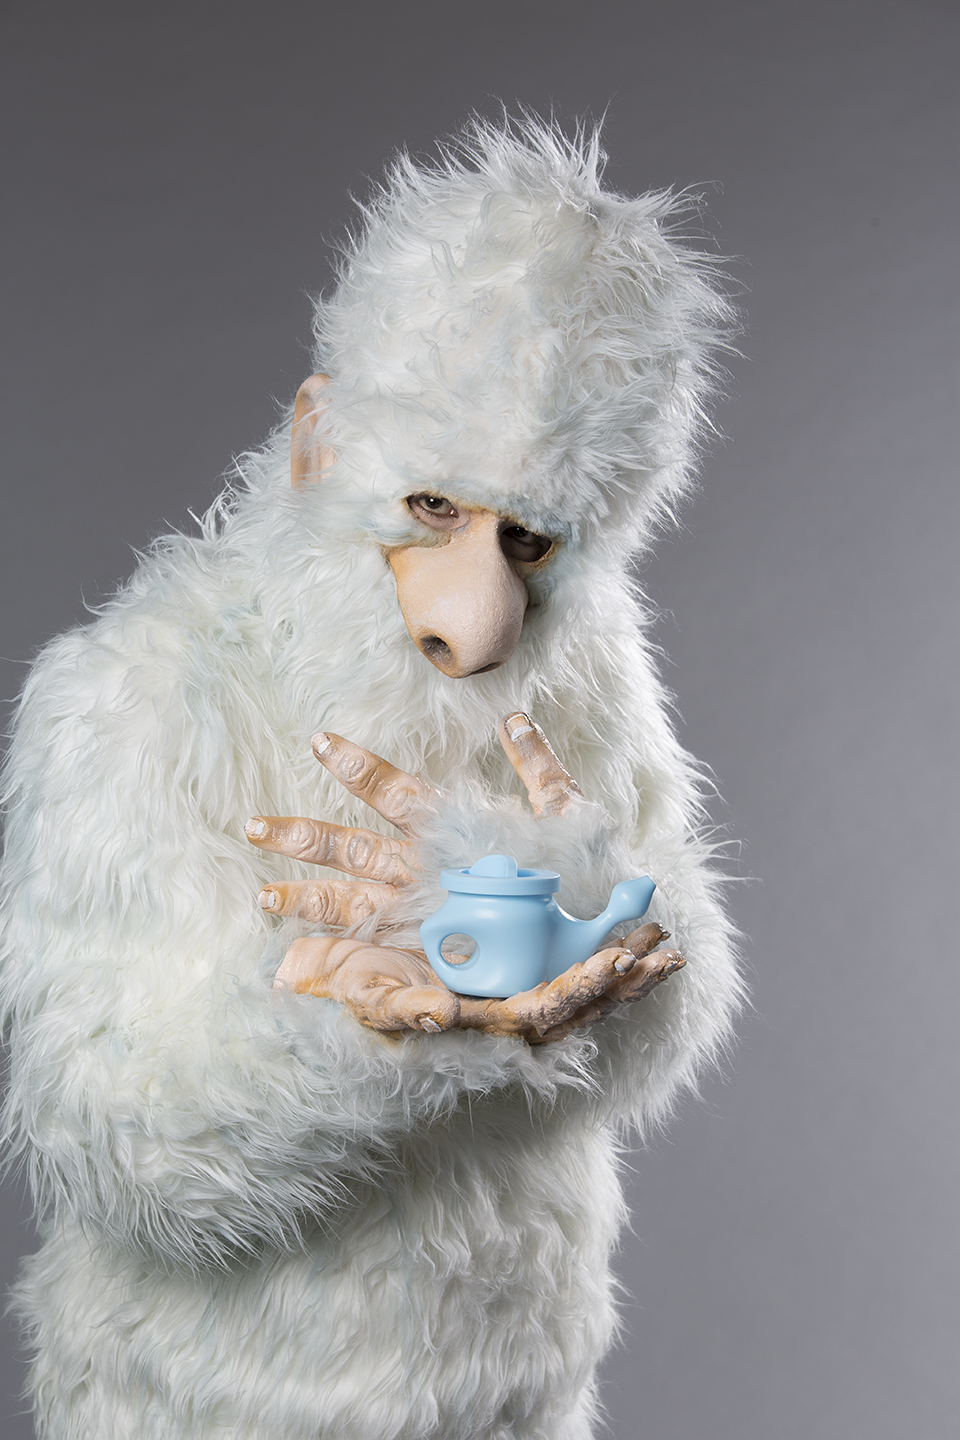
#8 Here are some of the images we got from this shoot.
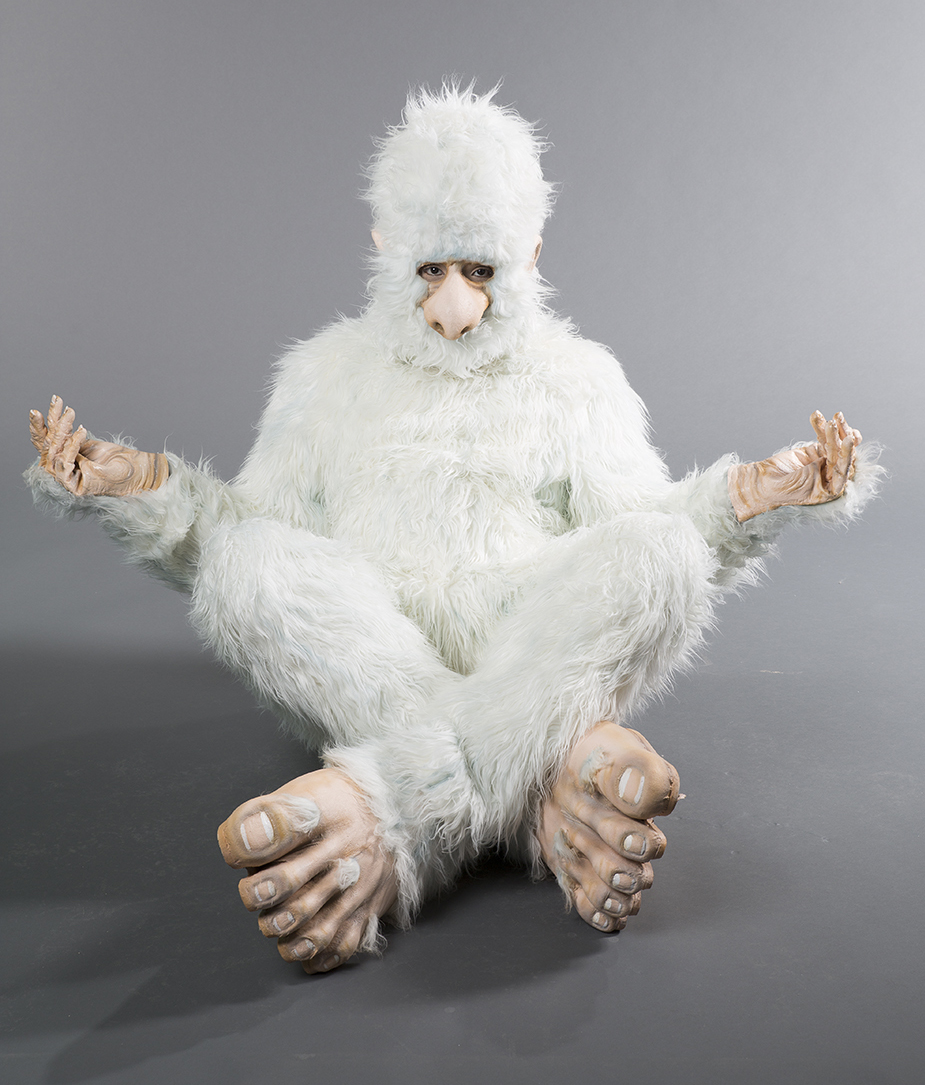
#9 Here are some of the images we got from this shoot.
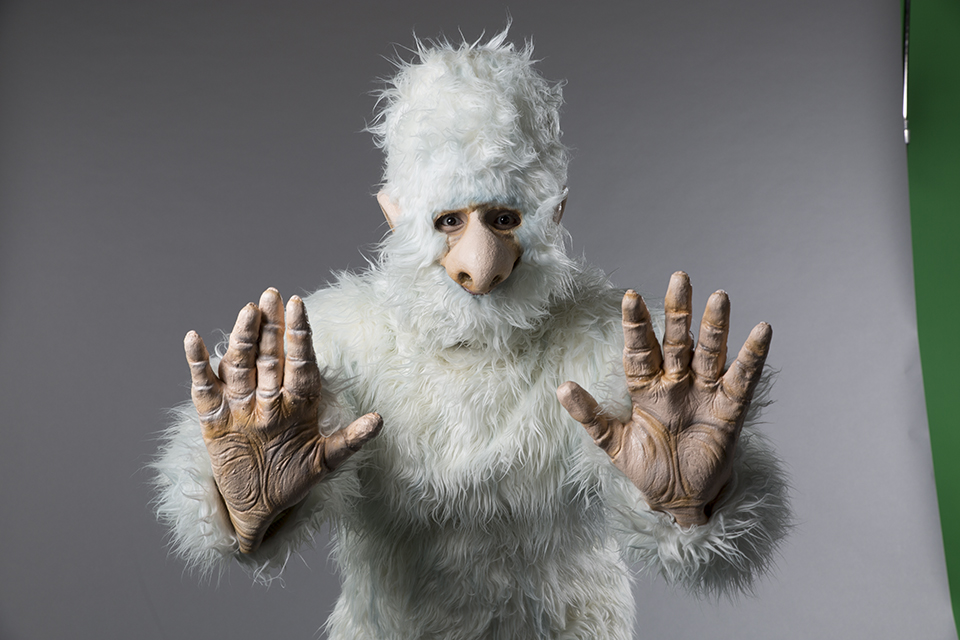
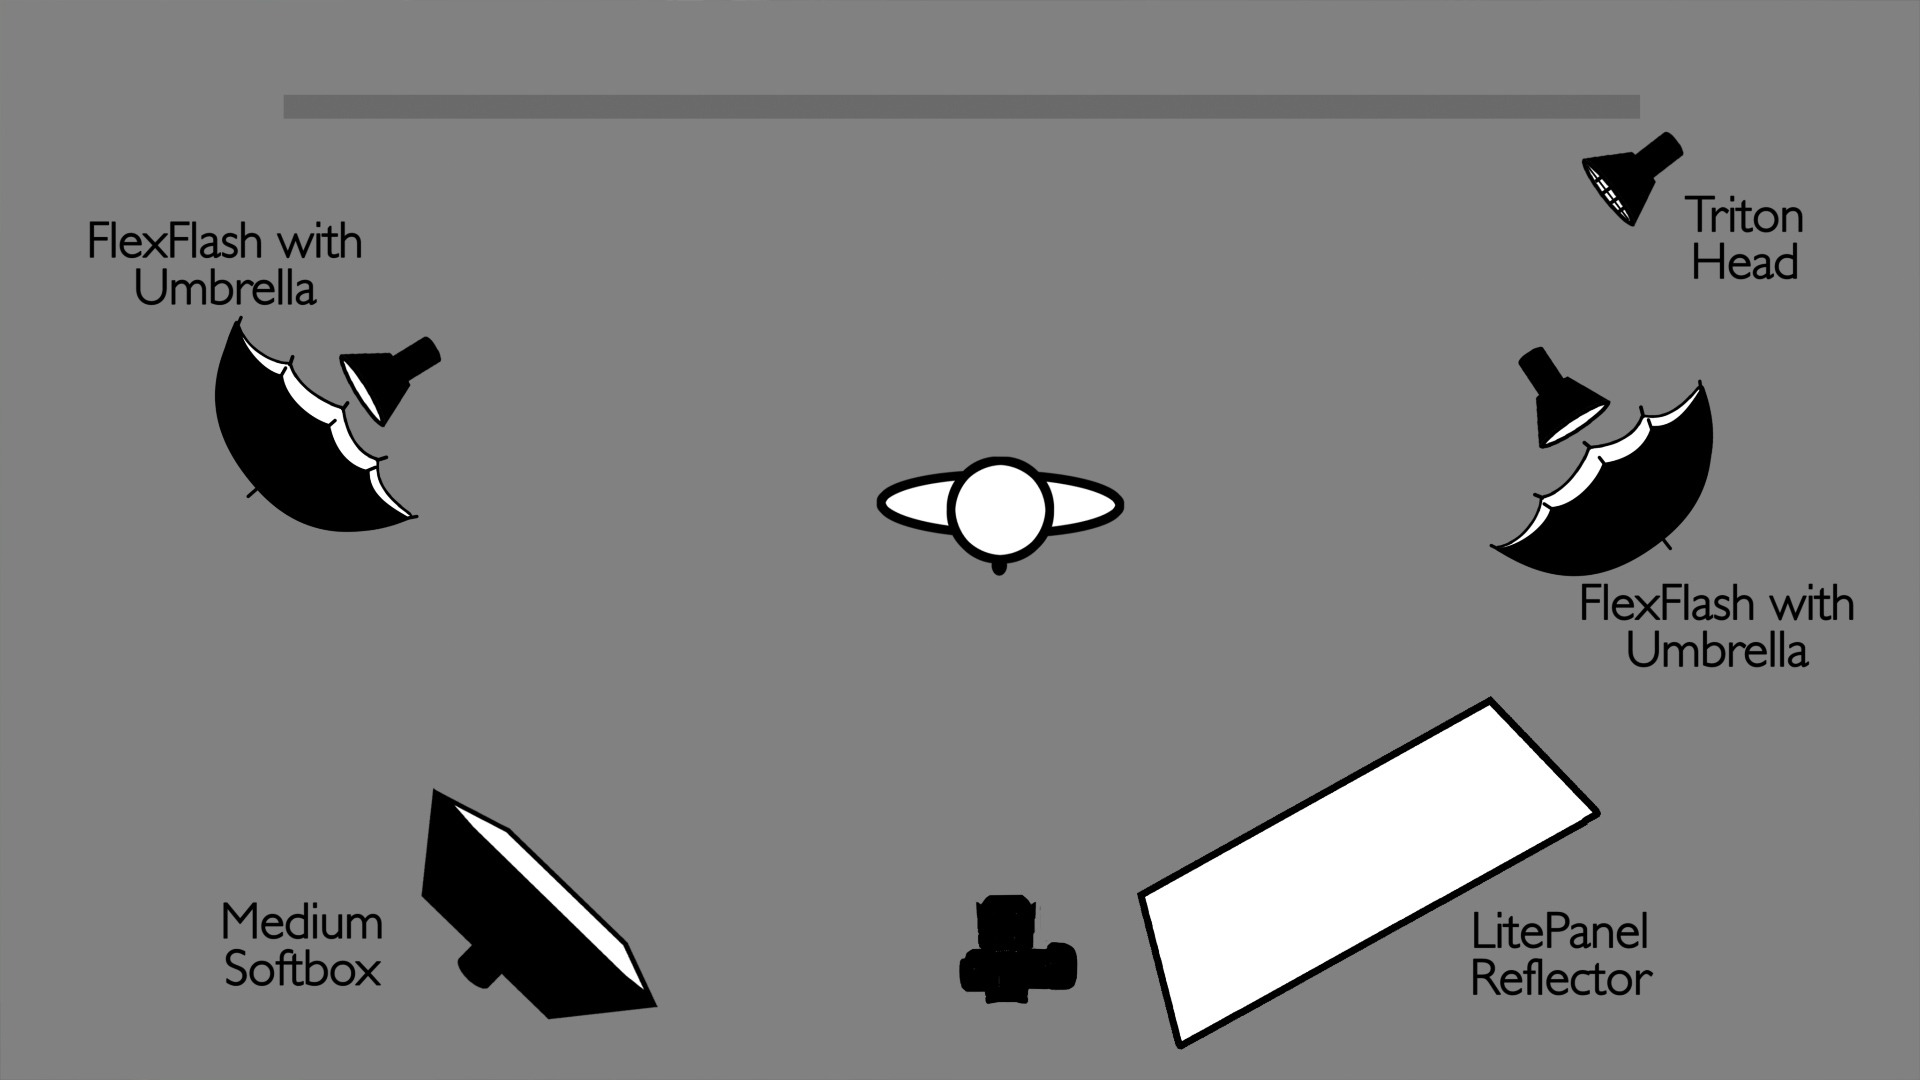
#10 This photo shoot was done with Joel Ackerman of Ackermania Creative for a client called Yeti Pot. The client selected this image to be cleaned up and outlined.
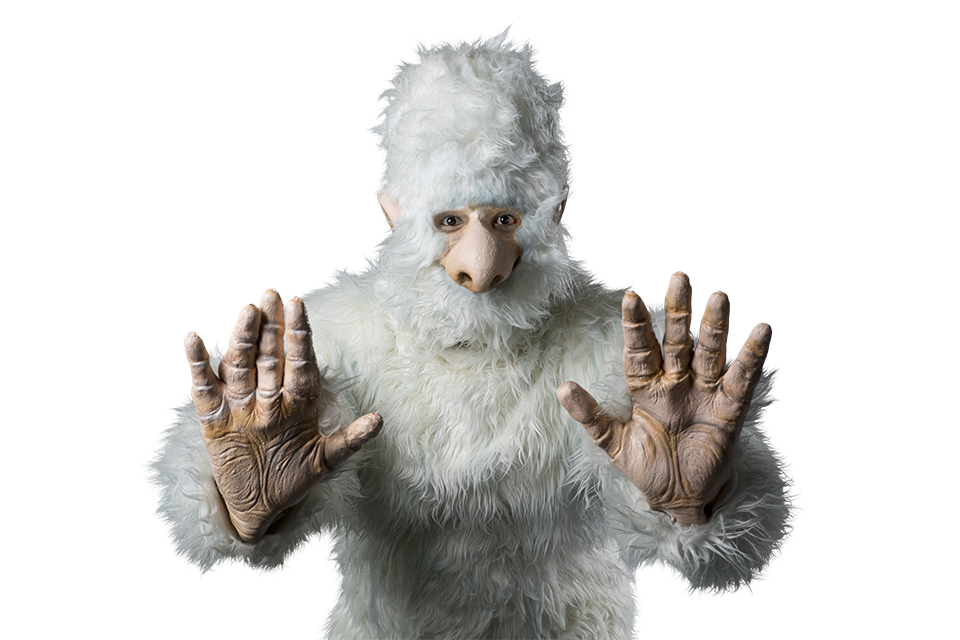
#11 Julene brought the image into Photoshop and did touch-up work on the eyes, hands, and nose. She removed the background and painted some hair back in along the edge to make it look more realistic. Here is the final image.
We had a lot of fun shooting with these Yetis. The costumes are so funny looking that I just had to laugh. Every day brings something different in this industry, so keep those cameras rollin’ and keep on clickin’.
-Jay P Morgan

Filmtools
Filmmakers go-to destination for pre-production, production & post production equipment!
Shop Now