After Effects can import simple 3D scenes, either natively using the .ma file format, or with 3rd party plugins for formats like FBX. It’s a common workflow practice to import cameras and location nulls from software such as Maya, 3D Studio Max and Syntheyes. However if the scene comes into After Effects at a different resolution than you intend to work at, then scaling the scene isn’t quite as simple as you might think. If you just change the composition resolution, then your 3D layers will no longer line up.
Way back in 2014, I published an in-depth article on how the After Effects camera works, and how it relates to composition resolution. While the article explains what’s happening when you change the resolution of a 3D composition, it doesn’t offer a quick demonstration of how to fix it. That’s where this video comes in…
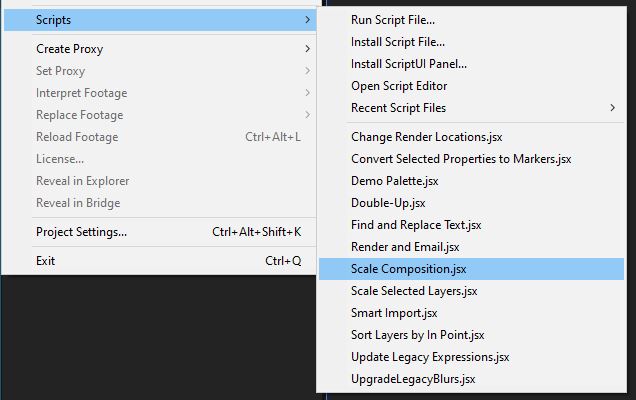
If all of that seems a bit tedious then don’t worry – After Effects now includes a script to automate the process. All you need to do is select the composition you wish to scale, and run the script from the script menu. This makes the whole process much faster and easier.

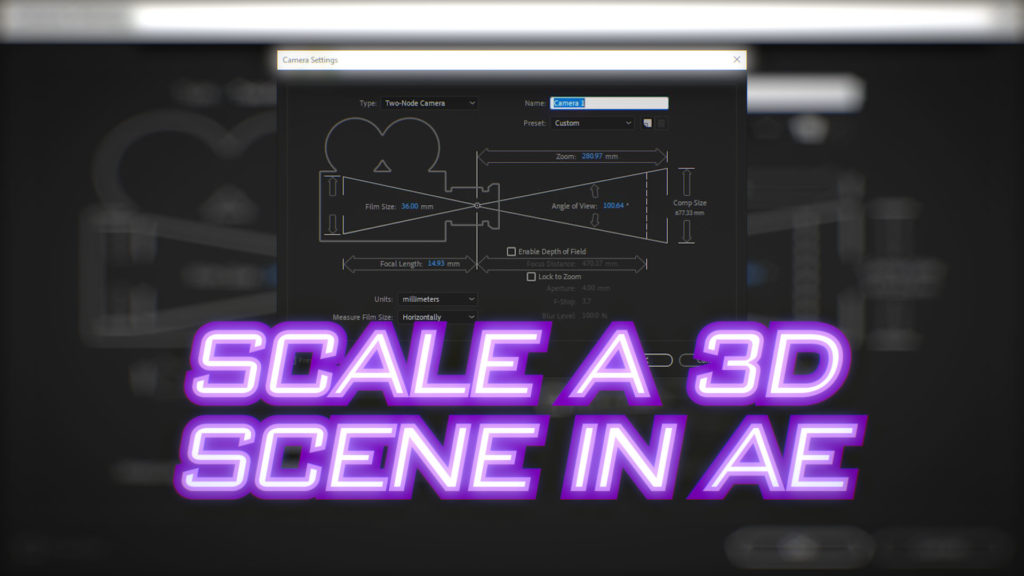
However it’s still a valuable learning exercise to understand what’s going on, and how the After Effects camera relates to the composition resolution. When you add a 3D camera to an After Effects composition, the camera’s Angle of View is calculated based on the composition resolution. If you change the resolution of the composition, you’re effectively altering the camera’s Angle of View – which is why location nulls and other 3D layers may no longer align. 3D software doesn’t work in the same way, they generally define the camera with physical units (eg. mm) and then the scene can be rendered at any resolution, without affecting the camera. After Effects reflects the way that cameras and lenses work in the real-world, but unfortunately that doesn’t always make it easier for the user! Hopefully this video provides a visual reference for this difference.
As demonstrated in the video, the steps to manually resize a 3D scenes are:
- Make a note of the camera’s Angle of View. Opening the “Camera settings” window will show the value with the most precision.
- Add a solid at the same resolution as the composition. This is used as a scale reference.
- Add a null object, make it 3D, and set the position to 0,0,0.
- Parent all 3D layers – including the camera – to the null.
- Change the composition resolution as required.
- Select the solid and “fit to comp”, this will scale the solid to match the new composition resolution. (We’re only doing this so we don’t have to do the maths ourselves…)
- Copy the scale values of the solid to the 3D null.
- Delete the null object, which will bake the new scaled values into the 3D layers. You can delete the solid as well.
- Change the camera’s Angle of View to the value it was originally, in the “Camera settings” window.
Done!
If you’re after more in-depth information on how the After Effects camera works, then check out my in-depth analysis from 2014. Otherwise, feel free to check out my other After Effects articles and tutorials for more tips and tricks.

Filmtools
Filmmakers go-to destination for pre-production, production & post production equipment!
Shop Now


