When we see a movie, the last thing we think about is definition… until it is not there. That’s why Focus Pullers are important. One recent example is Christopher Nolan’s Interstellar movie. Some out of focus scenes in Interstellar originated a series of comments on the web about the importance of precise focus and the work of the first AC or Focus Puller. Whether it was on purpose or by accident, the importance of focus precision on movies became evident.
The discussion about Interstellar can be followed in different forums online: just Google “Interstaller and focus”. I’ve opted to use it as an example, because it seems to be a good starting point for this article. Focus pulling is an important subject that we do not think much about until, as I wrote above, some frames on a film seem less in focus than others. In fact, we always tend to connect a movie with the name of the Director of Photography, but if we think in pure technical terms and in the way things get in and out of focus in movies, we’ve to look in another direction: to the person that never looks through the viewfinder of the camera but, nevertheless, is responsible to get everything sharp on the emulsion or sensor. That’s the job of the Focus Puller.
A Focus Puller or 1st assistant camera, states Wikipedia, “is a member of a film crew’s camera department whose primary responsibility is to maintain image sharpness on whatever subject or action is being filmed.” Yes, now you know it: when actors move on set, it’s the Focus Puller that keeps them sharp, if that’s required. And it is also the Focus Puller that makes those changes from one subject to another within the frame that make for some interesting moments we all appreciate. So, although it is a technique, it does creates a unique sense of movement that asks for more than just rotating a focusing ring. Something, I believe, comes with the experience.
Working with shallow apertures to create those focus separations is not an easy task, as you may have guessed. And while in a big budget movie there will be professionals doing the different tasks, independent videographers or anyone just starting out exploring the world of DSLRs (or other small cameras) will, many times, find they will be the DP, camera operator and Focus Puller of their own productions.
While there are tools that make focus adjusting easier, they do not necessarily make it automatic. Automatic focus does work for some subjects, and while in modern DSLR cameras – and others – the system is getting better, focus pulling by hand is still a necessity and, to some extent, a pleasure to do, just for the simple reason that it means… you’re in control.
The introduction of DSLRs for video opened the doors for a lot of experimentation with something that DSLRs are very good at: very luminous diaphragms. This also means that a shallow depth of field is present, with the good and bad things it offers. In fact, while the separation of foreground and background becomes more evident and controllable, the same shallow depth of field means there is an absolute need to be precise in terms of focusing. Your 50mm f/1.8 or f/1.4 may be a fantastic lens to use, but you really need to be careful adjusting focus so you get it focused on the exact spot. Wide open, your lens will throw the eyes of your subject out of focus, if you focus on the tip of the nose.
It should also be said that although wide apertures that can be achieved with DSLRs make for some “wow” images, you’re not bound to only use f/1.4 or so. In fact, working at something like f/5.6 will give you some freedom, especially with moving subjects (the flowers in the video could use more depth of field, for example, although in this case I wanted to explore the shallow DOF). Remember, you’ve a whole range of apertures that you can use, so using them wisely may be your best bet to create a good final work.
Practice makes perfect, says the old adage, and it fits perfectly here. The more you try – and fail – the easier it will become to adjust focus in your own productions. A good starting tip is to learn how to guess distances. Start slowly, with subjects close to you, so that you can both calculate the distance between you and the subject and immediately measure it. Practice this until you get a good idea of distances, and follow this with an exploration of how depth of field changes the relation between subjects within those distances you’ve been able to calculate, and how much. Training your eye and mind to SEE this way will make focus pulling not only easier, but a constant challenge that makes you feel good when you see the results.
With digital sensors it is much easier to learn focus pulling than with film, because we can see results immediately. With film it was necessary to wait for the emulsion to be developed to advance the learning process. Now you can practice using the camera and confirm the results on its LCD during and right after shooting. Remember, also, that it is a good idea is to know the lenses you’re using, and which way they turn for close or distant focus.
As a photographer moving slowly into the world of video, my experience of focus pulling is close to none. My world is the one of static images, although I do work on series to create sequences that show some kind of animation (time-lapses or cinemagraphs), so focus pulling is a technique I am learning to apply. This has led me to discover that the job of a Focus Puller is one of the hardest on the set, although we rarely pay attention to it. Trying to adjust focus on static subjects – moving subjects are something else and ask for being able to follow focus – in my videos and then watching the results has shown me how hard it is.
I’ve created the video shown with this article on purpose to test focus pulling and also to test moving from subject to subject within a frame. I like the effect these changes in focus create, as they are similar to the effects I try to use in my photography of flowers, where I tend to use long lenses (640mm) wide open (f/5.6) at the closest range possible (around 1.8 meters in my case). The difference here – and it is most welcome, is that these are moving images. There’s something unique in the way an image goes from fuzzy to detailed, something I like to watch when I photograph flowers, but I hardly can convey in a static image. Video allows me to do that and that’s, somehow, what I wanted to explore in this video and share with PVC readers.
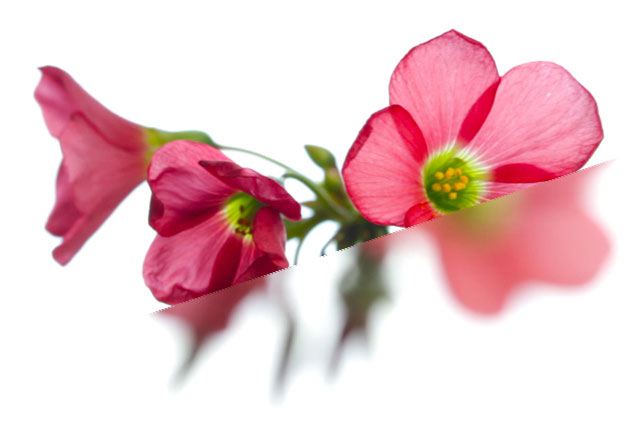
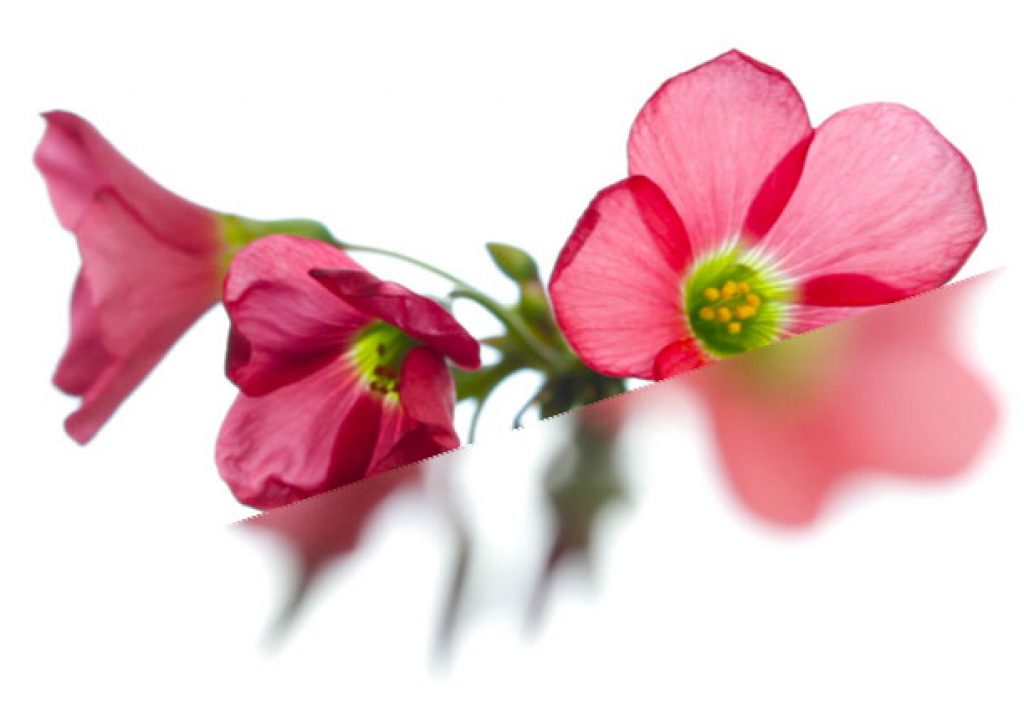
While it has nothing to do with the main theme for this article – focus pulling – I do think explaining how this video was created makes some sense. The subject is a flower in a vase, an Oxalis tetraphylla or fake clover, and it is used as a good example of how “small worlds”, both in photography and video, can create unique visual experiences. That’s an area I think offers a lot of exploration and multiple opportunities.
This 8 minute video is all shot around that vase and flower. The vase was placed close to a window, so that a breeze would move the flowers to create some movement in the frame. The white background is reminiscent of the flower photography I do for the international project Meet Your Neighbours, where photographers use a field studio with and a translucent sheet of acrylic to create a completely white background for the subject. One flash placed behind the acrylic creates the pure white effect, while a flash in the front lights the flower.
In this video I could not use a flash, for obvious reasons, so I decided to use the Sun and sky as my white background. The vase, as I said, was placed close to a window, so the flower was backlit by the Sun coming from behind it. Exposing for the shadows made the background go white. To introduce some extra light in the front of the flower I used a small LED light in a light stand or handheld and moved, to create shadows and movement. Some sequences use only available light, though. You’ll spot them easily.
This video allowed me to explore the effects of focus pulling in a setting that asks for exact focus. Working with a 100mm macro lens, which opens to f/2.8, made for a very defined plane separation, and the need to be precise. The focus adjustment was entirely done by hand, but the large focusing ring on this lens makes it somehow easy to achieve. Once you start using it you learn a few tricks, and that’s the beauty of trying and not simply reading about things.
Let me give you a good example, related to the movement of the lens between the different planes of focus. Define a first plane of focus, which can be closer or distant, depending on how it works best for you, and place your hand on the barrel with the lens at that position. Now, turn the ring until you’ve the other plane in focus, and feel how much you had to move your hand between the two positions. Once you get the hang of it, things become easier. In the video it is easy to see I missed exact focus some times, but in general I am pleased with the results. And this was done in macro (or close up), which is not a very forgiving situation, as the magnification is bigger, and any mistake is immediately seen on the screen.
I am not a good focus puller yet, and there is a long road to travel, but I am better than I was when I started. And I believe it can only get better, with the right tools – that’s the next step – and more practice. Remember, “practice makes perfect”. So, set up your own testing ground, which can be something like the example shown in this video and have fun. I know I did.

