TL;DR: Adobe shares how to handle blown out HDR footage in Adobe Premiere Pro and where the footage is currently handled best: the public Beta version.

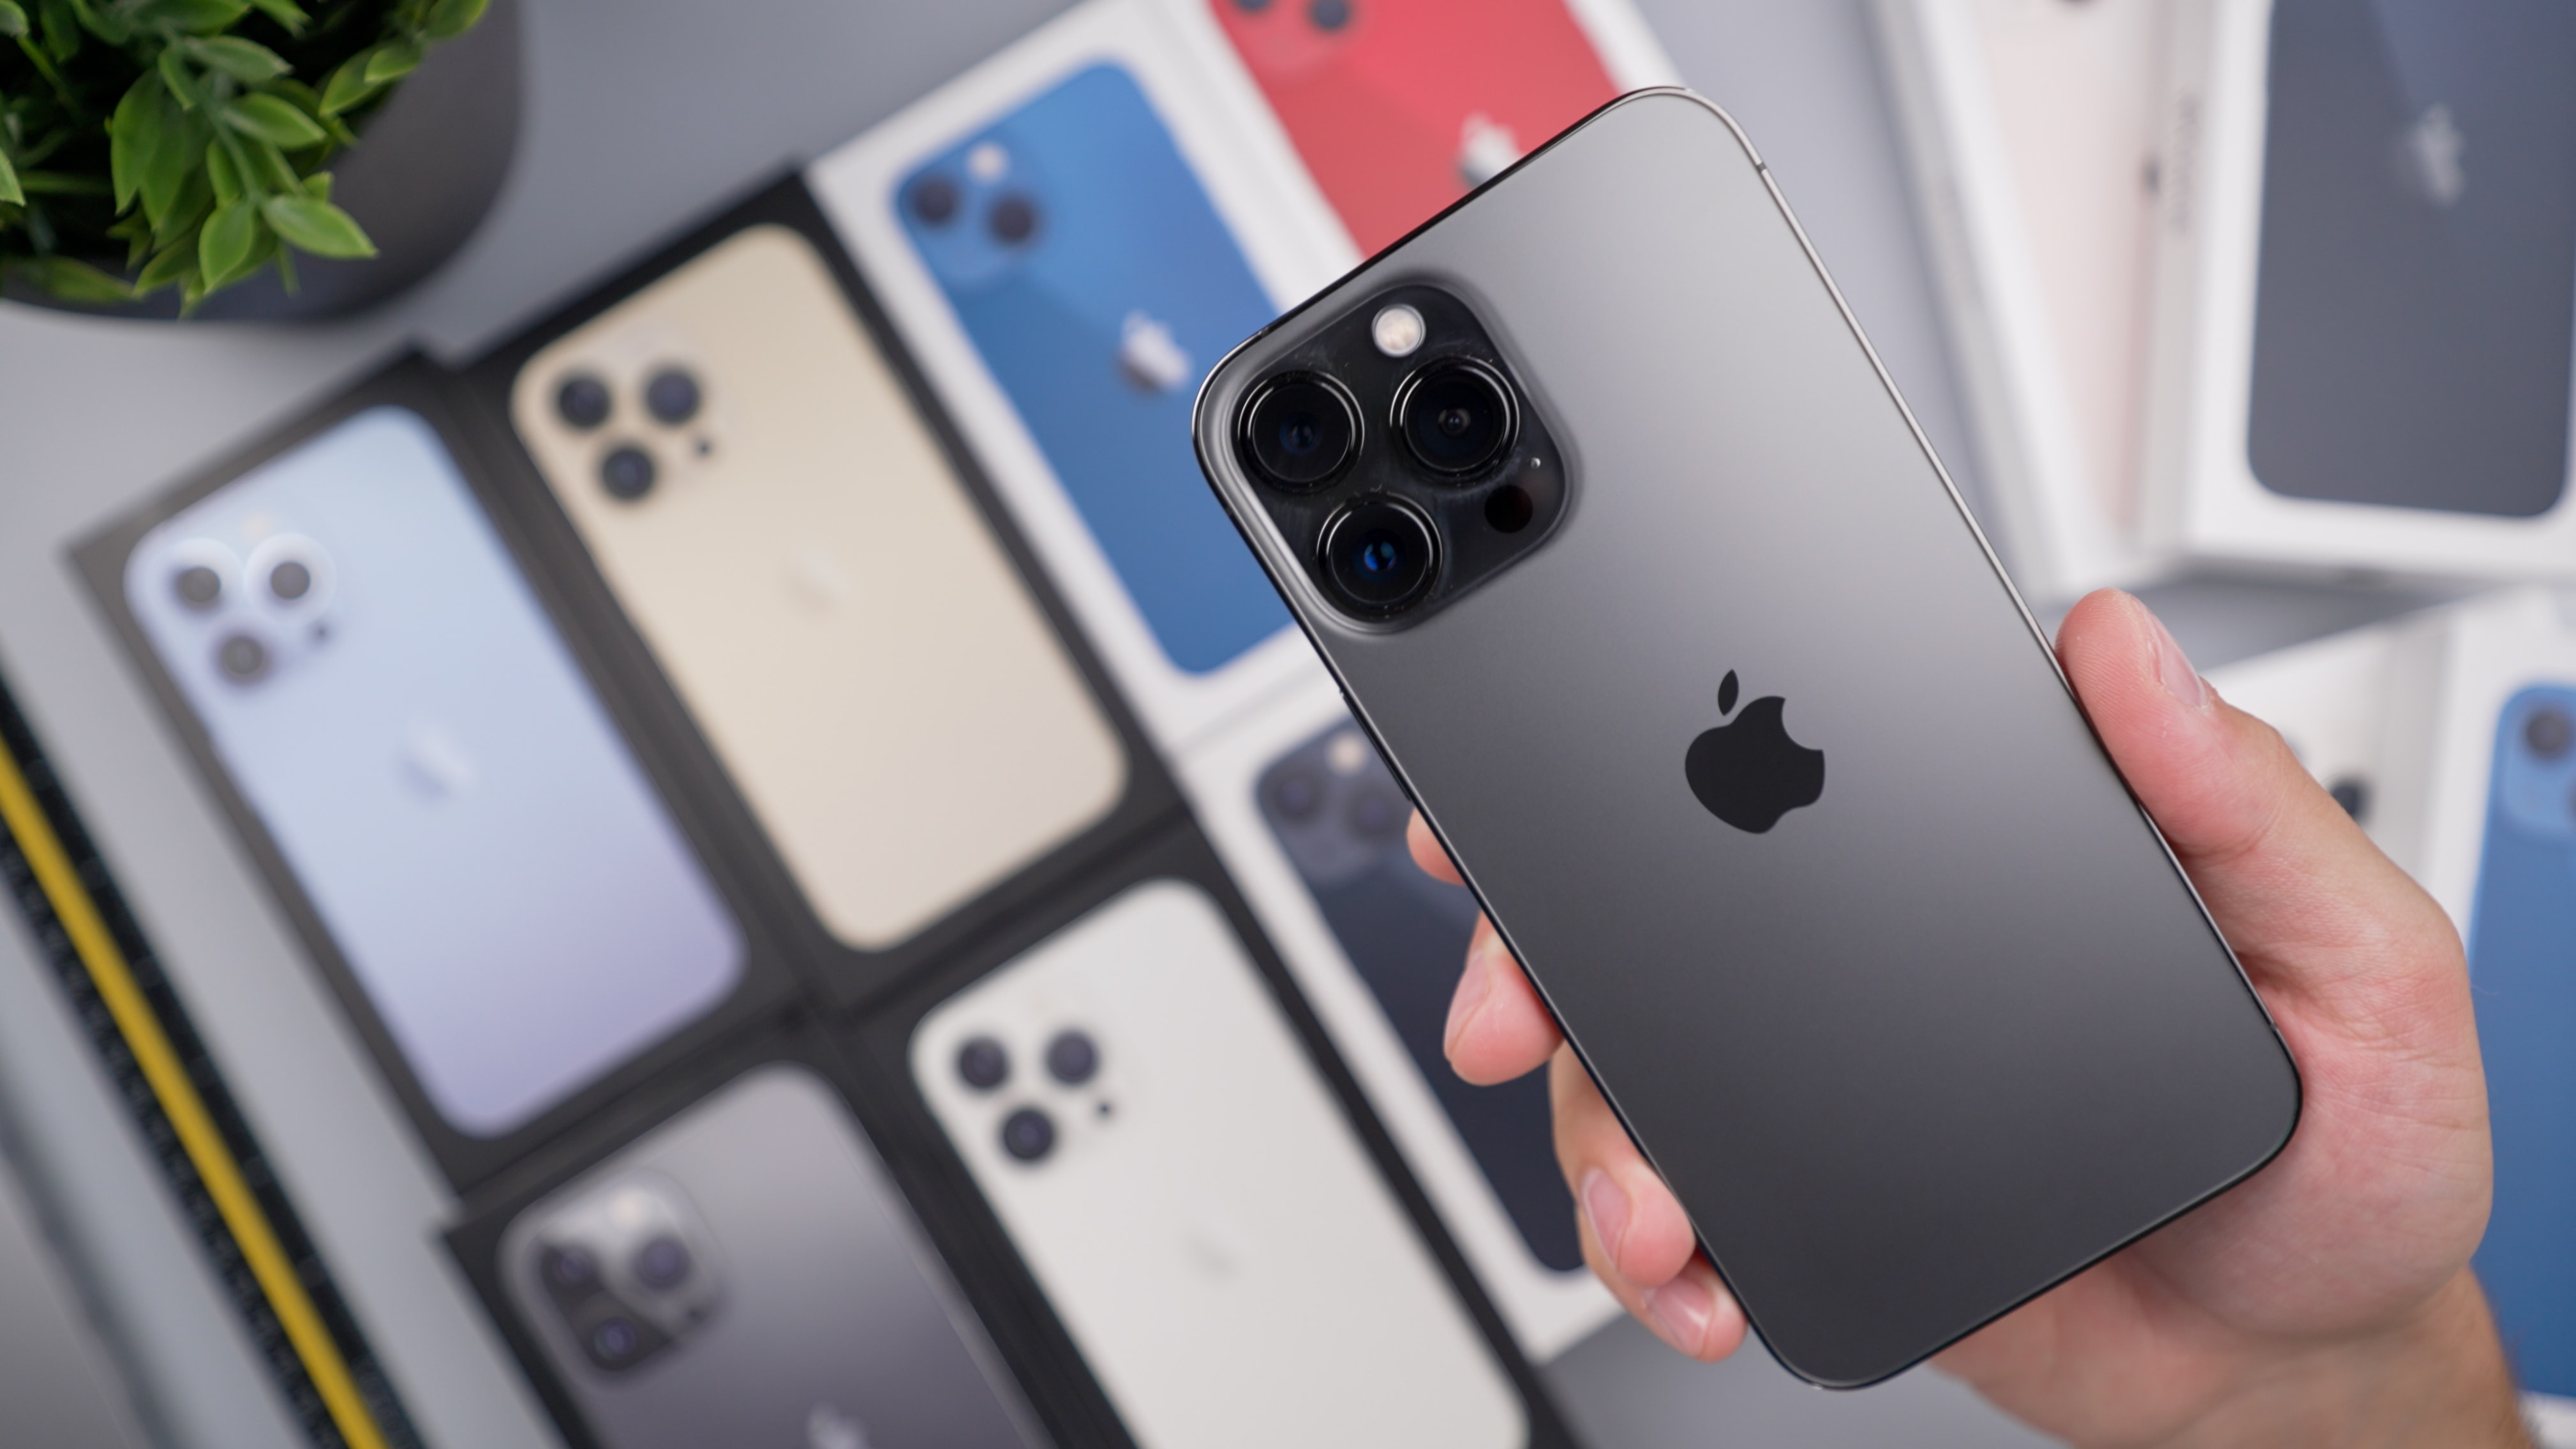
Picture this: You shoot some HDR footage on your iPhone, transfer it to your computer, drag it into Adobe Premiere Pro and…it looks blown out. It doesn’t look the same as on your phone, and playing with Lumetri doesn’t restore it to the way it was. It doesn’t seem to work natively with your system, even though both your phone and your computer are Apple based. What’s going on?
Well, we have the rundown on what’s happening, how to fix it, and how a future version of Premiere will solve this courtesy of Francis Crossman, Senior Product Manager for Adobe Premiere Pro. If you’re experiencing overexposed and blown out HDR footage in Premiere, read on!
First off: What is HDR? When would you want to use it?
HDR stands for High Dynamic Range. It is, as Crossman puts it, “the capture and display of more light and color than we previously could do.” According to Apple Support, HDR allows for “true-to-life color and contrast and shooting in HDR in your camera “helps you get great shots in high-contrast situations.” Having professional level video on a mobile phone has been one of the selling points of Apple iPhones. We have the technical capability to shoot 4K Dolby Vision HDR from a device that fits in our pockets.

Why does my HDR footage look so blown out in Premiere?
Ok, so we’re in a situation where we decided to shoot video in HDR, or we’ve filmed in it because it’s our default iPhone setting. The HDR footage looks great and accurate on our phone because there is actually an HDR monitor built in. The new MacBook Pro also has an HDR display built in. If you’re using a computer with an HDR monitor or you’re working within an HDR/HLG workflow, your iPhone footage likely does not look overly bright or unsaturated. But if you’re not using an HDR monitor, you’re in Rec. 709, or you’re putting your HDR footage in a Standard Dynamic Range (SDR) sequence, your footage likely looks blown out. This is because, as Crossman adds, the file “contains more light and color data than your system can display.”
In addition, the shipping version of Adobe Premiere does not go through tone mapping for HDR footage…at least not yet. According to Modo’s Guide to Rendering, available through Foundry (https://learn.foundry.com/modo/content/help/pages/rendering/tone_mapping.html), tone mapping “can compress the total dynamic range of the image into a range that is viewable on your screen.” It is, essentially, “taking the light data from HDR” and “compressing it into the space of SDR” while retaining detail, as Crossman clarifies.
If you open your HDR clip in Quicktime, for example, you may notice that it looks more accurate. Quicktime has tone mapping built in. It’s a process that is not yet natively inside the current version of Premiere, but tone mapping has been incorporated into the June 2022 update of Premiere Pro Beta.
How to handle HDR footage in the current shipping version of Premiere
Handling HDR footage in a Rec. 709 sequence in the current version of Adobe Premiere Pro entails re-interpreting the footage. Francis Crossman identified the following steps to help us if we’re working with HDR footage within a Rec. 709 space (and we’re not working with a HDR display).
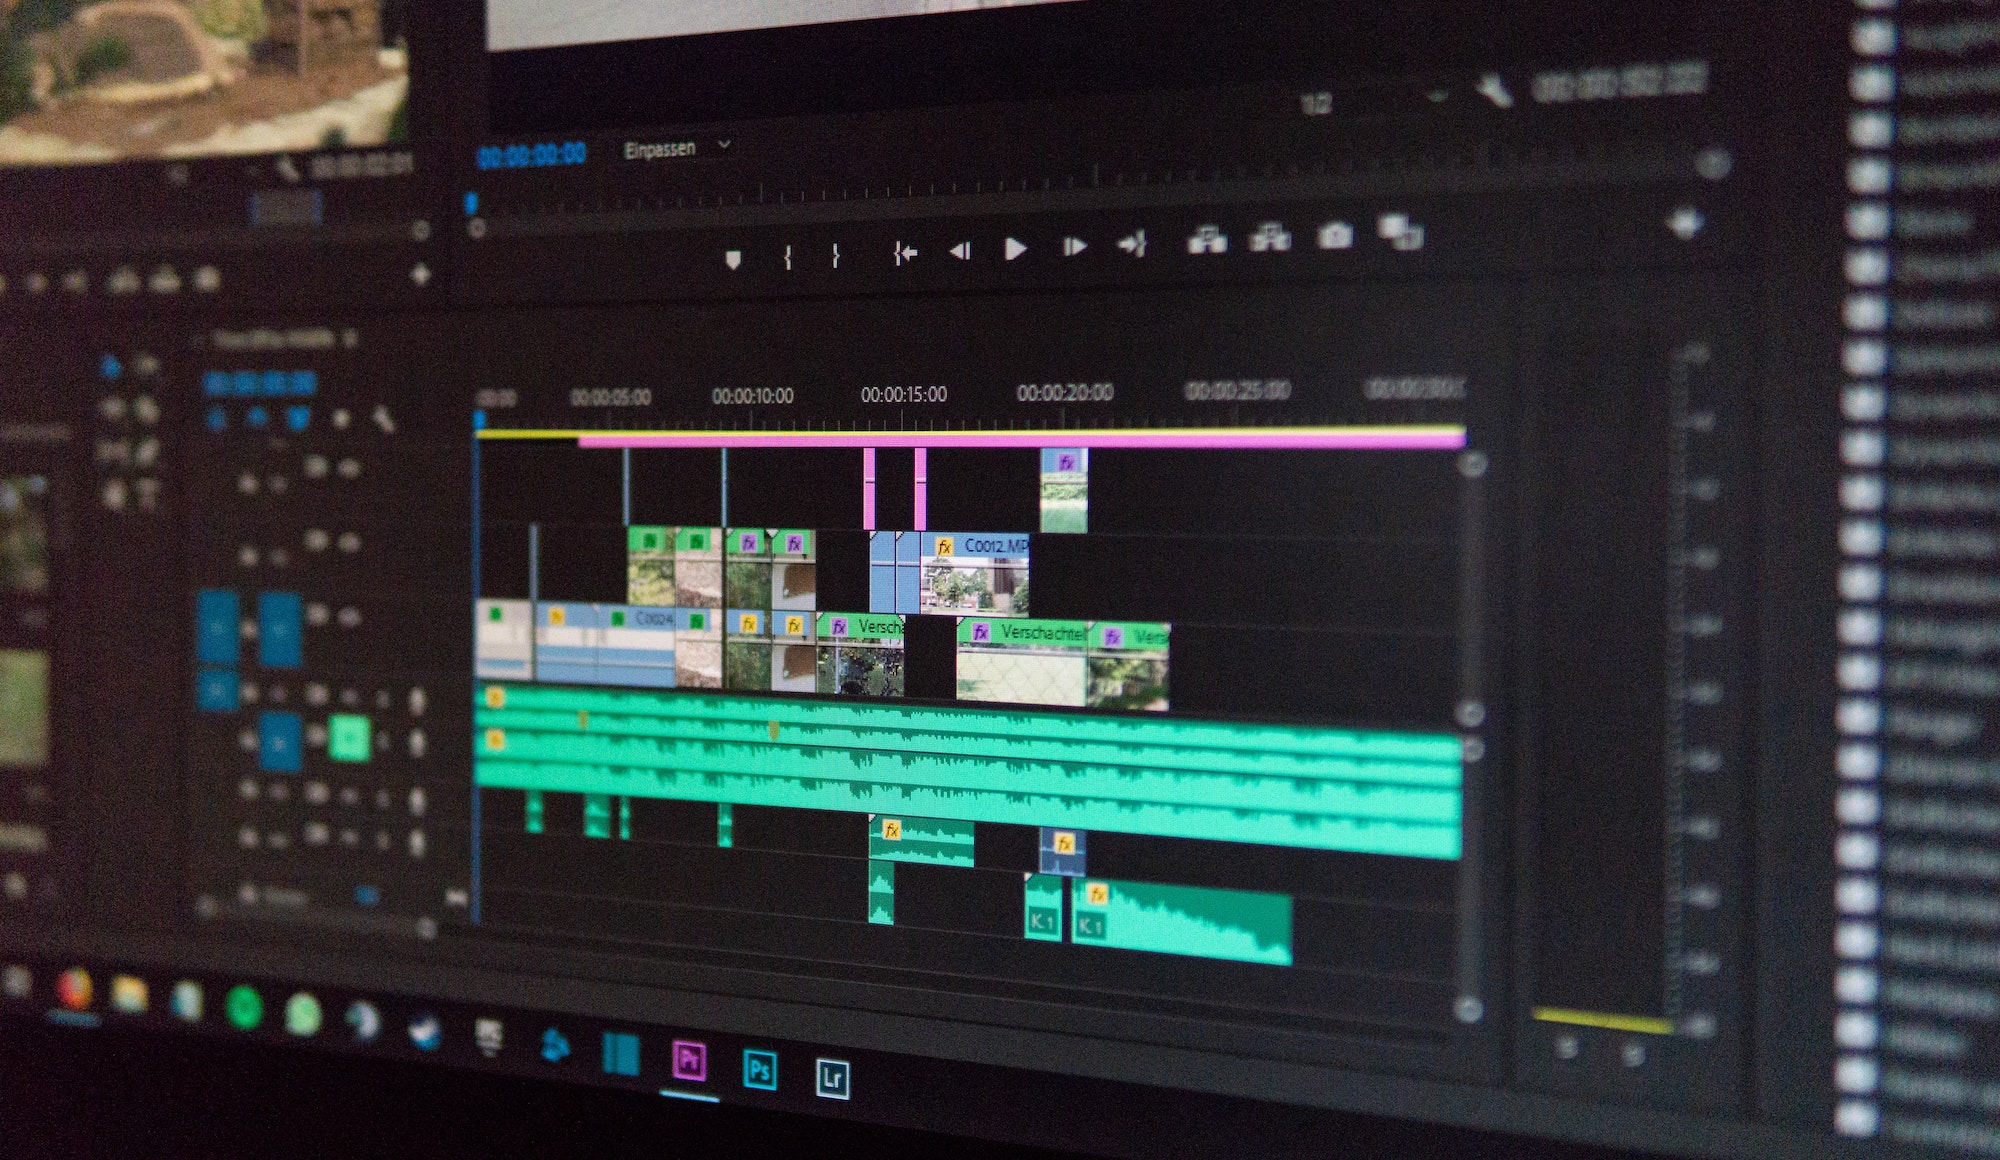
First, be sure to turn “Display Color Management” on, which is under File—>General. Then create a Rec. 709 Color Space sequence with your iPhone footage. Then, we’re going to modify the color management of this clip by right clicking on the clip in the Project Panel (you can actually select more than one clip at the same time), head to Modify, and “Interpret footage.” Under Color Management, select Color Space Override with Rec. 2020. The final result is close, but not exact. But the Beta app will make this easier.
It should be noted that this process is not required for Premiere Rush, the mobile version of Premiere, where the transfer and conversion is “transparent” to Rush users, as Crossman notes.
What is Beta anyway? And how do I get it?
As an Adobe Creative Cloud subscriber, you have access to the nightly builds of desktop apps from engineers and testers. These will install side by side with the shipping version of the software. To download Beta versions of the apps, head to your Creative Cloud app (where you download Adobe apps), and look for the beaker icon (get it?) on the left hand side. Install as desired. The Beta version of the app can be opened alongside your current version, and has the white/blue icon to help identify between the two. If you’re interested to see what Adobe is working on or want to give feedback on the apps, you can share comments and notes through the Adobe Community message boards. For example, here is the home base for the Premiere Pro Beta with tone mapping release as posted in June 2022: https://community.adobe.com/t5/premiere-pro-beta-discussions/discuss-tone-mapping-in-premiere-pro-beta/td-p/12989190
How to handle HDR footage in the Beta version of Premiere
In the Beta version of Premiere, tone mapping is available to ensure that HDR footage is displayed accurately within a Rec. 709 sequence. Head to Sequence Settings, and within the Working Color Space of Rec. 709, ensure that “Automatically Tone Map Media” is on (it will be on by default). And that’s it.
There is no current timeline for when the HDR footage handling and Automatic Tone Mapping of the Beta version of Premiere will make its way to the shipping version, at least at the time of our conversation in late July 2022.
Happy Editing!

