Ok, I’m going to just come right out an admit it … I miss digitizing. For those young ‘uns unfamiliar with the term that would be the process of actually having to take a video tape and capture that into the computer for editing. Some folks call it ingest, others do use the term capture but I’ve always referred to it as digitizing. I used to hate it but now I miss it. Sometimes I miss it a lot. Is that crazy?
Digitizing videotape into an NLE provided something that we are missing today; something that is sadly lacking that I apparently took for granted in the days before file-based acquisition: the opportunity to sit back and watch all of your footage in real time. I’m sure there are many out there who are thinking that’s a total waste of time what with Skimming and Hover Scrub being two of the nicest features of this next generation of NLEs. I love skimming and hover scrubbing as much as the next person (I even asked for something similar back in 2007) but I feel these features do something that isn’t a good thing: they discourage the editor from watching footage in real time.
The joys of accidental discovery
There’s something to be said for sitting back and watching a clip play out in real time: You might see a subtle emotion from an actor’s face or get a look from a by-stander that you never would have seen scrubbing through the footage. You might not notice a camera shake or moment of defocus that is skipped right over when skimming. You might interpret an entirely different meaning to a character’s actions when seen in context of everything that came before it. You might even find an accidental camera move that totally makes a scene usable when seeing it play out in real time.
These are all things that might be missed when skimming and scrubbing around footage by dragging a mouse. The very nature of skimming and scrubbing means you’re skipping frames (sometimes a lot of frames) in order look at footage quickly. The ease with which both Final Cut Pro X and Adobe Premiere Pro skim and Hover Scrub respectively feels like those NLEs are just asking editors to not watch their footage in real time. It’s so easy, so cool and so fast to just drag your mouse around a thumbnail but if you think you’re seeing everything that clip has to offer you’re fooling yourself. I’m not knocking these new features as they have both been welcome additions to editing in our age of way too much footage coming into the edit suite and I wish Avid Media Composer had their own version, but often skimming happens at the expense of properly viewing footage. And I am guilty of it myself.

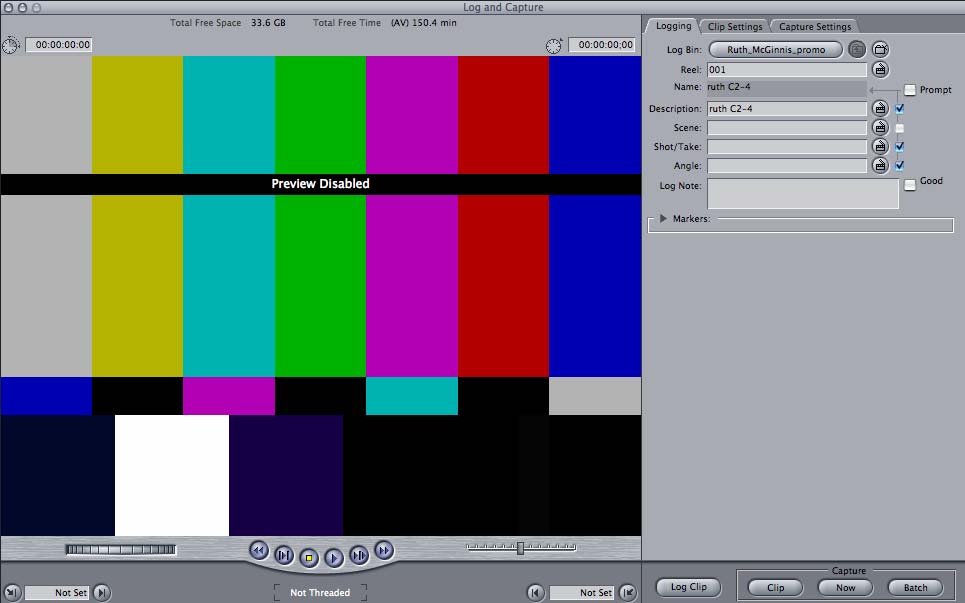
This is the Final Cut Pro 7 Capture tool. Click over to Flickr to see it in more detail.
The days of digitizing from tape often forced the editor to watch that footage in real time as there wasn’t any other choice. That is unless you had an assistant digitize for you or you put on a whole tape and went for coffee. Ingesting media from tape was often a batch process where you could put metadata into the NLE’s digitize tool (though we didn’t call it metadata back then) and let the software work all by itself. That often meant the editor wasn’t watching the ingest in realtime either but I would very often use that digitize time to familiarize myself with the footage … as well as take notes.
If you’ve never seen NLE digitize tools then these images from Media Composer and FCP can give you an idea of how they work. Click over to Flickr to explore them further.
Avid Media Composer has this great feature where you could add markers and create sub-clips as the media digitized. At least I think it still has that feature but I haven’t digitized from tape in so long they might have removed it! You had to be fast on your fingers when making the sub-clips on the fly but it gave a good starting point for the edit. I would often sit with my finger on the Add Marker button and a notepad close by. Since the Media Composer Capture tool displayed the timecode of the tape going in it was easy to jot down a note on the footage being ingested. Final Cut Pro didn’t allow you to see that timecode when capturing but the big window of footage being digitized encouraged you to at least watch that media. Often I would plan on doing something else while a tape digitized but would see something that caught my eye and would end up sitting down to watch it all go in. That meant once the tapes were captured I already had a good idea of what I had to work with. And that meant getting a cut that much quicker.
I’m no fool in thinking that we’re all going to watch, in real-time, the many, many hours of footage that comes into the edit bay these days. We get so much footage with too little time so it’s not going to happen like it did in the days of video tape. But I would encourage editors, especially young editors, who came of age in a file-based acquisition world to slow down and spend time actually watching your footage, not just skimming it. At least once … at least to get an idea of the best of your footage. As an editor that’s your job and you owe that to the project.
Long ago I wrote an article comparing the Avid Media Composer and Final Cut Pro capture tools so if you’d like to know more click over to that article (sorry about the few missing images).
How to watch your footage in realtime today
Here’s a few ideas that might help to get to a place where you can actually watch your footage, in real-time, before you dig into the edit.
Schedule it
First and foremost is to schedule time in your edit to properly allow for the auditioning of footage. Do you absolutely have to watch every frame of every clip in real time? No but if you can have a little flexibility in how you schedule an edit job then you can often plan enough time to properly watch (and log) the most important parts of the footage.
String it out
One common problem with digital acquisition today is that there is often lots of very short clips to sort through. Take all of those tiny things and toss them into a timeline. You’ve now got tens of hundreds of clips that can be viewed back to back without having to load one at a time or even just a mouse to view. This method works even better if you’re using Avid Media Composer as you can add markers, view source timecode and match frame back to source clips all from within a timeline loaded into the Source monitor.
You can also edit the source clips from a string out timeline into a main edit timeline.
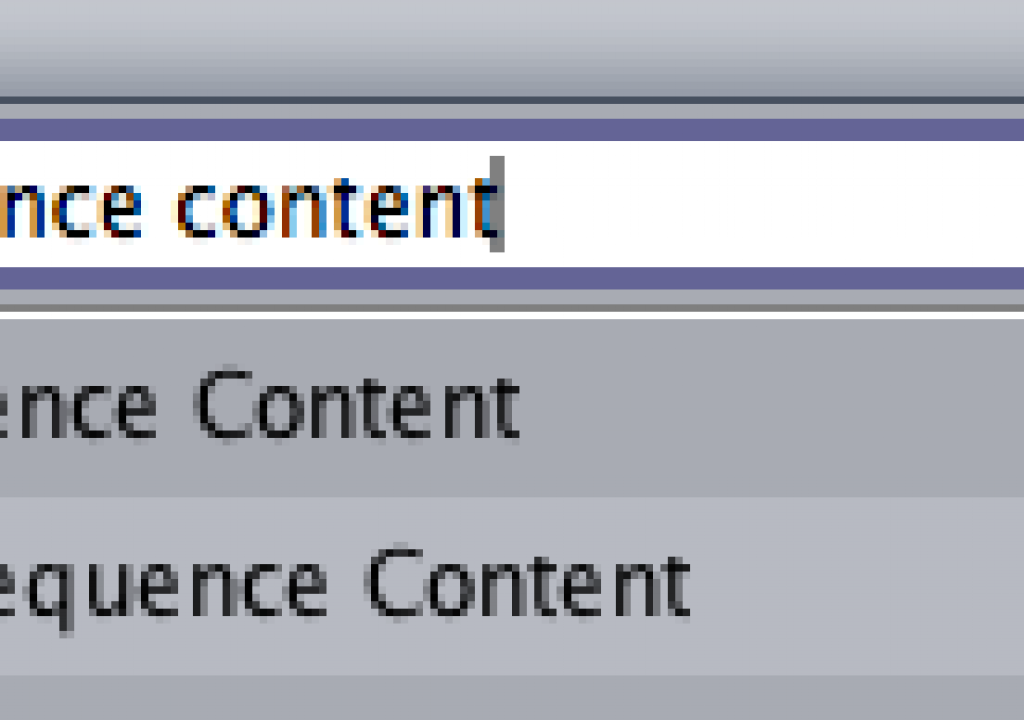
FCP7 has special editing commands to Overwrite or Insert Sequence Content that is useful when you load a timeline into the Viewer. These commands will edit from one timeline into another without creating a nested sequence. It was one of the nicest little known features of FCP7: you could always choose to nest or not to nest.
You can tell when you have a sequence loaded into the FCP7 Viewer as you’ll have all of the source timeline tracks to patch and route into the current edit timeline. If just watching a lot of source media you’d probably only have one track of video when using this technique.
While Adobe Premiere Pro CS6 doesn’t have the option to not nest when editing one sequence into another that option has been added via a button in Premiere Pro CC.
When viewing a Source sequence in Avid Media Composer with the Toggle Source/Record in Timeline button both the button and the playhead turn bright green to know you’re viewing a sequence loaded in the Source monitor.
If you’re working in FCPX then this really doesn’t apply as FCPX doesn’t operate quite the same way. You could always make a Project / timeline that is a string out of all your source clips and then use the Timeline History arrows to move between the string out and an edit. You’d then have to use a Range Selection and copy / paste to do the editing. It would work though it’s not as elegant as what I described above.
Editmote it
This is the default layout of the Editmote app.
If you don’t yet have a copy of Digital Rebellion’s iOS remote control Editmote then grab it now (iTunes link). Editmote is a great way to remotely control your NLE from an iOS device. That means you can control it from a couch or other comfy chair and watch that footage on a client monitor instead of sitting at a desk. I find that I often look at things in a slightly different way when sitting away from the NLE interface and viewing footage.
Make some small BITCs for remove viewing
The wonderful world of fast computers and accelerated H.264 encoding means it isn’t near as time-consuming a task as it used to be to create burn-in timecode versions of all (or some) of your source footage. Creating H.264 BITCs means you can easily view them on an iOS device or toss them into Dropbox for remote viewing. By creating a burn-in timecode overlay the glorious world of source timecode is available for all to see so if you needed a client to look at a clip you could send them a link and they could give you a note on that clip. I sometimes put the footage on my iPad and sit down outside of the edit suite and view clips. That is a luxury that many projects don’t have but when I do have the time I find it a nice way to get to know the footage.


