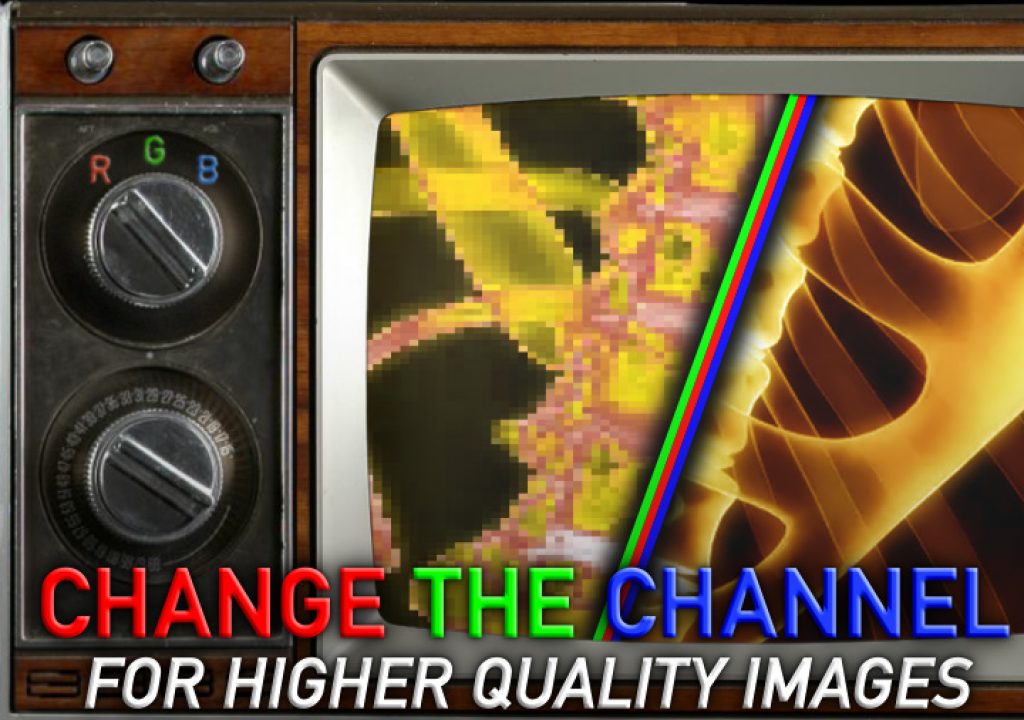
Image quality can be a touchy subject, from production right through to final delivery. So to claim that I’m going to show you techniques that can make your images look better may sound a little scandalous – but that’s exactly what I’m going to do.
Unfortunately I haven’t found a magic button in After Effects that makes good footage better, but in certain cases where your images are less than perfect there are techniques that can improve the quality of the final result. To be more specific – if you have footage with obvious compression artefacts, or highlight clipping, then working with the individual channels of the image can help you minimise those artefacts. This is especially true when you have to manipulate the colours of sub-optimal images – because colour correcting poor footage can often emphasise problems such as blockiness or mosquito noise.
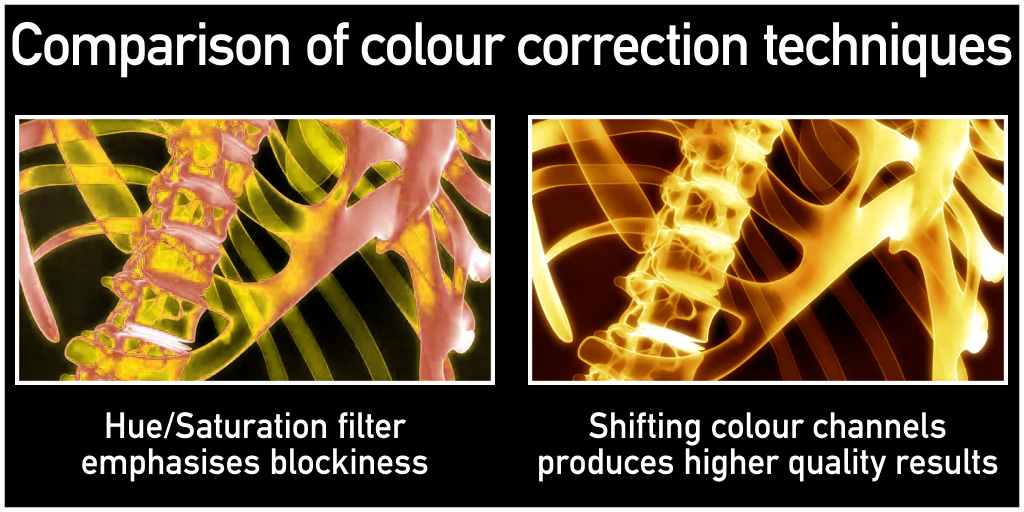
After Effects works in RGB colorspace, so each pixel is stored and processed as the product of a red, green and a blue value. However because of the way that most image compression works – including everyday codecs such as JPEG, H264 and even ProRes – it’s common for the red or blue channels in an image to have more artefacts than the green. However depending on the image itself, one channel may be brighter than the others while actually containing less detail.
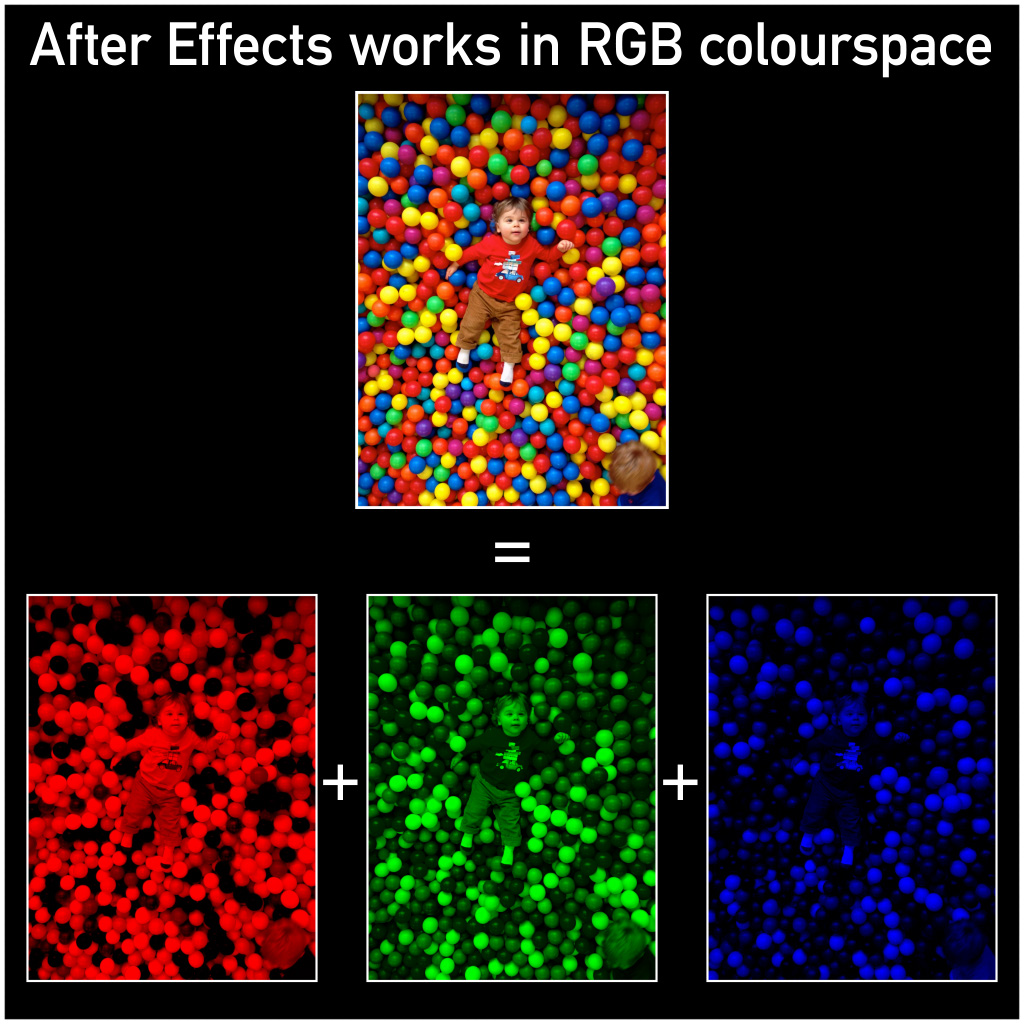
Using heavy colour correction filters can also clip out information – especially in the highlights. This can make an image look better at the expense of actual detail – so a stylish colour grade can produce awesome images today, but not so awesome if they have to be re-purposed or processed differently in the future.
This tutorial demonstrates how to work around low-quality images by breaking them down into their individual RGB channels, evaluating the quality of each one, and then rebuilding them with the most detail possible.
In the first video I introduce compression artefacts, before demonstrating highlight clipping and how simple effects such as the ‘glow’ filter can strip detail out of an image.
click the ‘full screen’ icon for best results
In part two I step through four real-life examples where I improved the detail and quality of the footage I had by separating out their individual colour channels and putting them back together again.
click the ‘full screen’ icon for best results
While this approach won’t work for every single piece of footage, it’s a useful reminder that there’s always several ways to approach any project, and shuffling channels around in After Effects can be a very powerful tool.

Filmtools
Filmmakers go-to destination for pre-production, production & post production equipment!
Shop Now