 Color Correction is often seen as – that technical part of the work before the fun creative “grading” part begins. Bit of luma work, some balancing of blacks and whites, some contrast.. et voilà! Lets grade!
I disagree with this point of view.
Apart from the fact that every project is different and requires different handling. Color Correction engulfs much more than basic luma+chroma adjustments.
A given Shot or Scene can be broken down to countless elements that require correction, and any of these elements can be corrected in different ways.
Sky, for example, can be corrected to look nice (or right), to match other shots, to fix banding, or altogether be replaced.
People too require corrections
People too require corrections, weather by separating to re-light them a bit, match skin tones, or to do some good old skin refinement and smoothening.
This short article, along with the added video tutorial, deals with this valuable, sometimes overlooked, aspect of our work.
In still photography, Skin refinement and smoothening is generally achieved through a technique called Frequency Separation. In short, frequency separation divides skin into 2 (sometimes more) main components and treats each of them separately before combining them back together The Low Freq part would be the surfaces of skin, and the High Freq, the facial features, and any other fine line or wrinkle that you’d want to keep in. The results can get quite impressive.
Google it if you’re unfamiliar to discover a whole world of beauty workflows for stills.
https://youtu.be/No3GXfy3nPA
This gets a lot trickier in video & film work.
Why?
Because talents and cameras move around, light on their faces change, the quality of the sources can vary drastically, etc. Furthermore, for a long time resolve didn’t include enough tools to support such workflows, and colorists had to do all sorts of node acrobatics to get proper Frequency Separation-like workflows in Resolve.
The short (recent) evolution of beauty tools in Resolve
Masking, tracking, qualifying then gently sharpening/blurring or selective noise reducing was a painful and time-consuming task.
In V.11 the MD (midtone detail) tool was introduced and added a gentler softening option that allowed better (though far than perfect) skin work.
Around that time (a bit later) I came across a grade in a Lift Gamma Gain discussion by a colorist (Benoit Cote) who managed to engineer a functioning Freq Separation node tree using Resolve’s limited tool (especially the lack of the Linear Light Blend mode).
Benoit’s Grade overcame that lack with smart node juggling and sparked a very interesting thread still (somewhat) active after all these years (a recommended read).
A bit later with Version 12, Resolve added Linear Light and Benoit’s tree was updated. Linear light Was a big deal in this specific workflow because it filters out gray, allowing to blend back the Hi-Freq layer
 Benoit Cote’s Freq-Sep grade post V12.
Apart from Resolve’s toolset, you could always try 3rd party plugins such as Digital Anarchy’s Beauty Box, Sapphire’s (Boris) S_Beauty or Red Giant’s Cosmo. I’ve used S_Beauty and Cosmo to varying degrees of satisfaction in the past. Also worth noting is Paul Dore’s OFX for frequency separation available on his Github page. His other tools are very well written too.
Version 14 (13 was skipped) added a few more Beauty tools, mainly the flashy looking Face Refinement OFX which I never really liked. I find it a bit clumsy (especially with numerous, moving or turning heads) and it tends to create clownish results much too fast.
I admit I might be biased against that specific OFX because of its bumpy launch. It has improved greatly since, but still feels too structured and a bit restraining.
I do like the way the “Eye Correction & Light” work. And maybe should have put it in the video.
 Exaggerated eye work with Face refinement OFX
But more importantly, V14 introduced 2 other, maybe less flashy, but very welcomed additions for this kind of work, the Soften & Sharpen OFX and the Color Compressor OFX. (The Warper OFX, also from V14 is a whole different kind of “beauty” retouching tool, that steers a bit from color work to VFX.)

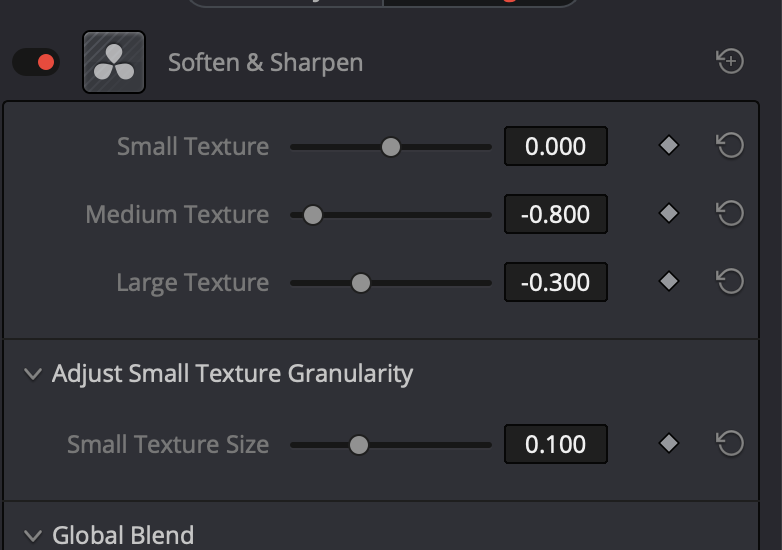
Soften & Sharpen (which I explain in the tutorial) was a big deal addition because it was the closest we got to a one-tool (3) Freq Separation in Resolve. Somewhat like a refined midtone detail adjustment with far more control on the size of detail to be blurred, untouched or sharpened. And when combined with solid masking & tracking, and/or qualifying, it is one of Resolve’s most powerful detail management tools for a variety of tasks, beauty work, of course, included.
By carefully reducing Small and Medium & Large textures, then adjusting the size of small texture with the added granularity slider, impressive results can be achieved.
Color Compressor OFX (also explained in the video) is one of my favorite skin tone uniformity tools. it’s a great fix for unwanted casts on the skin, unbalanced light temperature (to some extent), blemishes and more. It allows compressing selected hues and saturation to a (user selected) target color. I also like using it for plants and vegetation.
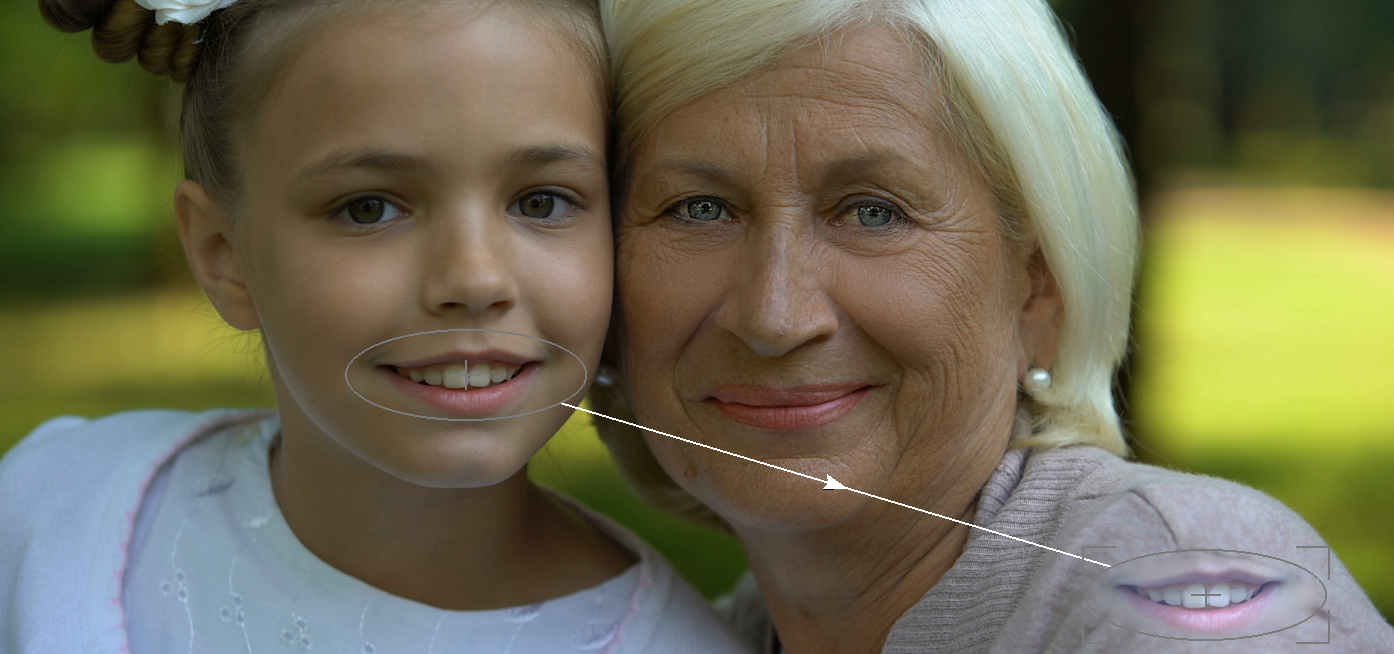
Then, in V. 15 came the Patch Replacer OFX (Explained in Video) and it’s super, Adaptive Blend mode. It saves a lot of time in pimple, spots, moles and other skin imperfections – removal, which used to be done in a (slightly more time consuming) layer mixer construct before
 Adaptive Blend in Patch Replacer
I think Patch Replacer is awesome.
And now, with 15.2 we got the new Beauty OFX. which is the closest it gets to a Freq Separation tool (in one effect) inside Resolve.
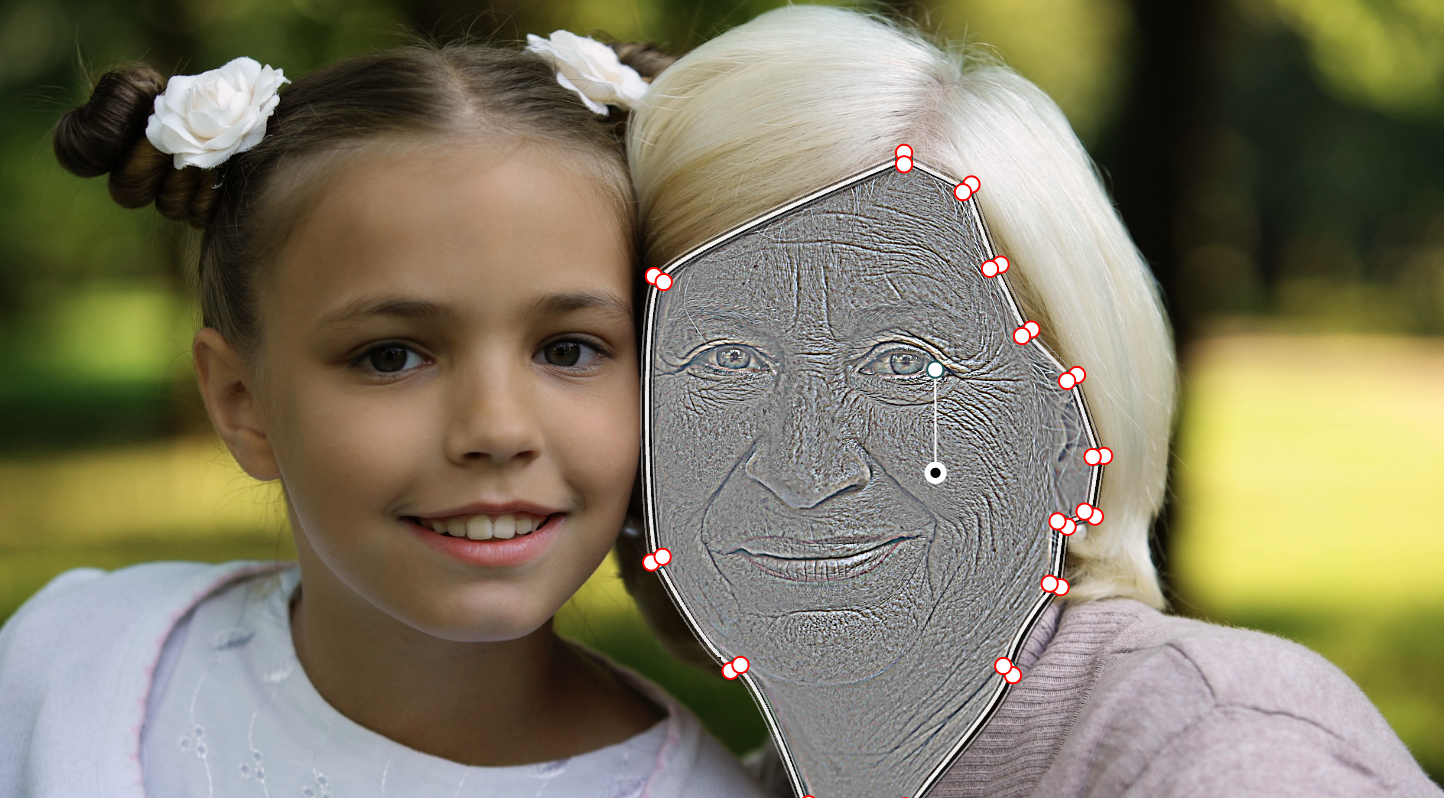
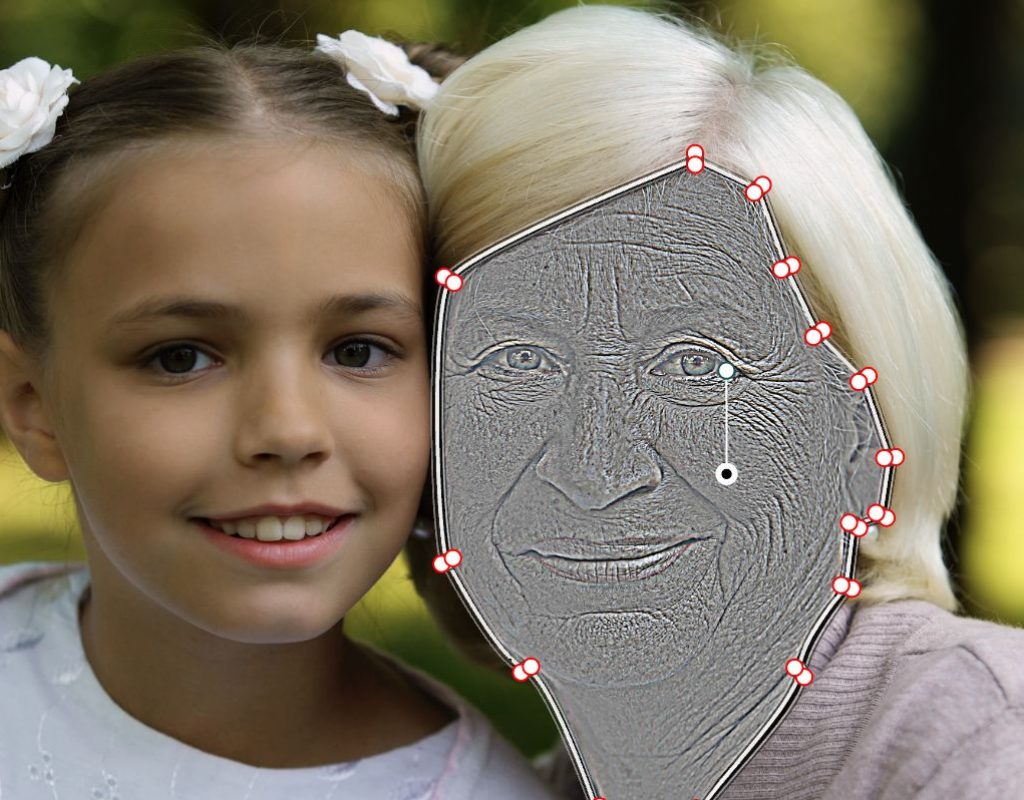
Beauty, covered extensively in the video, has a small checkbox to present High Frequencies In their distinctive preview (fine lines on grey,). In my opinion, from shortly testing it, Beauty performs better than the Face Refinement OFX. It’s also nicer, and much more elegant to operate.
 Hi-Freq preview in the new Beauty OFX
Still requiring delicate work, Beauty will perform best when masked and separated from the rest of the shot. As shown in the video, adding more masks and Beauty OFXs helps gently deal with tougher areas (deep wrinkles and eyebags for example)
I hope you found this useful and interesting.
And if you plan on taking some video beauty projects soon you might find this helpful.
My 10 Commandments for Skin Retouching & Beauty work in color correction.
- Practice before you charge. These types of projects can be tough and frustrating, involving large node trees with many different tools, problematic angles, foreground items obscuring faces, inferior video formats etc. Also, clients become somewhat testy when it has to do with their appearance – experience brings self-confidence, which in turn calms clients. Don’t open a beauty shop after seeing a few tutorials.
- Work in 100% view on your app viewer. Then 200% then some 300+ in tougher areas because you don’t want to mush & blur these precious skin pores.
- Work on a calibrated monitor and environment. This always seems to be a commandment in color work… but furthermore in beauty jobs. Being a bit off on skin tone can result in slightly magenta/yellow skin for example. Being a lot off can result in disasters.
- Don’t try to get it done with one node/effect. Divide and Conquer… Masks and tracking are your best friends to get these tougher wrinkles smoothened naturally.
- Don’t VFX it. We’re Colorists. Though it’s sometimes tempting to start composting, offer warping-diets, complexly layered makeup, or rotoscope till your eyes bleed… there’s a point where you should inform your client that they are out of bounds. Hire a VFX person.
- At the end of your process, node or node tree – tone it down a bit. It’s easy to overdo in skin work and will certainly result in unflattering output. Bad digital skin work is just as ugly as bad makeup, or bad botox work…
- Double check for halos. This kind of work involves numerous masks, and wherever there are masks there may be halos. Triple check because faces are involved.
- Set expectations early. Pick a few hero shots and show your client what you can do, once they approve get to work, not before.
- Set these expectations lower than you actually can. It’s easy to get lost when correcting a hero shot and overdo it. You won’t be pleased when you realize that your super-complex grade doesn’t behave on all your shots like it did on your heroes. And that adjusting it takes longer (and sometimes much longer) than you charged for.
- Charge accordingly! These types of projects can get tedious and intensive. Not every colorist knows how to do it well, and If you know your results are worth it, make your client know it too. It’s the kind of skill where clients often feel more comfortable the more they pay.

Filmtools
Filmmakers go-to destination for pre-production, production & post production equipment!
Shop Now


