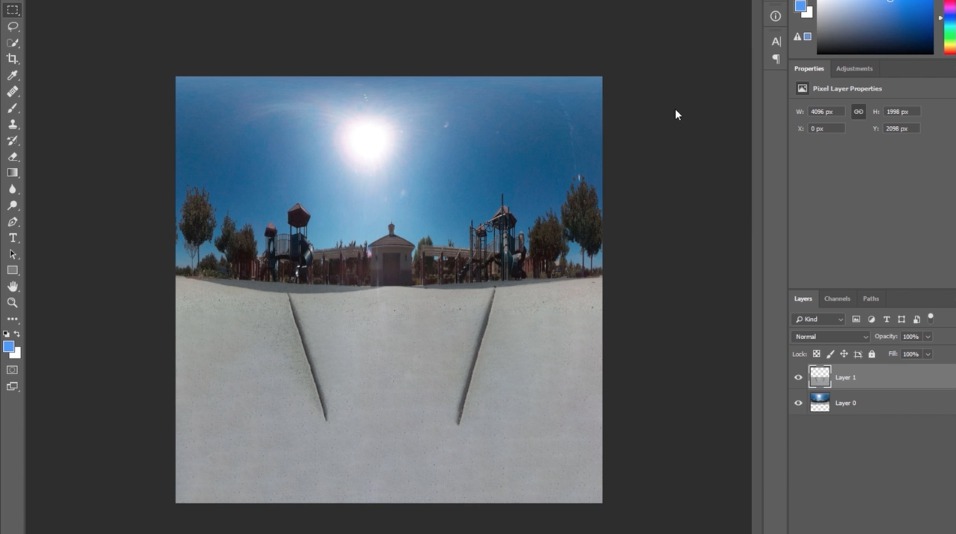
Now that we’ve gone on a basic VR tour in VEGAS VR Studio and showed off how easy it is to add video, text and audio into a virtual environment, it’s time to look at what it means to move a fisheye image into a VR panorama.
If you have a paired 360-camera rig, the automatic stitching tool in VEGAS Pro is going to solve some of these issues, but what if you have a single fisheye image? The tutorial below showcases what it means to turn this sort of image into 360 content.
While a single fisheye lens will never be able to capture the entire environment from top to bottom (zenith to nadir), when a fisheye image is converted to an equi-rectangular panorama, like the one being created in this tutorial, the top of the frame should represent the highest point in the sky, while the bottom should represent the nadir, the point directly below the camera. How much the camera captures out of the possible 360 degrees will impact how the image needs to be scaled up. Once the image has been created, it simply needs to be added to VR Studio as a new space. After doing so, you can navigate around just as you can with any other 360 image.
To learn more about VEGAS VR Studio, visit their site or watch more VR tutorials.
Click here to watch all of the “Learn VEGAS VR Studio” videos
