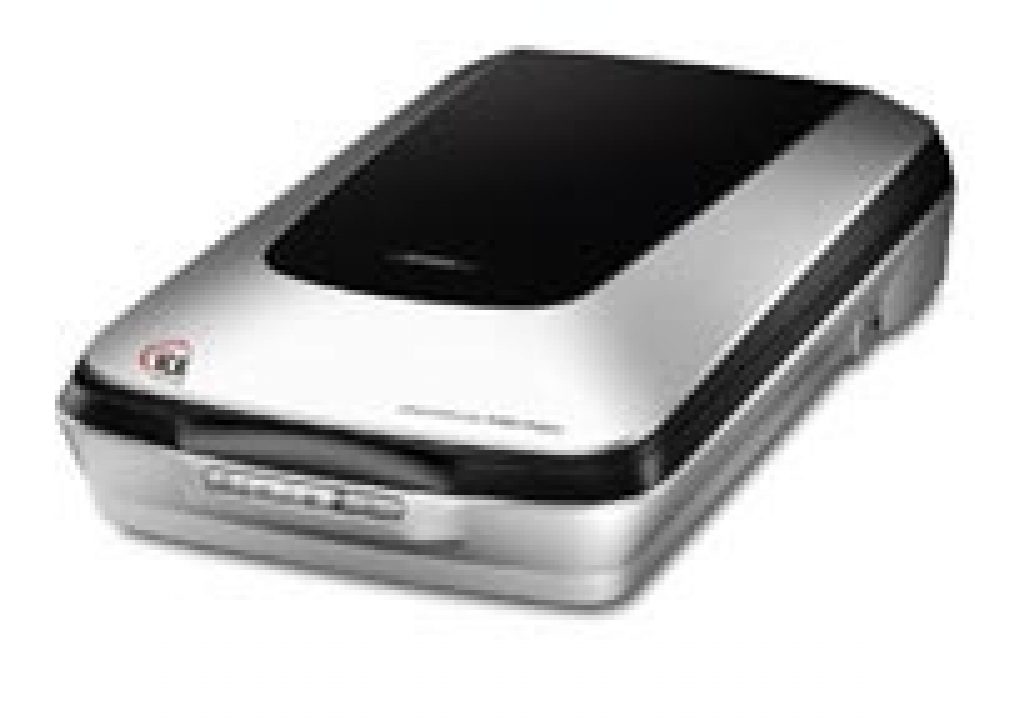
Seems like a lot of folks have forgotten (or never learned) how to scan photos. With this is mind, I offer some practical scanning advice. Several problems can be introduced by those using antiquated scanners with a distinct lack of skill. To get the best results, try the following:
• Before scanning an image, ensure you have the latest software needed by your scanner. You can always check their websites or use Version Tracker. Having problems with a lack of support on the OSX side for older scanners. I recommend checking out VueScan from Hamrick Software.
• The most important thing when scanning is to be consistent. Scan all of your photos in at one time if possible.
• Ensure that the scanner is lying flat, or you may get misregistered scans.
• Use a gentle glass cleaner whenever smudges appear. Spray the cleaner on the soft cloth, and then wipe the scanner bed down.
• Make sure your photos are clean before scanning. Never write on the back of photos, instead write on a post-it note and adhere to the back.
• Place your photos on the scanner straight. Use the edges to help you maintain parallel edges on your photos. If you get crooked photos, try Photoshop CS’s newest automation tool File>Automate>Crop and Straighten Photos.
• If your scanner allows you, set the white and black points before scanning. Think of this as a white and black balance that you would do in a video camera. This will produce the best tonal range. You can then use Photoshop’s color correction tools to adjust the white and black points as well as make additional color changes.
• If you are scanning in previously printed items such as newspapers, magazines, books, inkjet prints, etc, you will likely get a moir© pattern. Photoshop scanning the small spaces between the previously printed dots causes this. Most scanners have a de-screen filter in their software. If available use it when scanning previously printed items. If this is not available, run the Median filter at a low value (Filter > Noise > Median).
• Scan at the quality you need. For video, scan so you have approximately 4,000 by 3,000 pixels. This is generally enough pixel information to perform motion control in After Effects.
• Save to uncompressed formats such as TIFF, PICT or TARGA for maximum compatibility and disk space usage. The PSD format is great for layered files, but is not as efficient for single layered files. Always save the appropriate file extension for your file type.

